How To Copy Paste and Manage Screenshots on MacOS

It seems simple enough, but there are some great features, built in apps, and third party apps that can really improve your workflow when copy and pasting.
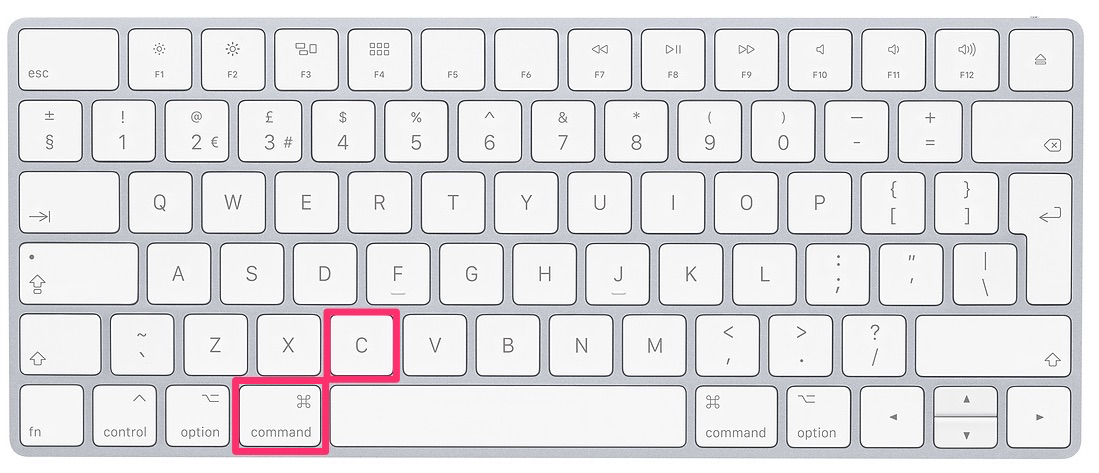
The very basics are on a Mac are; highlight the content you want to copy and press Command + C.
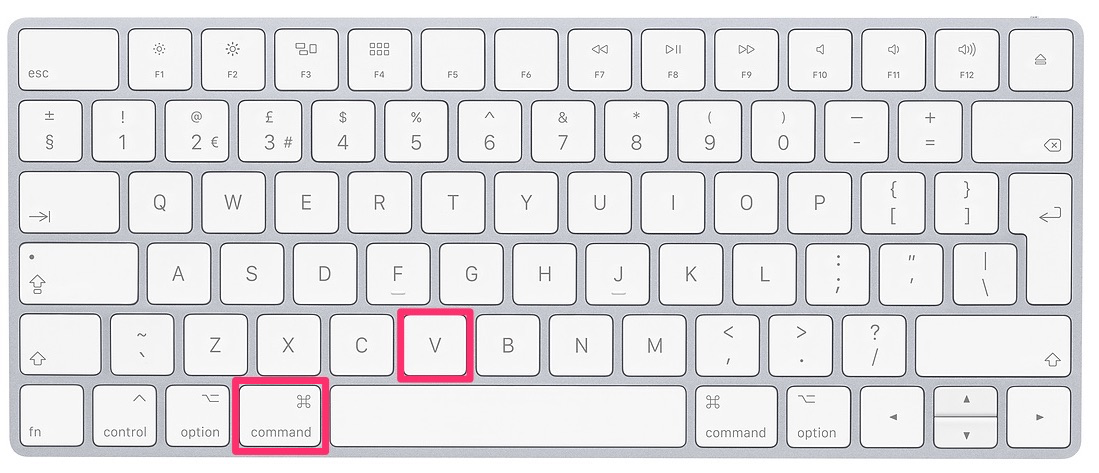
Then where you want to paste the content you have just copied place the cursor and press Command + V.
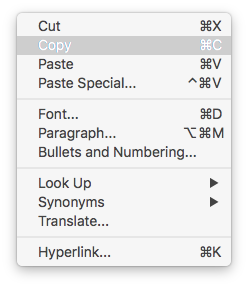
You can also copy & paste using the contextual menu, which is accessed using a right click or holding the CTRL Key and left clicking (or hold CTRL key and tap on the track pad).
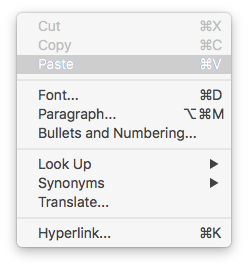
Do the same again right click or hold CTRL and left click where you want the content and chose paste:
These commands are also available in the Edit Menu in almost all Apps on the Mac.
You can use the same shortcuts and context menus to copy and paste most things to and from most locations this includes files & folders.
Most of you will be thinking great but I already know how to do that, well read on as built into MacOs are some really handy time savers when it comes to copy & paste.
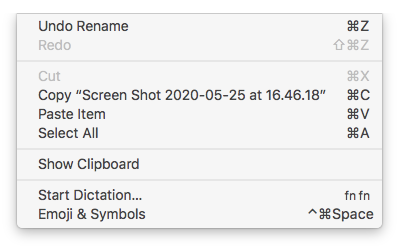
If you’ve forgotten what you have just copied or even cut look in the Finder Edit menu and you will find “Show Clipboard”:

If you don’t want to paste the style & formatting of text from one document to another.
(in this example from safari to a word doc.)
When copying some text in Safari for example and paste it straight into word using Command + V it also carries the styling of the text like so:

If we press Command + Option + Shift + V it will just paste the text preserving the style and formatting of the current document:

This is great if you want to provide a citation for example.
In some Apple Apps such as Pages & Numbers if you specifically want to copy the style & formatting from the original document press Command + Option + C and then paste with Command + Option + V.
This will not copy any text characters but will instead just copy the formatting of the text leaving you start typing in your own text in the same style of the text you copied.
Copy and paste between devices
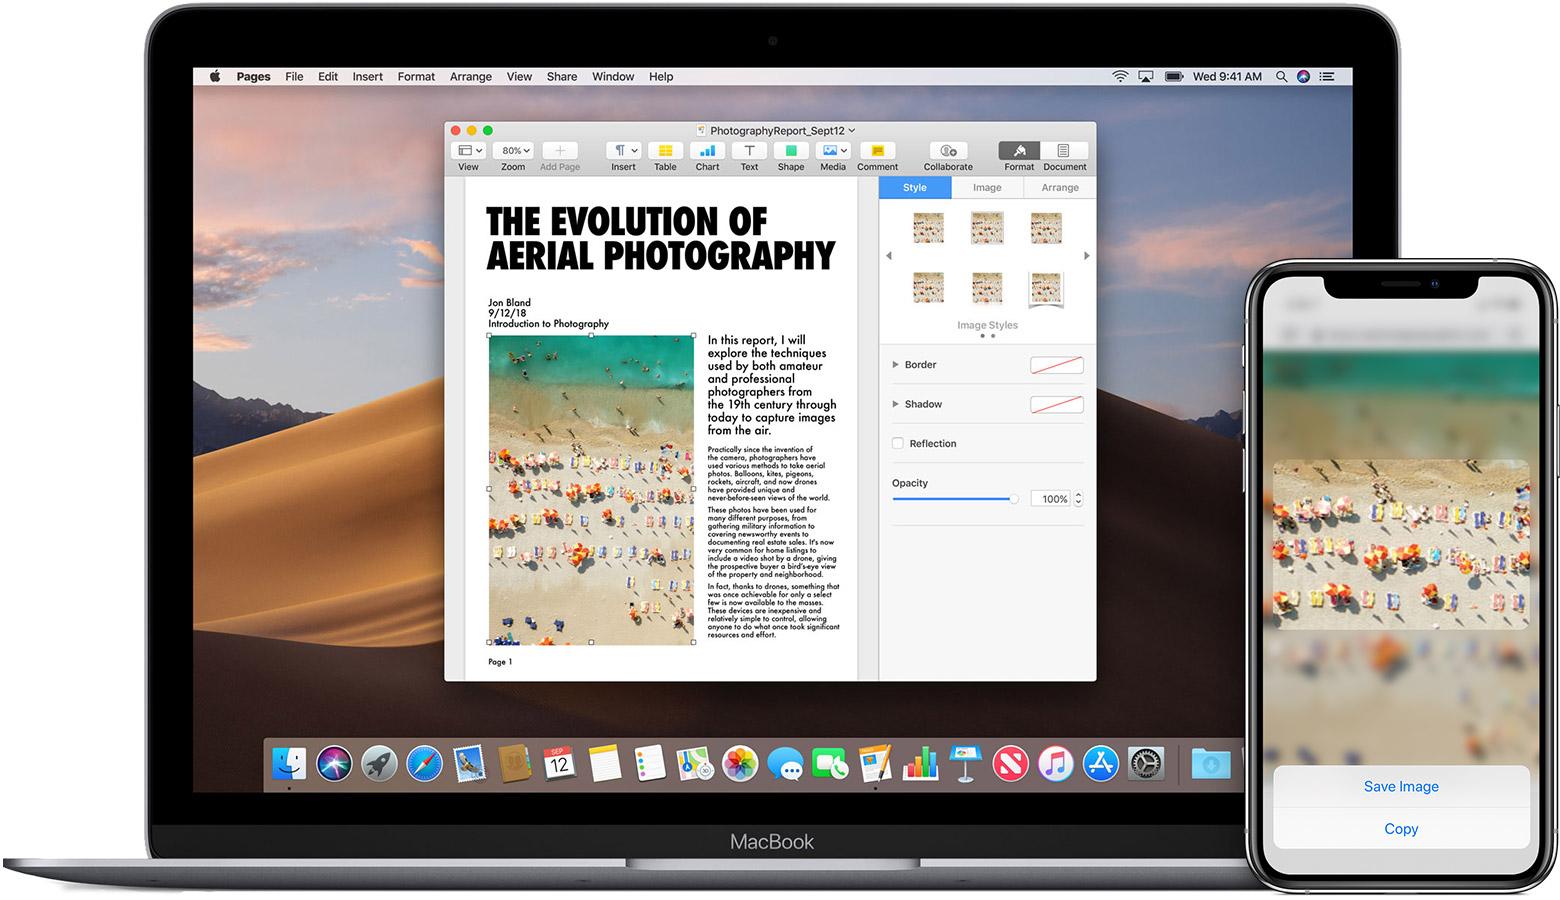
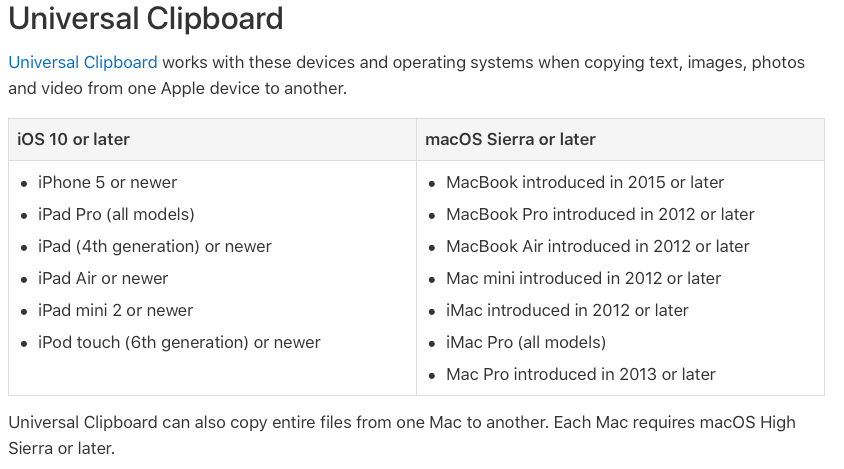
In MacOs If you own one of these devices you can easily copy and paste between them it’s called the “Universal Clipboard”:
To make sure Universal Clipboard is enabled on your Mac go to System Preferences > General > and select “Allow Handoff between this Mac and your iCloud devices”.
On your iPhone, iPad etc… Go to Settings > General > Handoff, and turn on Handoff.
These devices will all have to be signed into the same iCloud device for this to work!
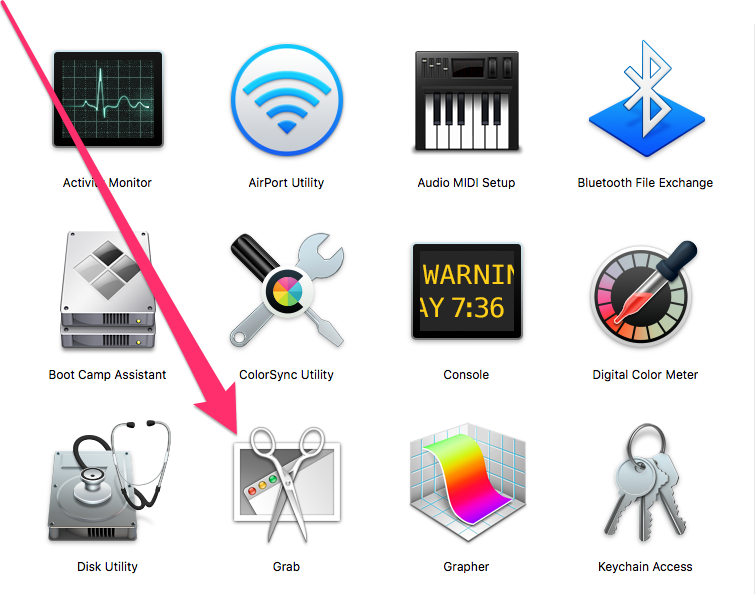
Grab
Grab is the built in App for taking screenshots. You’ll find Grab already installed in Applications > Utilities.
Some of Grabs commands are accessible with the following Keyboard commands (shortcuts) all of these screenshots will be saved to your desktop:
Screenshot of a specific area:
Use Command + Shift + 4
Screenshot of the entire screen:
Use Command + Shift + 3
Screenshot of a certain window:
Use Command + Shift + 4, then Space bar
Screenshot of your MacBook’s Touch Bar:
Use Command + Shift + 6
If you don’t want your screenshots saved to the Desktop, open the Grab app and each screenshot will become a new window in grab from where you can save or copy/paste them.
You can see the options available in Grab by opening the App and looking at the help menu and choose “Grab Help”.

Skitch
There are other snipping, clipping and screenshot tools available, search the App Store, however this free app is great, it has mark up features built in.
It’s available in the App store for iOS and MacOS search for Skitch.
Open Skitch after you have installed it and choose the kind of screenshot you want to take:
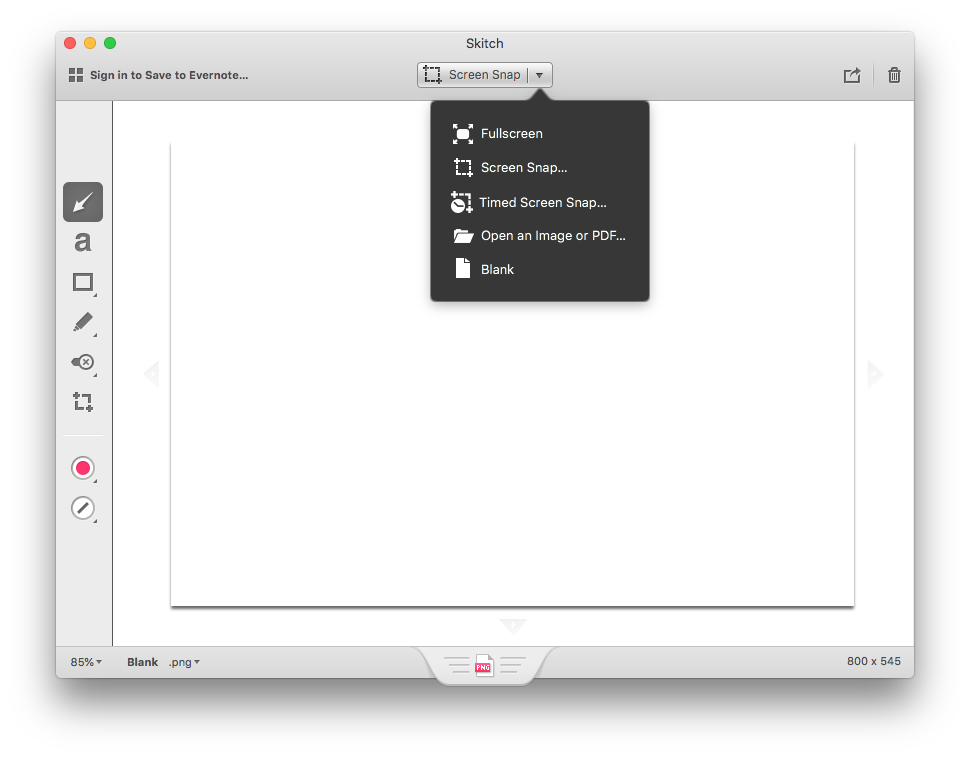
Then you can add mark-up using the tool bar on the left hand side.
See our excellent article here to get started with Skitch.
If you have any secrets or tips you want to share please leave it for us in the comments.
