How To Set Up Your New Apple TV

You’ve opened the box and here’s what you can do next to get your Apple TV set up and running.
Apple has improved upon its popular Apple TV and even brought Amazon Prime into its fold of popular shows. You know you want one now, and here’s a quick walk-through with tips to set up.
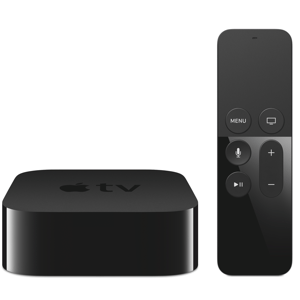
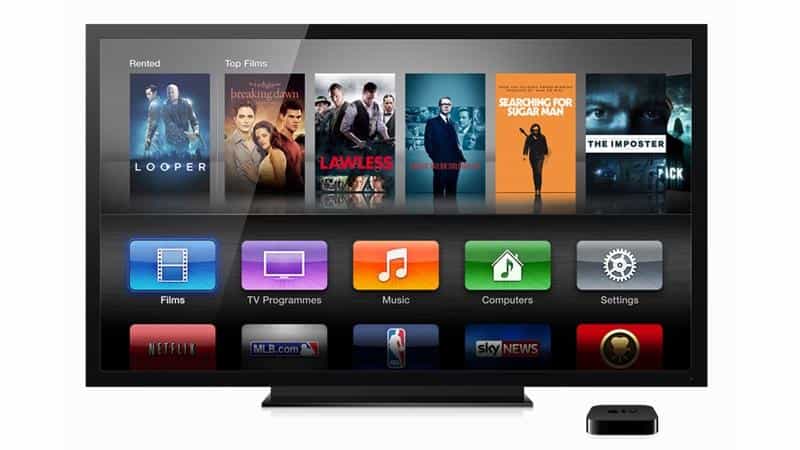
After you have unpacked the box, take out the power and HDMI cables. Plug the HDMI right into a free TV port (usually on the back of your TV). For some folks who use an HDMI breakout box or use an AV receiver to pass through your HDMI, plug it in there. This second option is great if you want to play audio using your iOS device straight to your audio system without turning on your TV. Connect the Apple TV to power and the HDMI cord.
Then turn on your TV right to the input that your Apple TV has connected to. Immediately, you will get a prompt to connect your Siri Remote by holding down Menu and +.
Use the Remote to select language and country and click the trackpad to enter.
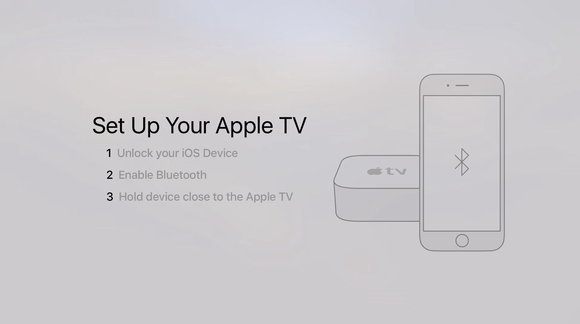
Your Apple TV can pull your Wi-Fi credentials right from your iPhone via Bluetooth. Handy, isn’t it? Next, it’s time to set up your network. You can do this manually but you can also do it using an iOS device that has at least iOS 10 installed. Your iPhone will work great. You can also use an ethernet cable to the Apple TV instead, especially if you have a network with other credentials required (like at work).
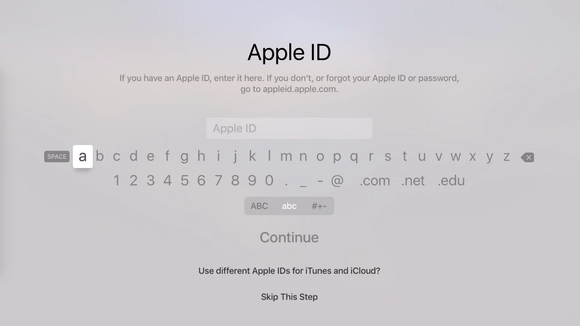
Sign in with your Apple ID. Doing it with your Siri Remote can be annoying so you could use a Bluetooth keyboard if you have one or even do it via the Remote app on your iOS device and put in your username and password.
Your Apple TV is accommodating. It lets you add 2 different iTunes accounts - say for example you keep one iTunes log in for purchases and rentals and have another for iCloud Photos.
After you have signed in, enable Location Services. You can have the screensaver change based on the time of day.

Aerial screensaver is a video screensaver with footage of different cities changing throughout the day. It is an opt-in with downloads of 600MB so if you don’t want to do that, skip it.
Next you can opt into Siri. Say yes here so you can use the built-in microphone to search the iTunes Store and any apps (HBO, Netflix, Amazon etc) using just your voice!
Your next screen asks if Apple can pull your diagnostic data. After you agree to the terms and conditions to use Apple TV, you are all set to go!
All Set! Time to Add Some Apps
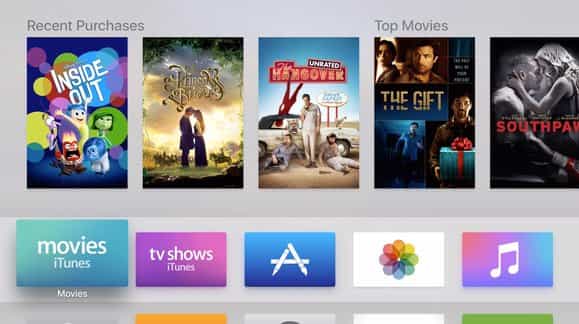
Next you will want to install apps. Your Apple TV comes with iTunes Movies, TV Shows, App Store, Photos, Music, Computers, Settings and Search installed. To Search with Siri, just hold down the Microphone button on the Siri Remote.
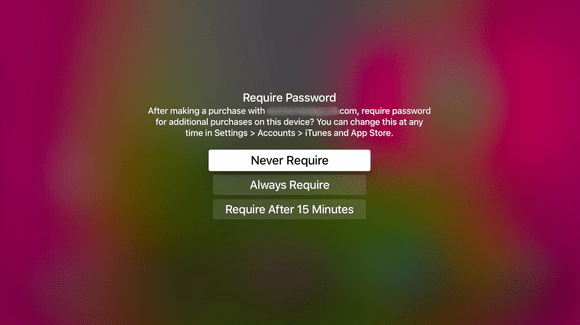
Install apps you want from the App Store. Look around. You’ll get prompted to add your password. If you are using a new card, you may have to go to iTunes on another iOS device and verify your card first, before you can install paid apps.
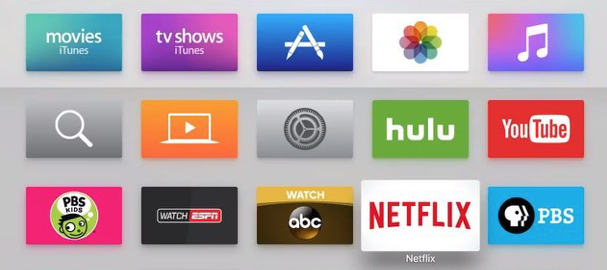
After you have bought any apps, Apple TV will prompt you to sign into your subscription services like Netflix, Hulu or other. You can also click Restore Purchases to bring in your prior purchases.
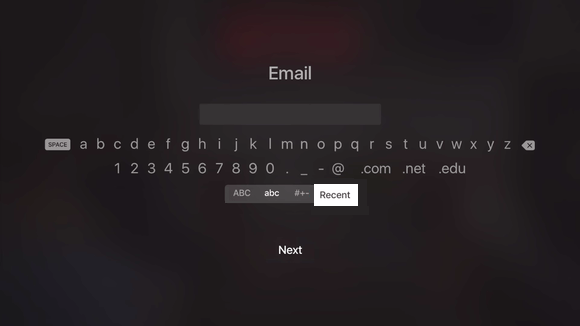
Use the Recent menu to quickly go to the email addresses or log-ins from before. Passwords till have to be entered in manually. Next rearrange your icons just by selecting any icon you want to move, and then clicking and holding down the Siri Remote’s touchpad until the icon wiggles (like you do on your iPhone). Swipe left, right, up or down on the touchpad until you have placed it where you want and then click again to hold.
You’ll quickly see a previews of items inside the app too for the top row of icons.
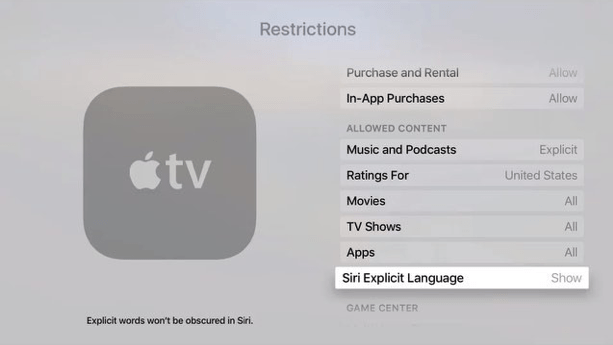
Clicking through Settings, you can adjust different things like Restrictions where you limit explicit language. You can also manage storage and delete apps you are not using.
Finally, open up an app and launch it! Enjoy the show!
