

I’m sure you’re already using some of the shortcuts (also known as keyboard commands) in MacOs for some hints on copy and paste see our article on keyboard shortcuts here..
However, in MacOs shortcuts are not just for copy & paste, right in the finder there are some really useful shortcuts for managing your files.
Command Space will open the Spotlight Search functionality; from there you can quickly launch an App even apps that are not listed in Applications or Utilities:
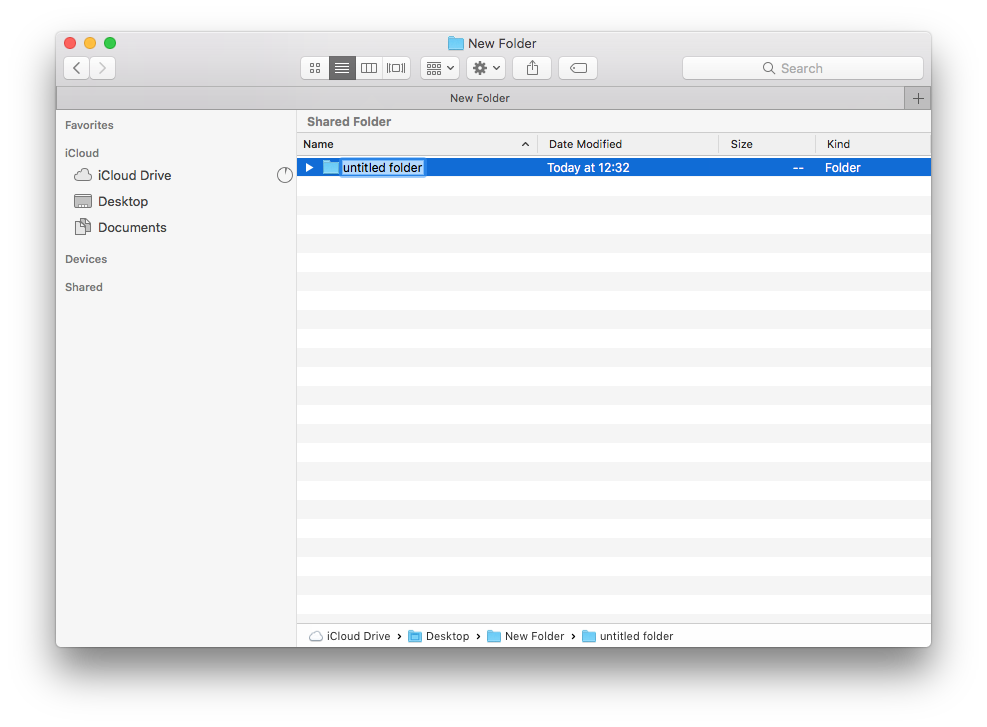
Command + Shift + N : will create a new folder in the finder named untitled and you can enter a name for the folder.
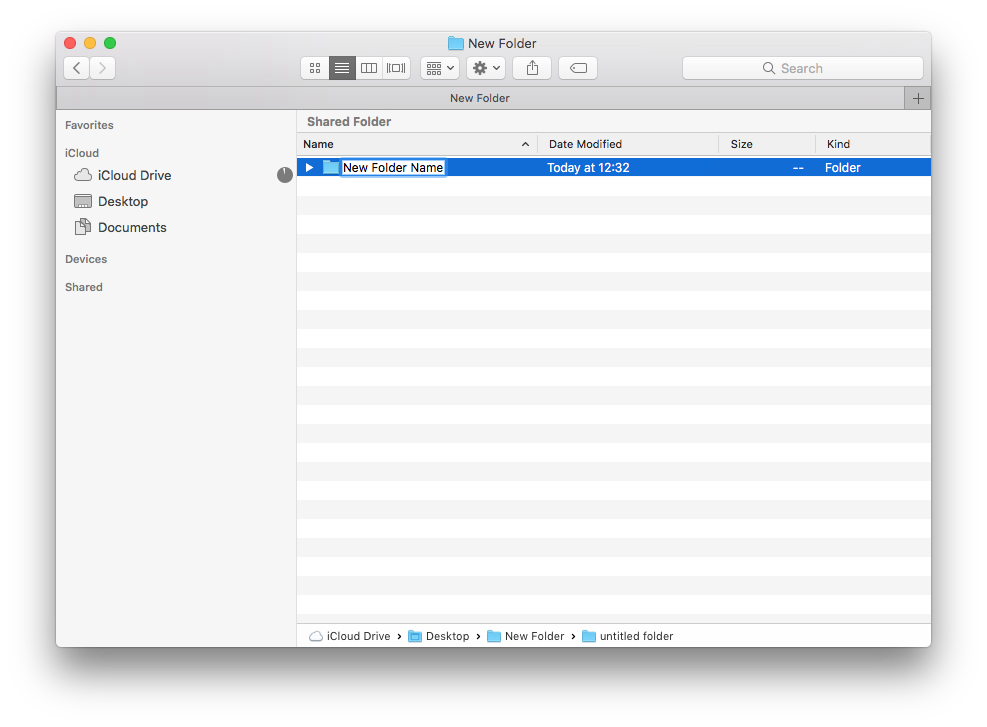
Enter key on a file or folder that is highlighted will allow you to change the name:
Command + C on a file or folder will copy it and pressing Command V will paste the file or folder into the currently open finder window.
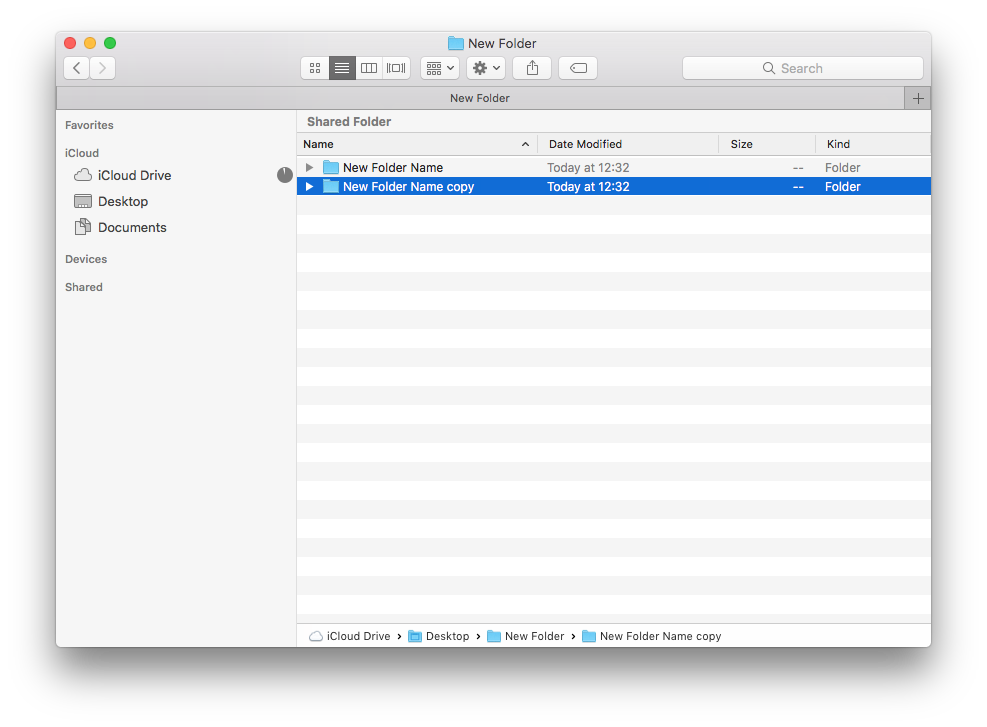
Command + D will duplicate the file or folder, adding “copy” to the end of the file or folder name.
Most of the shortcuts are listed against their respective menu item with the relevant Command (or Cmd) ⌘ key to press first.
Create your own shortcut
If you would like to create your own shortcut whether it is for a pre existing command or if the shortcut for the command you would like to create does not yet exist you can create your own.
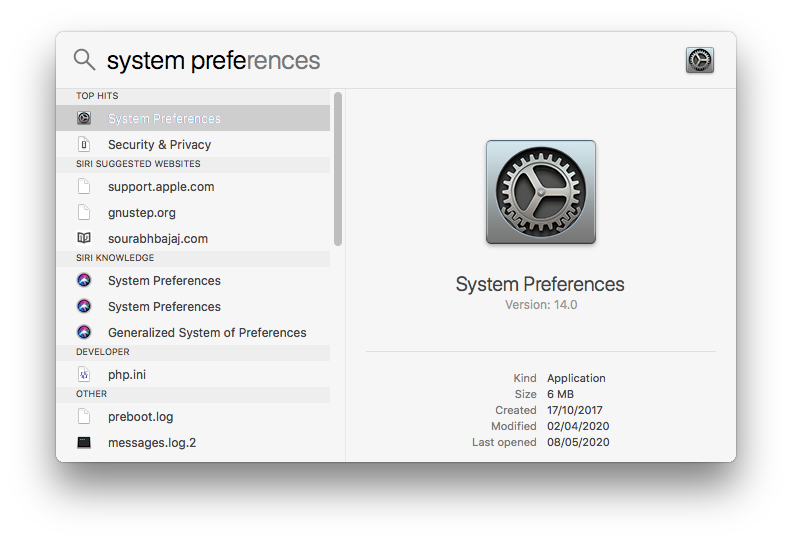
Open the System Preferences from the Apple Menu or Dock, or now you have Command Space, Press Command Space and type system preferences:
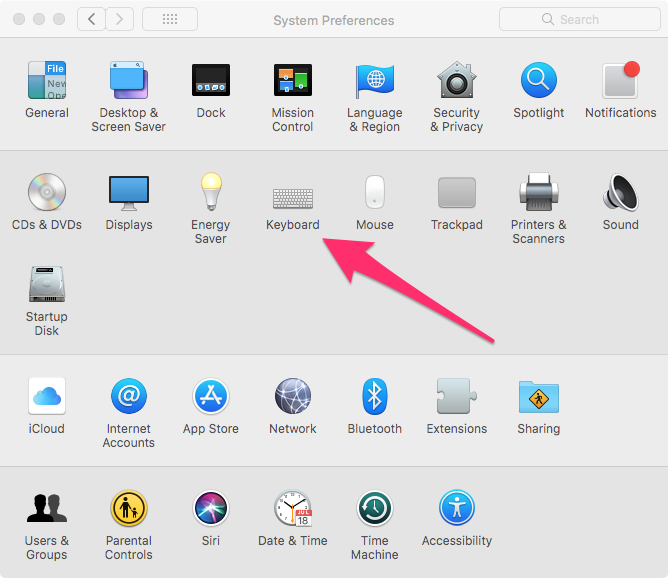
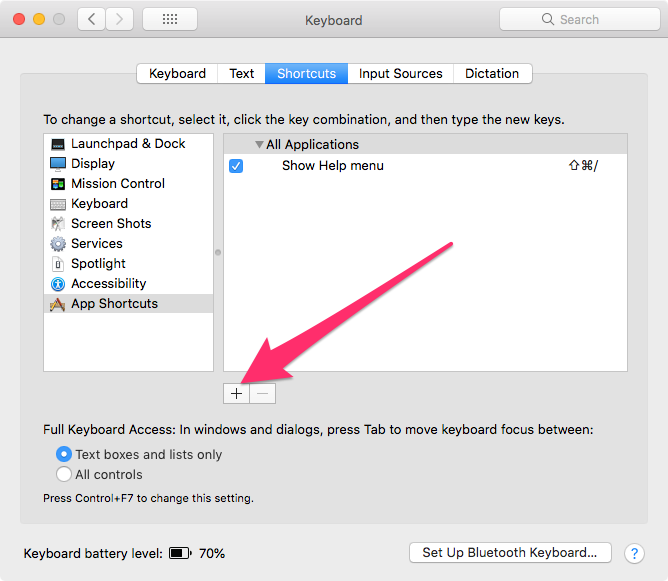
Once System Preferences is open choose Keyboard:
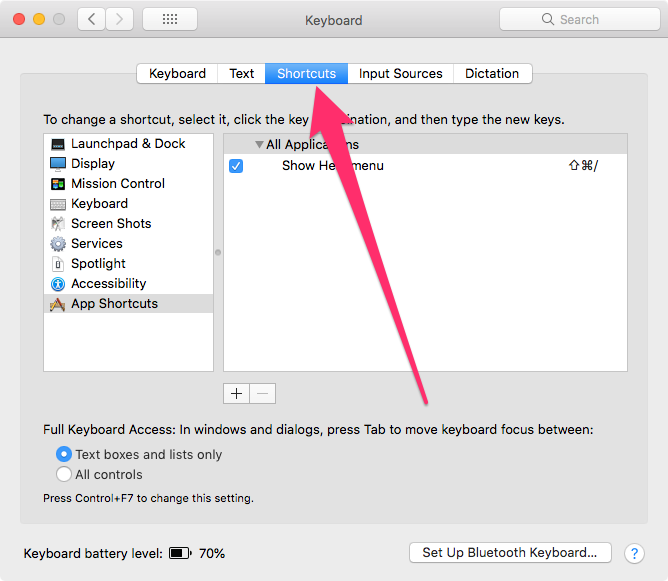
Then Shortcuts:
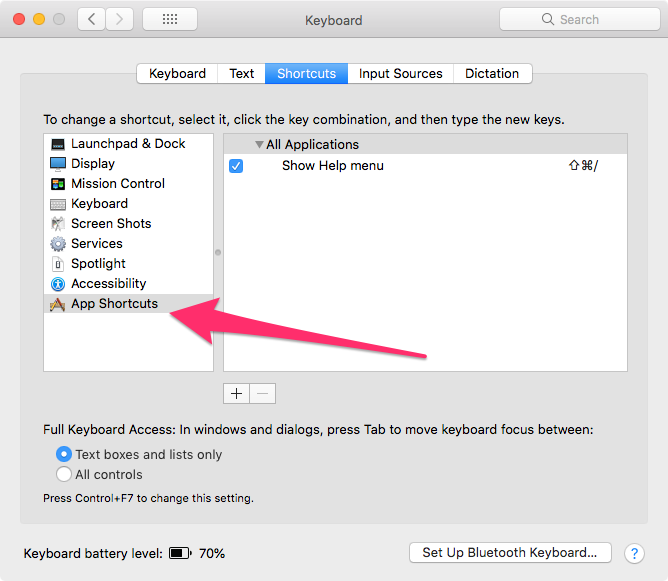
Then App Shortcuts:
(Using the menu on the left hand side it is possible to view existing shortcuts and in some cases edit them, but most default app shortcuts are fixed.
You can however from the menu on the left choose an App such as Mission Control and disable a shortcut, if for example you find yourself accidentally activating it & have no use of it.)
To create your own shortcut click the + symbol:
Then from the menu that appears choose the App you want to assign the shortcut to.
And enter the exact title of the menu item you want to create the shortcut for:
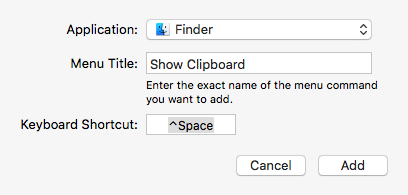
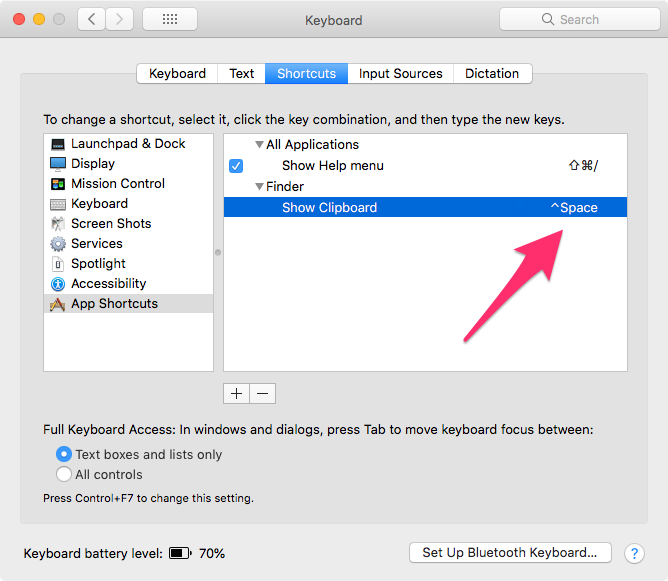
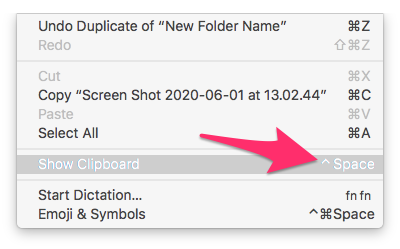
In this case I have added a shortcut (Control (or Ctrl) ⌃ Space) for “Show Clipboard” which can be found in the Finders Edit Menu:
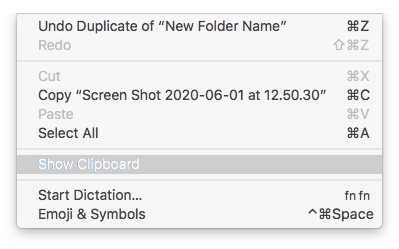
After successfully creating a shortcut for the menu item it will show the shortcut in the shortcuts menu & next to the menu item in the chosen application (in this case the finder):
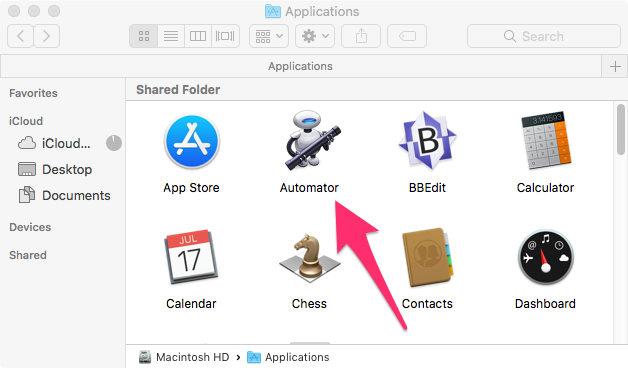
Now you’ve learnt the secret of shortcuts you’ll be shaving minutes from your daily workload. If you would like to create a shortcut for a command (menu item) that does not already exist that can be done with Automator, which you can find in the Applications folder.
We created an article on using the Automator to create voice commands here.
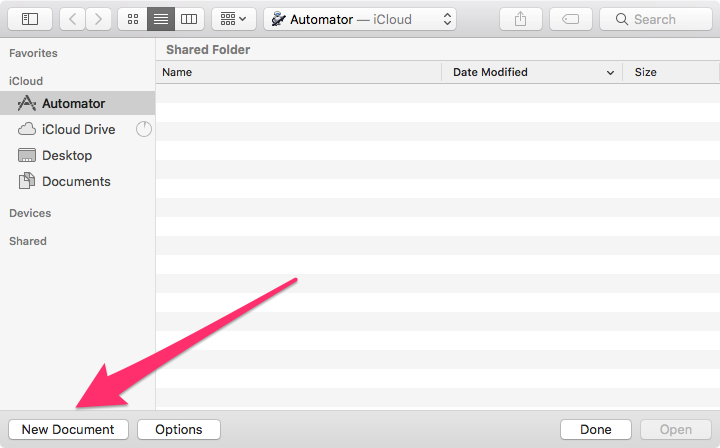
Using the Automator to create Workflows will be a whole new article come back soon to see that, however open Automator and you will find some ready made Workflows.
Click “New Document”
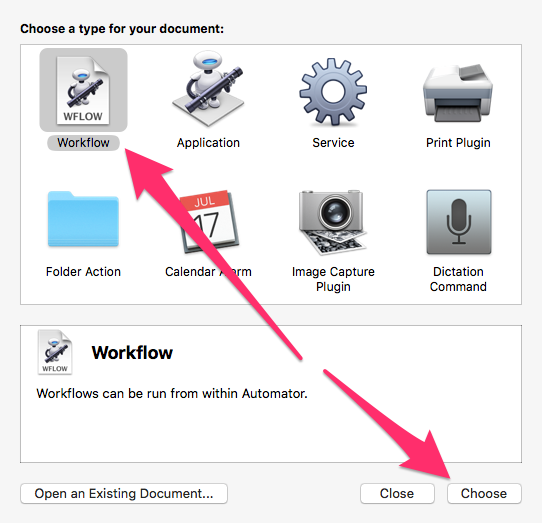
Then Workflow , and Choose:
Select one of the pre existing workflow items from the library (of course you can make your own):
Here is a handy list of Most of the Shortcuts for the MacOs System Finder
Command + C: Copy the selected files.
Command + D: Duplicate the selected files.
Command + E: Eject the selected disk or volume.
Command + F: Start a Spotlight search in the Finder window.
Command + I: Show the Get Info window for a selected file.
Command + R:
- When an alias is selected the Finder: show the original file for the selected alias.
- In some apps, such as Calendar or Safari, refresh or reload the page.
- Check for software updates again.
Shift + Command + C: Open the Computer window.
Shift + Command + D: Open the desktop folder.
Shift + Command + F: Open the Recents window, showing all of the files you viewed or changed recently.
Shift + Command + G: Open a Go to Folder window.
Shift + Command + H: Open the Home folder of the current macOS user account.
Shift + Command + I: Open iCloud Drive.
Shift + Command + K: Open the Network window.
Option + Command + L: Open the Downloads folder.
Shift + Command + N: Create a new folder.
Shift + Command + O: Open the Documents folder.
Shift + Command + P: Show or hide the Preview pane in Finder windows.
Shift + Command + R: Open the AirDrop window.
Shift + Command + T: Show or hide the tab bar in Finder windows.
Control + Shift + Command + T: Add selected Finder item to the Dock (OS X Mavericks or later)
Shift + Command + U: Open the Utilities folder.
Option + Command + D: Show or hide the Dock.
Control + Command + T: Add the selected item to the sidebar (OS X Mavericks or later).
Option + Command + P: Hide or show the path bar in Finder windows.
Option + Command + S: Hide or show the Sidebar in Finder windows.
Command + /: Hide or show the status bar in Finder windows.
Command + J: Show View Options.
Command + K: Open the Connect to Server window.
Command + L: Make an alias of the selected item.
Command + N: Open a new Finder window.
Option + Command + N: Create a new Smart Folder.
Command + T: Show or hide the tab bar when a single tab is open in the current Finder window.
Option + Command + T: Show or hide the toolbar when a single tab is open in the current Finder window.
Option + Command + V: Move: Move the files in the Clipboard from their original location to the current location.
Command + Y: Use Quick Look to preview the selected files.
Option + Command + Y: View a Quick Look slideshow of the selected files.
Command + 1: View the items in the Finder window as icons.
Command + 2: View the items in a Finder window as a list.
Command + 3: View the items in a Finder window in columns.
Command + 4: View the items in a Finder window in a gallery.
Command + [: Go to the previous folder.
Command + ]: Go to the next folder.
Command + Up Arrow: Open the folder that contains the current folder.
Command + Control + Up Arrow: Open the folder that contains the current folder in a new window.
Command + Down Arrow: Open the selected item.
Right Arrow: Open the selected folder. This works only when in list view.
Left Arrow: Close the selected folder. This works only when in list view.
Command + -Delete: Move the selected item to the Trash.
Shift + Command + Delete: Empty the Trash.
Option + Shift + Command + Delete: Empty the Trash without confirmation dialog.
Command + Brightness Up: Turn target display on or off.
Command + Brightness Down: Turn screen mirroring on or off when your Mac is connected to more than one display.
Option + Brightness Up: Open Displays preferences. This works with either Brightness key.
Control + Brightness Up or Control + Brightness Down: Change the brightness of your external display, if supported by your display.
Option + Shift + Brightness Up or Option + Shift Brightness Down: Adjust the display brightness in smaller steps. Add the Control key to this shortcut to make the adjustment on your external display, if supported by your display.
Option + Mission Control: Open Mission Control preferences.
Command + Mission Control: Show the desktop.
Control + Down Arrow: Show all windows of the front app.
Option + Volume Up: Open Sound preferences. This works with any of the volume keys.
Option + Shift + Volume Up or Option + Shift + Volume Down: Adjust the sound volume in smaller steps.
Option + Brightness Up: Open Keyboard preferences. This works with either Keyboard Brightness key.
Option + Shift + Brightness Up or Option + Shift + Brightness Down: Adjust the keyboard brightness in smaller steps.
Option key while double-clicking: Open the item in a separate window, then close the original window.
Command key while double-clicking: Open a folder in a separate tab or window.
Command key while dragging to another volume: Move the dragged item to the other volume, instead of copying it.
Option key while dragging: Copy the dragged item. The pointer changes while you drag the item.
Option + Command + while dragging: Make an alias of the dragged item. The pointer changes while you drag the item.
Option + click a disclosure triangle: Open all folders within the selected folder. This works only when in list view.
Command + click a window title: See the folders that contain the current folder.
Did we miss any? Let us know in the comments below!
AI Usage Transparency Report
Pre-AI Era · Written before widespread use of generative AI tools
AI Signal Composition
Score: 0.08 · Low AI Influence
Summary
MacOS shortcuts for managing files and creating custom shortcuts
Related Posts

Jamf Was My Mac Evidence Layer for CMMC
How Jamf Compliance helped support the Mac portion of a CMMC assessment, and why I added a small read-only CSV summary script for auditor-ready failed-result evidence.
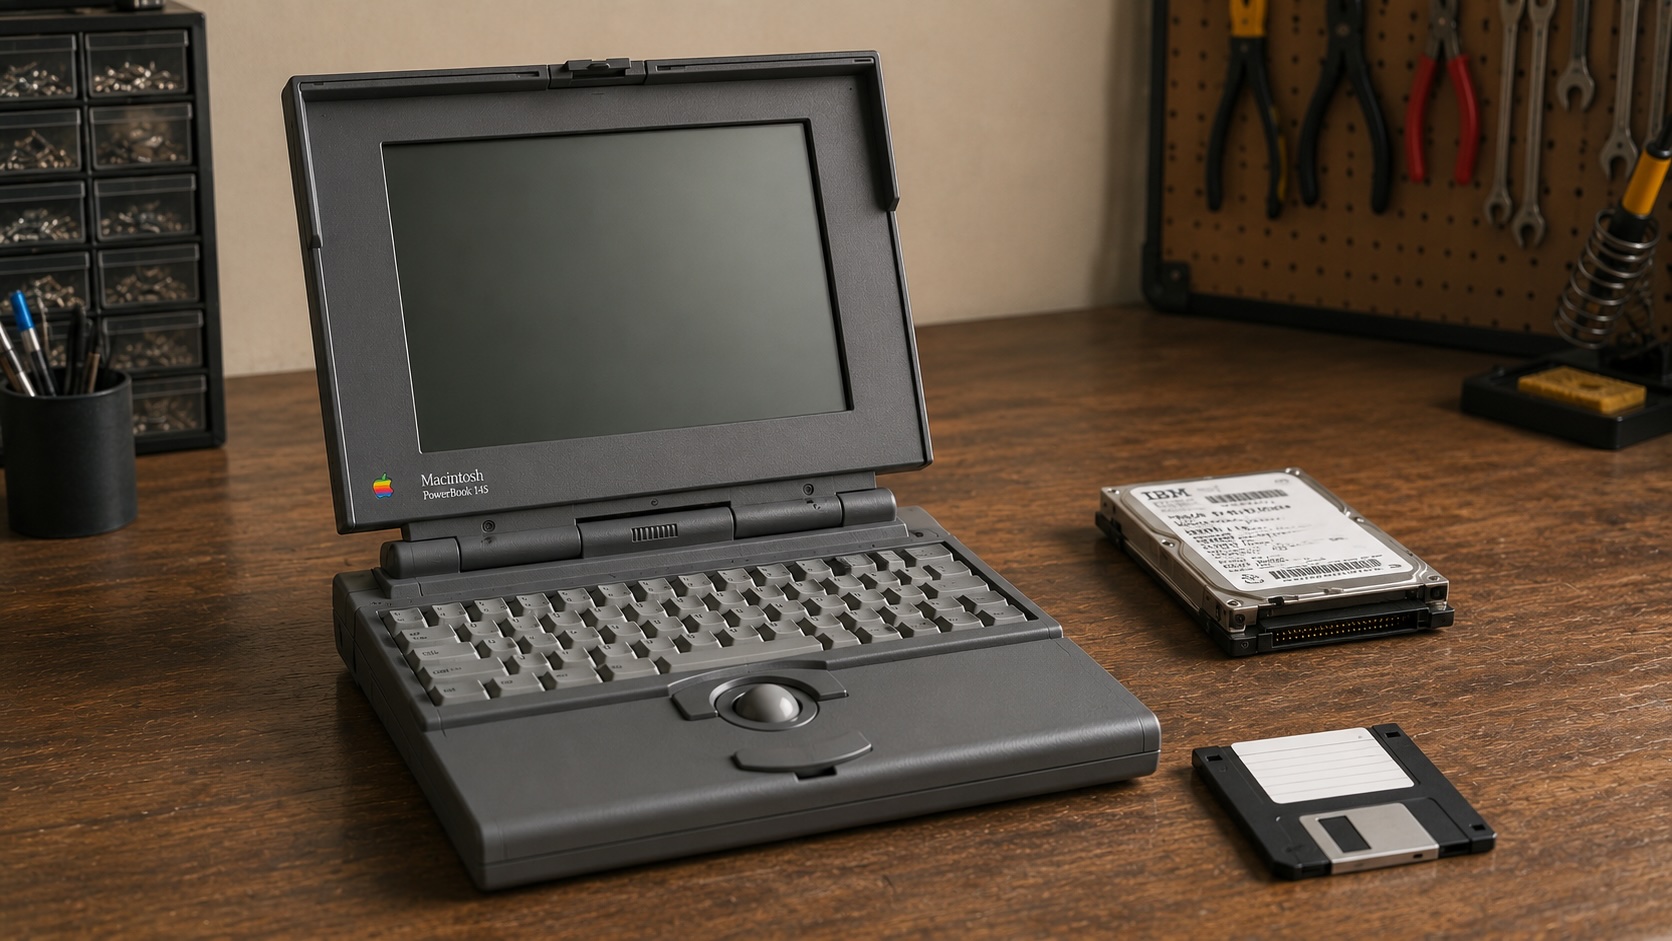
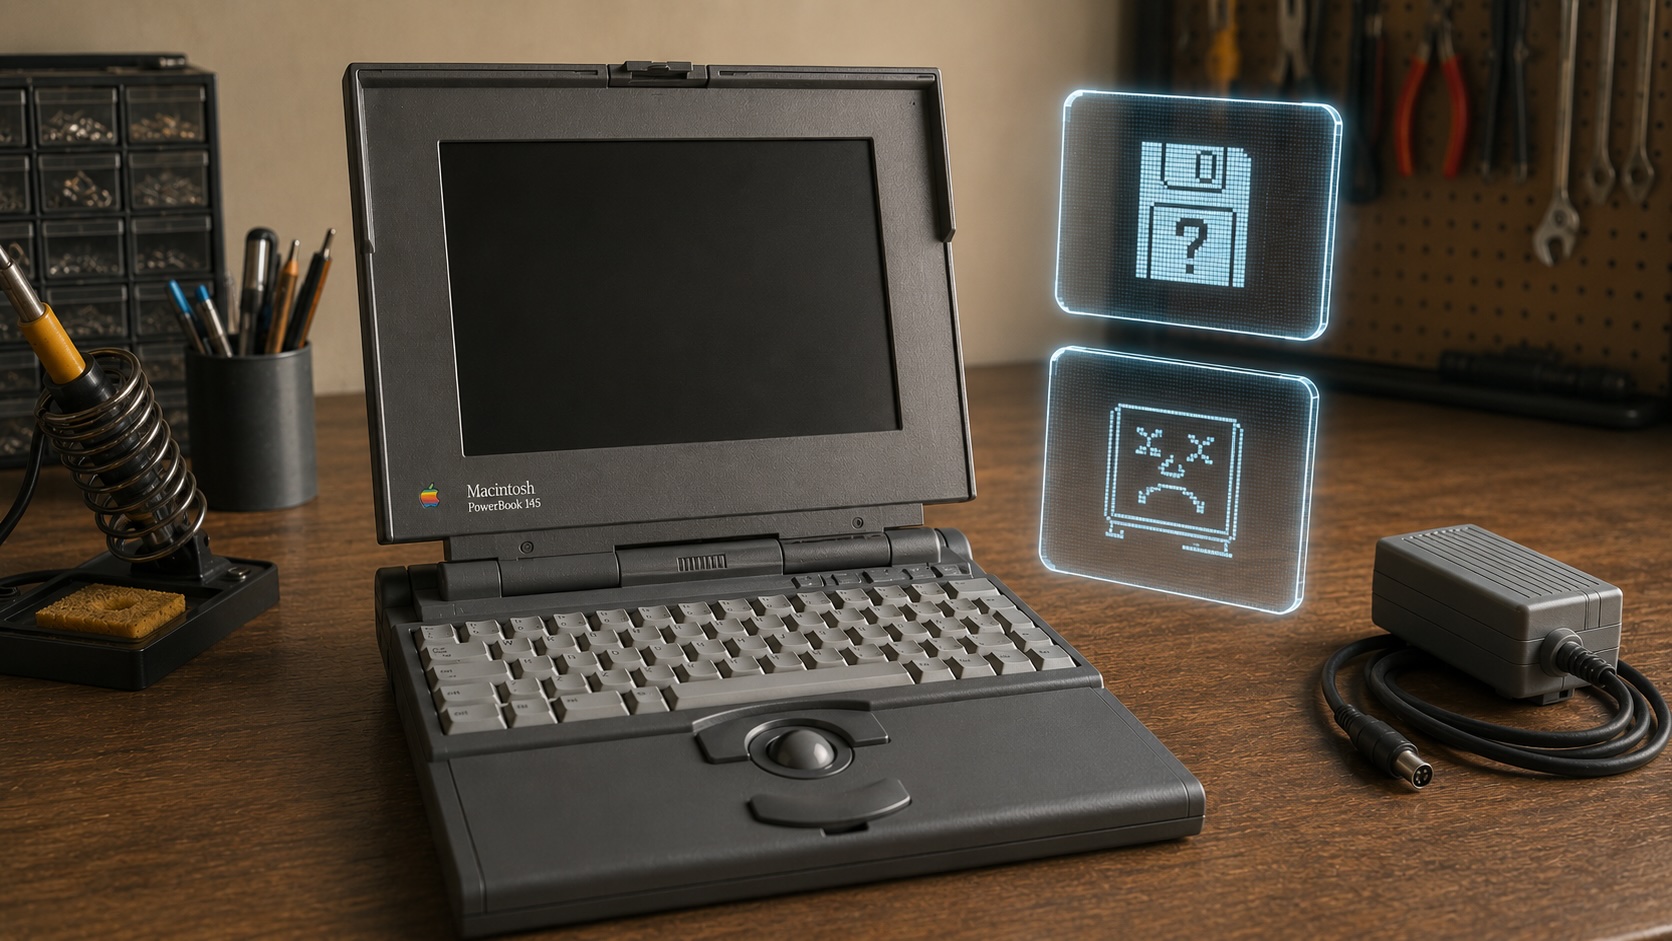
How a Floppy Disk Turned My PowerBook 145 Around
A replacement adapter finally brought my PowerBook 145 back to life, but the storage bay had a stranger problem than I first thought: the drive inside was an IDE drive, not the SCSI storage this machine needs. The surprise was that 6 MB of RAM made a System 7.1 RAM Disk boot possible while I wait on a replacement cable and BlueSCSI.

What I Check Before I Trust a Homebrew Formula or Cask
Homebrew gives Mac admins a useful first-pass inspection workflow before trusting a formula or cask: check the source, checksum, version, tap state, availability, and upstream maintenance story.

When a Local AI Tool Belongs in My Workflow and When It Stays in the Lab
Running AI locally on a Mac has become a real part of my workflow, but only once I stopped treating local models like general-purpose answers and started treating them like constrained components inside a system I can still inspect.

Apple’s WWDC26 AI Story Is About Control, Not Just Models
Apple’s WWDC26 special presentation on Apple Intelligence and Xcode was less about adding a chat box to developer tools and more about making AI part of the platform boundary. Xcode agents, App Intents, Foundation Models, Core AI, and MLX all point toward the same idea: intelligent features need context, permissions, testing, and clear ownership before they belong in production software.
What a Dead PowerBook 145 Still Told Me
I picked up a clean PowerBook 145 knowing it might be a gamble. What I found was a machine that looked promising on the outside, demanded the correct 7.5V power approach, revealed a torn hard drive ribbon cable inside, and still refused to chime. That first teardown ended up being less about a successful revival and more about the reality of vintage Apple restoration.

The CMMC Evidence Collection Guide I Wish I Had Before My Assessment
When I started preparing for a CMMC assessment, I expected to spend most of my time focused on policies, procedures, and the System Security Plan. Those things are certainly important, but what surprised me was how much of the assessment ultimately came down to evidence.
WWDC 2026 Was Bigger Than The Keynote
Most of those conversations eventually landed in the same place. Siri wasn't ready. Liquid Glass was everywhere. There was no new hardware announcement. Depending on who you asked, WWDC 2026 was either disappointing or forgettable.
ABM Warranty 0.5.1
ABM Warranty 0.5.1 adds outbound connection workflows for JAMF and OAuth-based APIs, an expanded device detail view, outbound job tracking, and guide updates for connection setup and sync review.

How We Passed Our CMMC Assessment
After helping lead our organization through a successful CMMC Level 2 assessment, I share lessons learned from years of preparation, audit readiness, evidence collection, and working through the certification process.
