How to Create a Disk Image from a Folder or Connected Device

Save your data from a folder or connected device in a disk image.
This is our second post on disk images. Creating a disk image is helpful in backing up and transferring data. Here’s how you do it.
Pull up Disk Utility to create a disk image that contains the content inside a saved folder or connected device such as a USB device. Doing this will not copy over the free space from the device on to the disk image. After saving the disk image, you an restore the disk image to another volume to access the data.

- Choose File > New Image, then choose Image from Folder.
- Next select the folder or connected device in the dialog that appears and click Open.
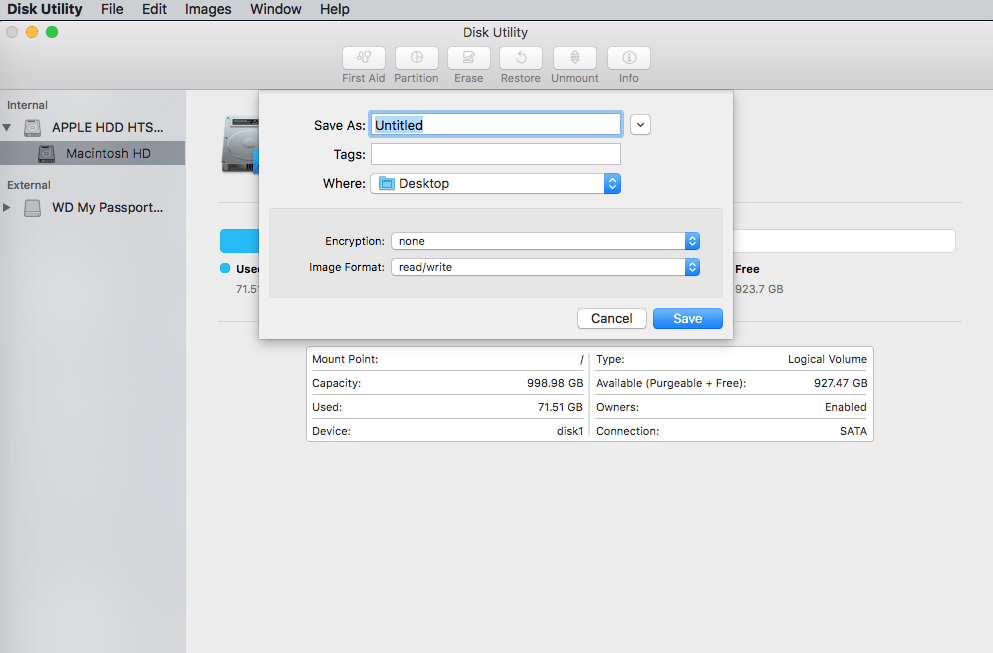
- Enter a file name for the disk image and choose where to save it. This is the name that appears in the Finder, where you save the disk image file before opening it.
- If you wish to encrypt the disk image, click the Encryption pop-up menu, then choose an encryption option.
- Next click the Image Format pop-up menu and choose one of the four options listed:
- Read-only: The disk image cannot be written to in this format. This format is quicker to create and open.
- Compressed: This format compresses data, so the disk image is smaller than the original data. The disk image is read-only.
- Read/write: Here you can add files to the disk image after it’s created.
- DVD/CD master: This can be used with third-party apps. It includes a copy of all sectors of the disk image, whether they’re used or not. When you use a master disk image to create other DVDs or CDs, all data is copied exactly.
- Hybrid image (HFS+/ISO/UDF): This disk image is a combination of disk image formats and can be used with different file system standards, such as HFS, ISO and UDF.
- Click Save and click Done. Disk Utility creates the disk image file where you saved it in the Finder and mounts its disk icon on your desktop and in the Finder sidebar.
Creating a Secure Disk Image
In some cases, you will want to make an encrypted disk image because you have confidential documents that you want to limit access to. In this case, you will want to make a secure disk image.

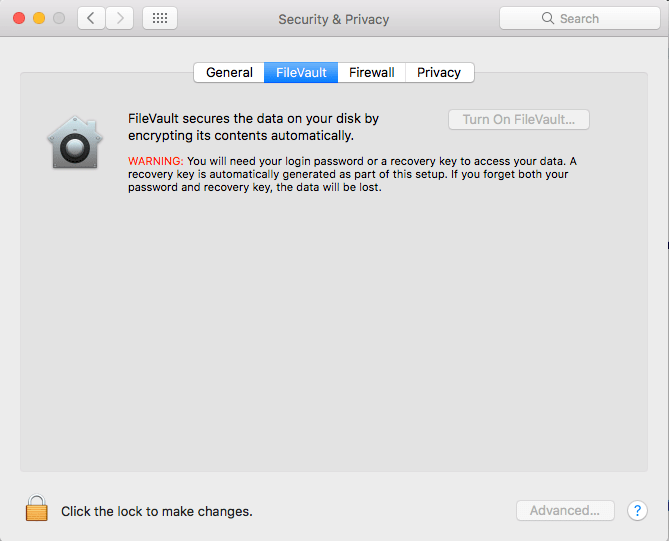
You can also alternatively protect the entire contents of your complete home directory by turning on File Vault. File Vault appears under your Security and Privacy Preferences located in your System Preferences app (Black gear icon against gray background).
- Choose File > New Image > Blank Image.
- Enter a file name for the disk image and choose where to save it. This is the name that appears in the Finder, where you save the disk image file before opening it.
- In the Name field, enter the name for the disk image. This is the name that appears on your desktop and in the Finder sidebar, after you open the disk image.
- In the Size field, enter a size for the disk image.
- Click the Format pop-up menu, then choose the format for the disk. There are two options:
- Mac OS Extended (Journaled)
- Mac OS Extended (Case-sensitive, Journaled)
- Click the Encryption pop-up menu and choose an encryption option.
- Enter and re-enter a password to unlock the disk image, then click Choose. It is important that you save this password because if you forget it, you will not have access to the encrypted disk image or any of the files inside.
- Use the default settings for the rest of the options:
- Click the Partitions pop-up menu, then choose Single partition - GUID Partition Map.
- Click the Image Format pop-up menu, then choose “read/write” disk image.
- Click Save, then click Done. Disk Utility creates the disk image file where you saved it in the Finder and mounts its disk icon on your desktop and in the Finder sidebar.
- In the Finder, copy the documents you want to protect to the disk image.
- If you want to erase the original documents so they can’t be recovered, drag them to the Trash, then choose Finder > Empty Trash.
After Creating the Disk Image
When you’re finished using the documents on the secure disk image, eject the disk image. As long as it’s available on your desktop, anyone with access to your computer account can use the documents on it.
You can access the data in a disk image by double-clicking on it. You can add, remove and edit files on your disk image similar to any hard drive storage.
