
In this first ABM Warranty 0.4.1 walkthrough, I want to show you what the app actually does before I get into the more specific feature videos. This is the broad introduction. I’m walking through the dashboard, how I think about the warranty cards, how released devices are handled, how the filters work, how to add credentials, where the data is stored locally, and what the logging and security model looks like.
ABM Warranty exists because Apple Business Manager gives us the raw information, but not a good operational dashboard for acting on it. I built this app so I could quickly see where devices sit in the warranty lifecycle without having to drill into records one by one.
What I Built the Dashboard to Show
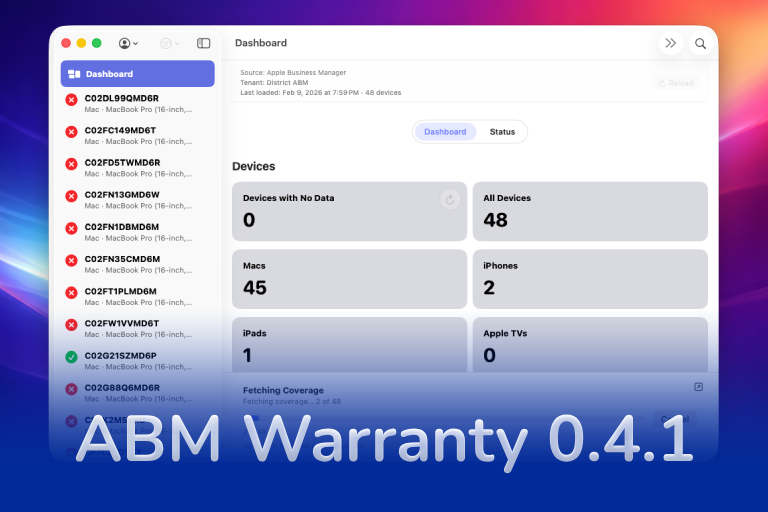
When you first open ABM Warranty, the main goal is visibility. I want to be able to answer a few questions immediately: how many devices are in the fleet, what kinds of devices are there, and where those devices fall in terms of warranty and coverage.
That is why the dashboard starts with summary cards. The device cards tell me what is in the environment. The warranty cards tell me which devices are still in standard warranty, which devices have active AppleCare, which ones are coming up for renewal, and which ones have already moved out of coverage.
This is the main problem the app solves. Instead of treating the warranty state like hidden metadata, I can use it as a working dashboard.
How I Think About the Warranty Cards
One thing I wanted to make clear in this introduction is that the cards are not a simple single path where every device just moves from one box to the next. Apple exposes both current and historical warranty information, so a device can meet more than one condition depending on its status.
For example, a device may be out of the initial standard coverage window but still have valid AppleCare. That is why the dashboard is built around categories that help me make decisions, not just around a rigid linear flow.
The warning cards are there to help surface devices that need attention. If a device is getting close to renewal or close to falling out of the renewable window, I want that to be obvious. If a device is fully expired and no longer renewable, I want that to be just as obvious.
How I Handle Released Devices
One of the biggest questions I get is how ABM Warranty deals with released devices. Apple does not give us clean historical visibility for released records through the API. Once a device is gone from Apple Business Manager in that context, the cloud-side visibility changes.
The way I handle that in ABM Warranty is by keeping the synchronized information locally. If a device existed in the local database and then disappears from the live API results, the app can still recognize that it used to be present and classify it as a released device. That lets me preserve the history locally even though Apple is no longer returning it through the API.
That behavior matters because it keeps the record useful instead of just losing context the moment the device stops appearing in the live feed.
Filters and Status
The filters on the left side are meant to mirror what the dashboard is doing. If I click a card, I want to see the matching device list. If I use the filters, I want the same logic to apply. I do not want two different systems that contradict each other.
That is also where the status view becomes useful. Once synchronization runs, I need to know if the credentials are healthy, whether there were errors, and what the app is reporting back about the overall sync state.
This is part of the reason I built the app as a working interface instead of just a static report. The dashboard and the filters are meant to help me move through the data, not just look at it.
Adding Credentials and Getting Started
When you first launch the app, it starts with demo data so you can see what the interface is capable of. But the real setup begins once you open settings and add your own credentials.
That process is straightforward. I give the credential a friendly name, I choose whether it is for Apple Business Manager or Apple School Manager, and then I enter the API values Apple provides when the key is generated. That includes the client ID, key ID, and the certificate file.
I wanted the setup flow to be explicit. I should always know which credential I added, what it is called, and what environment it belongs to.
Where the Data Lives on the Mac
After the credential is in place and the app starts syncing, the data is stored locally inside the app container. The local database, logs, diagnostics, and related files all live in a predictable place on disk.
That matters because I do not want the app to feel like a black box. If I need to troubleshoot it, verify where the data is going, or inspect what happened during a sync, I need to understand how it is laid out locally.
The database is what holds the synchronized device information. Supporting files, including logs and diagnostics, sit alongside it in the container structure so I can inspect and export them when needed.
Why I Built in API Guardrails
Once the first live synchronization starts, the app begins pulling data from Apple Business Manager and populating the dashboard in real time. But I do not want ABM Warranty to behave like a tool that just hammers the API over and over again.
Apple throttles those calls, and large fleets make that matter quickly. That is why I built the sync behavior with guardrails. Full syncs have a cost, and the app needs to respect that. The status view, sync feedback, and cooldown behavior all exist to keep that process predictable instead of noisy.
In 0.4.1, one of the biggest improvements is that I can now refresh a single device instead of reloading the entire dataset every time I need to recheck one record. That is a better operational pattern and it is one of the reasons this release matters.
Logs and Credential Security
I also wanted the app to expose useful logging. If I am troubleshooting a sync, testing the beta, or trying to understand what just happened in the current session, I need a log view that is easy to inspect and easy to export.
That is why the app includes a dedicated log window and a debug mode. The logs are not an afterthought. They are part of how I expect admins to actually use and support the tool.
On the credential side, I did not want sensitive values treated casually. The client and key identifiers tie into the keychain workflow, and when a credential is removed, the related pieces are removed with it. That keeps the credential lifecycle cleaner and makes the app easier to reason about from a security standpoint.
This introduction is the baseline for the rest of the ABM Warranty 0.4.1 walkthrough series. I wanted this first post to establish what the app does, how I expect you to use it, and how the data flows before I get into the more specific 0.4.1 features in the next posts.

Support Indie Development
These apps are built in my free time.
I build and maintain these tools as an indie developer outside of client work and day-to-day responsibilities. If you find these apps useful and want to help fund continued development, updates, support, and new releases, you can sponsor the work directly.
Monthly support helps me keep shipping improvements, maintain compatibility, and invest more time into building practical software for the Apple admin and consultant community.
AI Usage Transparency Report
AI Era · Written during widespread use of AI tools
AI Signal Composition
Score: 0.26 · Moderate AI Influence
Summary
ABM Warranty walkthrough introduction
Related Posts

Discovering Mole: A Command Line Utility for Mac Cleaning
Caches pile up, apps leave behind junk, and disk space slowly disappears. While there are plenty of GUI tools out there, most of them either lack transparency or feel overly bloated.

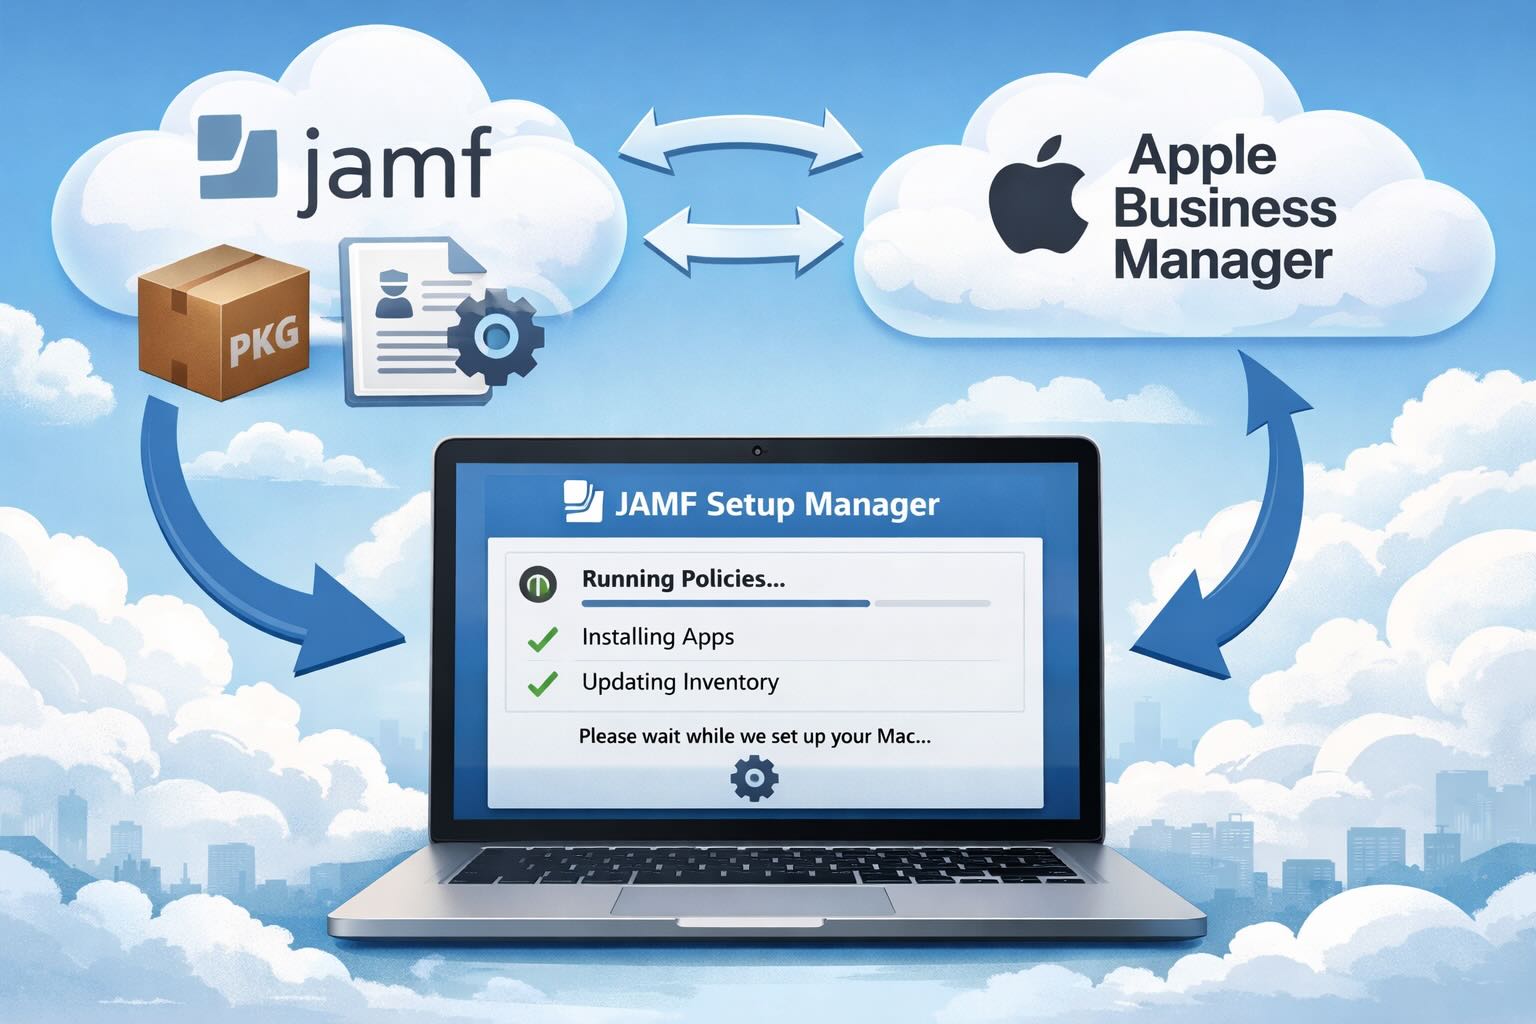
Automating JAMF Pro Email Notifications with SendGrid (Smart Group Driven Workflows)
Modern device management isn't just about enforcing policies—it's about communicating effectively with users at the right time. In JAMF Pro, Smart Groups give you powerful visibility into device state, but they don't natively solve the problem of proactive, automated user communication. Whether you're trying to prompt users to restart their machines, complete updates, or take action on compliance issues, bridging that gap requires a flexible and scalable notification system.

Introducing Pique - The Game-Changing Quick Look Plugin for Mac Admins
As a Mac admin, I'm always on the lookout for tools that make my life easier and more efficient. Recently, I stumbled upon Pique - a brilliant Quick Look plugin created by Henry Stamerjohann that allows you to view file contents in a syntax highlighted way.
ABM Warranty 0.4.1 Walkthrough: Wrap-Up and Beta
In this final ABM Warranty 0.4.1 walkthrough, I’m wrapping up the last features I had not covered directly in the earlier videos and then focusing on support, community, and the beta program. I also want to show where the support resources live inside the app so you know where to go if you need help, documentation, or a way to send useful feedback. Additionally, I'll be covering some of the key features that were updated since the previous version, including any bug fixes or improvements made to existing functionality.
ABM Warranty 0.4.1 Walkthrough: Managed Preferences
In this part of the ABM Warranty 0.4.1 walkthrough series, I'm focusing on managed preferences and the credential packaging workflow. In the last video, I covered multiple credentials inside the app itself. In this one, I'm showing how to package those credentials so they can be deployed securely through MDM. This process is a crucial step in ensuring that your credentials are properly configured and protected within your organization's mobile device management system.

Low Profile Walkthrough and Review
Today I’m walking through Low Profile, a utility from Nindi Gill that I use when I want to inspect profiles already installed on a Mac and figure out whether those profiles contain issues I need to clean up. The value is that Low Profile gives me a straightforward way to inspect profiles installed on any Mac. This simplicity makes it easy for me to identify and address potential problems, which is especially useful when working with multiple machines or troubleshooting complex profile configurations.
ABM Warranty 0.4.1 Walkthrough: Multiple Credentials
In this part of the ABM Warranty 0.4.1 walkthrough series, I’m focusing on multiple credentials. In the first video, I showed the basic setup and how to add a single credential. Now, I want to explore what happens when I remove a credential, what changes occur when I add more than one, and how the app behaves once there are multiple contexts in play. This will help clarify any potential issues or inconsistencies that may arise with multiple credentials.

QuickPKG Walkthrough and Review
I use QuickPKG when I need to turn an application, DMG, or ZIP file into a package quickly without wasting time in a heavier packaging workflow. This post follows the same path as my video: what QuickPKG is, where to get it, how I run it, what a simple packaging example looks like, and where I think admins need to be careful about potential pitfalls that can arise from using this tool.
ABM Warranty 0.4.1
The 0.4.x release series for ABM Warranty is focused on operational scale. The earlier 0.3 releases were about trust, correctness, and stabilizing the foundation. Version 0.4.1 builds directly on that work by making the app more practical for consultants, internal IT teams, and managed service providers who need to support multiple environments without losing isolation, control, or visibility. This includes improvements to user interface and workflow, as well as enhanced reporting capabilities to help these users manage their workflows more efficiently.
