
The Problem
Its been a while since I have used Automox, but the premise of the tool is that it automatically patches your macOS, Linux and Windows workstations. for macOS it does this using a service account created with username _automoxserviceaccount and this account needs a secure token. The issue here is that when the package is deployed the secure token is not transferred to that account which means that it most cases it can’t apply macOS updates.
To solve this Automox provides a script that you can use to add the secure token attribute, except, it doesn’t work or at least it didn’t work at the time of writing this article. The solve for me was to use their own commands to remove automox, re-trigger the installation of automox and then adding the secure token attribute.
The goal is to automate this workflow in JAMF Pro. There are a few things you need before you can use the script.
Step #1: Setup the Automox Installation Policy
In JAMF Pro we need to upload the Automox package. Automox provides a package you can use to deploy the agent to workstations. Once you have the package from Automox upload the package in the Settings > Packages area of your JAMF Pro instance and upload it. Once the package is ready you can assign it to a policy.
Next you will need to create a policy in JAMF Pro. Make sure that you set this to run as “Ongoing” and make sure that its set as a “Self Service” this allows you to call or trigger the policy via its policy ID. You will scope this to workstations where the _automoxserviceaccount account has no secure token. I did this using a Smart Group in JAMF Pro.
I am not going to go into super depth on how to create a smart group, how to target smart groups, or how to setup the policy. If you need assistance just comment below or reach out and we can elaborate more below.
Step #2: Setup the script
Next we need to take the script and we need to add it to the JAMF Pro > Settings > Scripts area of your JAMF Pro instance. Lets review the script.
#!/bin/bash

// These commands remove Automox if its already installed.
sudo launchctl unload /Library/LaunchDaemons/com.automox.agent.plist
sudo /usr/local/bin/amagent --deregister
sudo rm -f /usr/local/bin/amagent
sudo rm -rf "/Library/Application Support/Automox/"
sudo /usr/bin/dscl . -delete /Users/_automoxserviceaccount

// Wait 5 seconds
sleep 5

// Trigger the JAMF Policy, you will need to pass the policy ID fromm Step 1 into the variable $4 area of your script policy
jamf policy -id $4

// Wait 5 seconds
sleep 5

// Here we need to pass the username and password of an account on the computer that already has a secure token thats what we enter into variable $5 and $6
sudo /usr/local/bin/amagent --adminuser '$5' --adminpass '$6'
sudo /usr/local/bin/amagent --automox-service-account enable
sudo /usr/local/bin/amagent --automox-user-prompt enable

jamf recon

sysadminctl -secureTokenStatus _automoxserviceaccount

/usr/local/bin/amagent --setkey $7
launchctl load /Library/LaunchDaemons/com.automox.agent.plist
Notice that we need to know some information to pass into the variable fields.
- $4 variable == The Policy ID of the automox install package policy. This is outlined in Step #1. You can get the Policy ID in the URL bar of the Policy, its a numerical value.
- $5 variable == The known administrator username with a secure token already. Its important to know that this must already have a secure token.
- $6 variable == The known password for the known administrator with secure token already.
- $7 variable == The Automox Key that you use to activate and associate your agent to your instance.
This script is in my Github Repo feel free to comment, contribute and post issues with it there.
Step #3: Create the Script Policy
Next you will need to create a script policy and add the script. Make sure to add the script we added in Step #2. Scope the policy to all computers with an _automoxserviceaccount user that has no secure token. You can do this with a smart group.
Add the script and set the script to run recurring on checkin, and have it run only once per computer.
The script will remove Automox if its installed. Remove the service account. Waits 5 seconds, and the reinstalls Automox. It then authorizes the account to receive the secure token.
Conclusion
This approach essentially installs Automox correctly, and allows the computer to check-in to Automox correctly and it allows the computer to actually manage macOS updates.
If you found this post useful, Follow me and comment with questions, or feedback. As always here are the sources I referenced throughout this blog post.
Sources
AI Usage Transparency Report
AI Era · Written during widespread use of AI tools
AI Signal Composition
Score: 0.32 · Moderate AI Influence
Summary
Automating the workflow to install and configure Automox on macOS workstations using JAMF Pro.
Related Posts

When Chromium Mistakes Your VPN for a Local Network
Turning off Jamf Trust fixed the webinar, which normally would have sent me straight to its routing policies. This time the route was fine: Chromium was treating Jamf's ZTNA broker addresses as a local network, and an Edge and Chrome preference corrected it.
Apple Software Updates Need a Blueprint Before the MDM Commands Fade
Apple software update management is moving away from command-first MDM workflows. Jamf Blueprints and Declarative Device Management give Mac admins a better place to express update intent, scope, enforcement, and visibility.

Jamf Moves Platform SSO Into the Enrollment Gate
Jamf's attended Simplified Setup for Platform SSO changes Mac enrollment by making identity registration part of Setup Assistant before the MDM profile is installed.
Check out this new JAMF Script upload tool
Digambar Ghosalkar's Jamf Script Uploader is useful because it moves Jamf Pro script work out of manual browser copy/paste and into a repeatable API-backed workflow.
Two PPPC Tools I Would Add After the Profile Looks Right
A follow-up on two tools worth adding to a PPPC troubleshooting workflow: PPPC_Analyser for inspecting app privacy requirements and QuickJamfDeploy for forcing the Jamf management framework into place during deployment.

Audit Jamf API Roles Before They Become Forgotten Access
A read-only Jamf Pro API role audit script that reports role privilege reach, write-capable access, review priority, and API client inventory without changing Jamf.

Review the Smart Group Before You Scope the Policy
Review your Smart Group before you ever scope a Jamf policy. Validate inventory, understand your signals, test exclusions, and prove the group works before it reaches production.
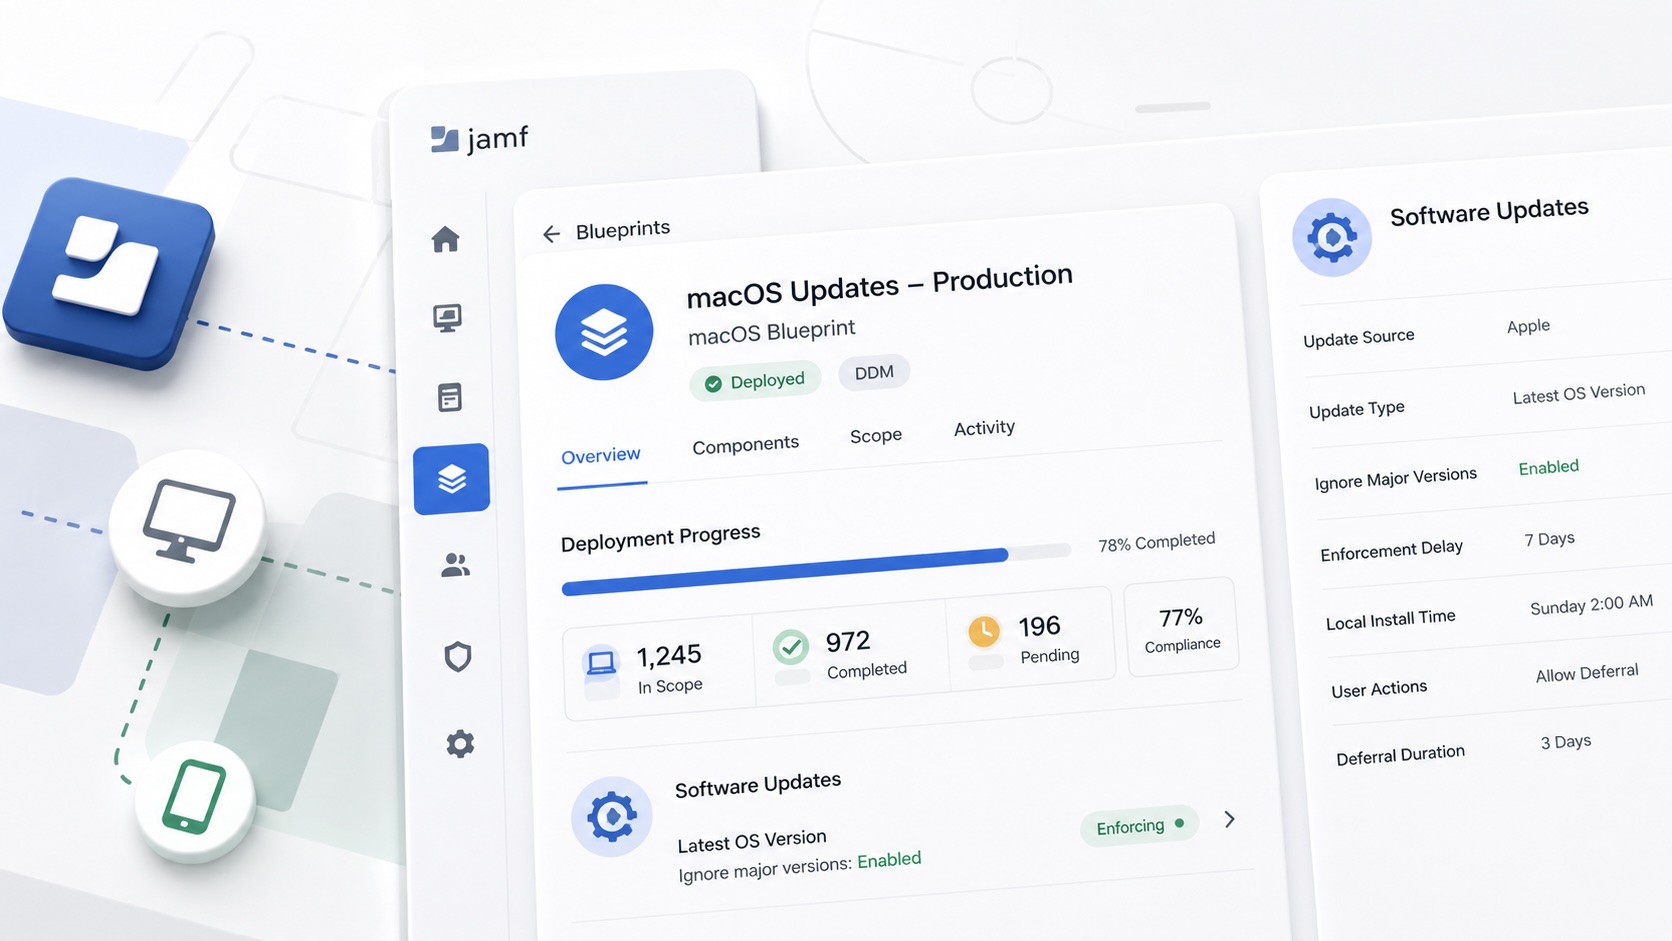
Build Jamf DDM Update Blueprints for macOS and iOS
How I set up Jamf software update blueprints for macOS and iOS using Declarative Device Management, staged scope, clear enforcement timing, and visible deployment progress.

Review the Package Before You Build the Policy
A Jamf-focused package review workflow for checking installer signing, package contents, scope, validation, and rollback before a policy reaches production Macs.

Jamf Was My Mac Evidence Layer for CMMC
How Jamf Compliance helped support the Mac portion of a CMMC assessment, and why I added a small read-only CSV summary script for auditor-ready failed-result evidence.