
Introduction
Contributing to open-source projects on platforms like GitHub can significantly enhance your skills and expand your network. This article focuses on how to contribute to a GitHub repository, using the “Awesome Mac Admin Tools” repo as an example. Whether you’re a seasoned developer or new to coding, you’ll learn how to fork a repository, make modifications, and submit pull requests.
Understanding Git and GitHub
Git is a version control system that allows multiple developers to collaborate on projects efficiently. GitHub is a cloud-based platform that hosts Git repositories and provides a user-friendly interface for managing projects. Here’s what you will learn in this guide:
- Forking a Repository: Creating a personal copy to make changes.
- Making Modifications: How to edit files and add new content.
- Submitting Pull Requests: The process of requesting your changes be merged into the main repository.
Steps to Contribute to a GitHub Repo
1. Fork the Repository
To start contributing, the first step is to fork the repository you want to contribute to. This creates a personal copy under your GitHub account.
- Ensure you have a GitHub account and are signed in.
- Navigate to the repository and click on the “Fork” button.
2. Clone the Repository
Once you have a fork, the next step is to clone the repository to your local development environment:
- Copy the URL of the forked repository.
-
Open your terminal and run:
git clone [URL]
3. Modify the Code
After cloning the repo to your local machine, you can edit the files directly. For instance, to add a new text editor called Code Runner to the Awesome Mac Admin Tools list:
- Open the
README.mdfile in your preferred text editor. - Add the entry for Code Runner, including a brief description and any relevant links.
4. Save and Commit Changes
Once your changes are made, you need to commit them:
-
Check the status of your changes:
git status -
Stage your changes:
git add . -
Commit those changes with a message:
git commit -m "Added Code Runner"
5. Push Changes and Create a Pull Request
Now that your changes are ready, you’ll want to push them back to your fork on GitHub and create a pull request:
-
Push your changes:
git push origin main - Navigate to the original repository and click on “Pull Requests” tab.
- Click on “New Pull Request” and fill in the required details.
6. Review by the Repository Owner
Once your pull request is submitted, the repository owner will review your changes. If everything looks good, they may merge your contribution into the original repository.
Key Takeaways
- Forking allows you to safely make changes without affecting the original repository.
- Modifying files can enhance the project and make it more useful to others.
- Pull requests are a formal way to propose your changes for review and integration.
This guide illustrates that contributing to GitHub repositories, especially for Mac admins, can be a rewarding experience. Not only does it enhance your skills, but it also fosters collaboration within the community. Start contributing today and make your mark in the open-source world!
I hope you enjoyed this blog where I outlined one of my favorite git workflows. If you found it useful Follow me on LinkedIn and comment with questions, or feedback. As always here are the sources I referenced throughout this blog post.
AI Usage Transparency Report
AI Era · Written during widespread use of AI tools
AI Signal Composition
Score: 0.27 · Moderate AI Influence
Summary
Contributing to open-source projects on platforms like GitHub can significantly enhance your skills and expand your network.
Related Posts
Developer Strategies: How to commit to multiple git repositories with multiple unique SSH keys
One of the key challenges with git and GitHub is wanting to commit code when you have multiple repositories on your local desktop. There are lots of ways to accomplish the task of committing code with git to GitHub, the strategy that I want to discuss in this tutorial is the process of using deploy-keys defined at the repo level and a configuration file defined to call the right key depending on which repository you happen to be working in.

When Chromium Mistakes Your VPN for a Local Network
Turning off Jamf Trust fixed the webinar, which normally would have sent me straight to its routing policies. This time the route was fine: Chromium was treating Jamf's ZTNA broker addresses as a local network, and an Edge and Chrome preference corrected it.
Apple Software Updates Need a Blueprint Before the MDM Commands Fade
Apple software update management is moving away from command-first MDM workflows. Jamf Blueprints and Declarative Device Management give Mac admins a better place to express update intent, scope, enforcement, and visibility.
Reporting on Microsoft 365 DLP Overrides with PowerShell
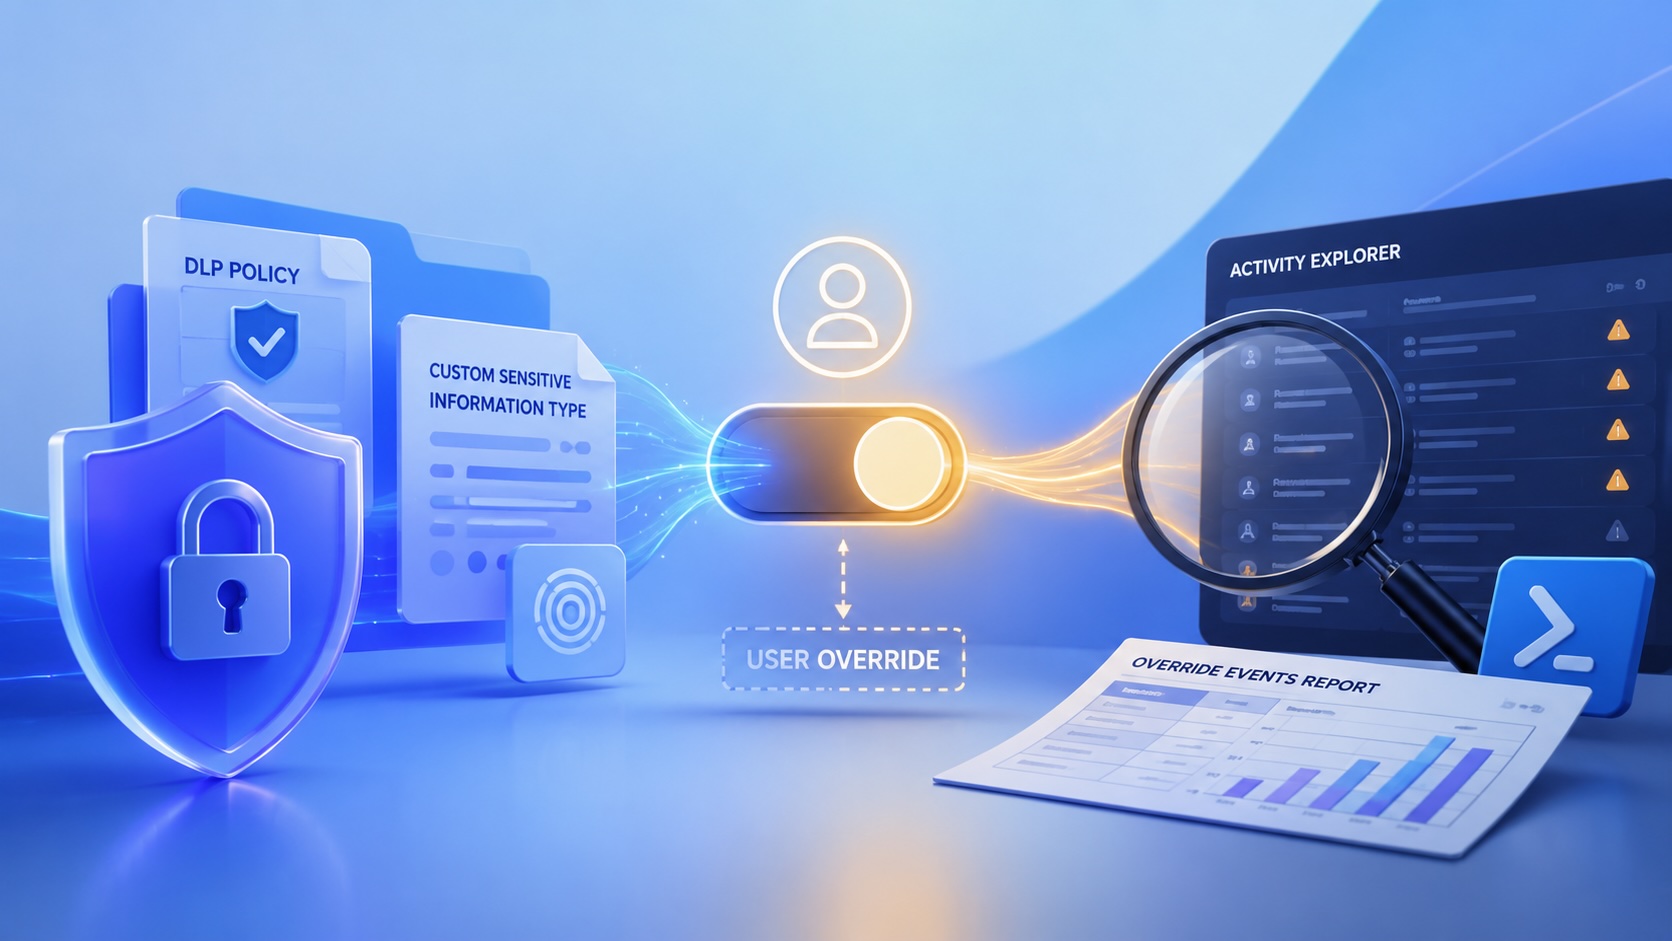
DLP overrides are not automatically bad. They are a business process that needs visibility. This walkthrough covers a Microsoft Purview DLP policy, a custom sensitive information type, user override behavior, and a PowerShell report that exports override events from Activity Explorer.
Deploying DDM OS Reminder 4.0.0 in Jamf
DDM OS Reminder 4.0.0 is deployed as two separate pieces in Jamf: a managed preferences profile and a one-time installer script that creates the reminder script, starter script, and LaunchDaemon heartbeat on the Mac.
Check out this new JAMF Script upload tool
Digambar Ghosalkar's Jamf Script Uploader is useful because it moves Jamf Pro script work out of manual browser copy/paste and into a repeatable API-backed workflow.
Using Mac Health Check 4.0.0 for Self-Service Compliance and Reporting
Mac Health Check 4.0.0 gives MDM administrators a Self Service workflow for showing managed Mac health, generating local JSON, and optionally feeding Splunk reporting.

The CMMC Pause Does Not Make a Level 2 Audit Worthless
The July 2026 CMMC Phase II pause changes the timing of third-party assessment requirements, but it does not erase DFARS, NIST SP 800-171, SPRS, or the value of a completed Level 2 audit.

Understanding GitHub Actions Before You Let Them Run
New to GitHub Actions? Learn what they are, where they come from, how AI uses them, and the review process I follow before trusting third-party Actions in production.
Two PPPC Tools I Would Add After the Profile Looks Right
A follow-up on two tools worth adding to a PPPC troubleshooting workflow: PPPC_Analyser for inspecting app privacy requirements and QuickJamfDeploy for forcing the Jamf management framework into place during deployment.