ClickLock Shows Why Terminal Paste Is a Mac Security Boundary
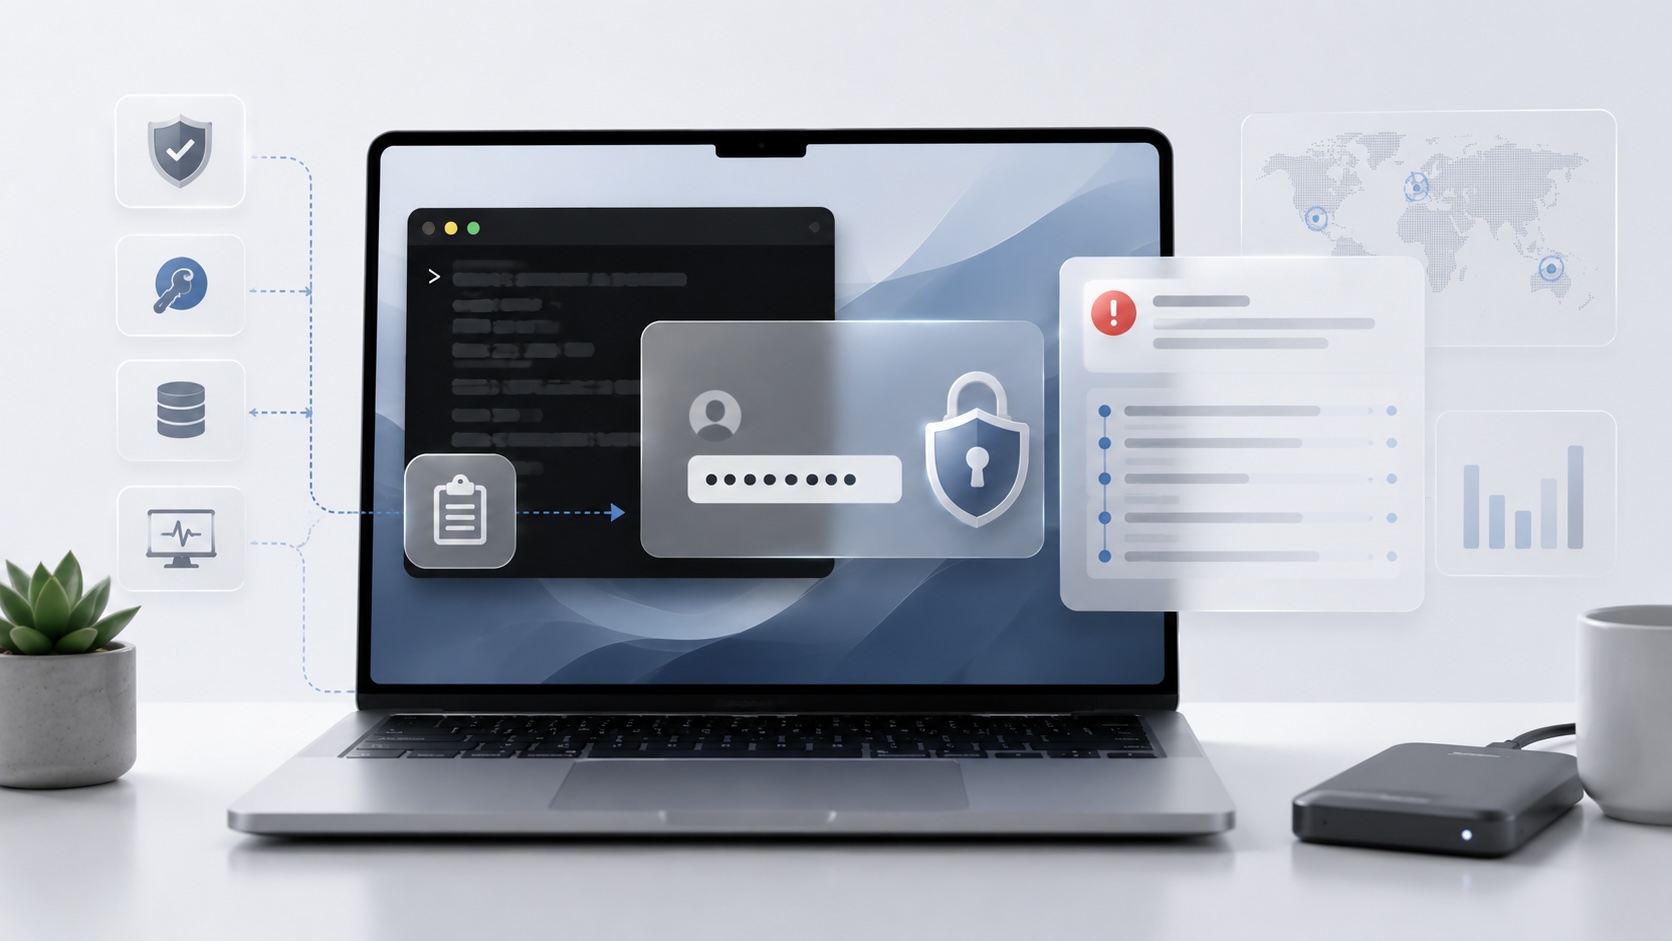

ClickLock Stealer is not scary because it uses a brilliant macOS exploit. It is scary because it does not need one.
MacRumors covered ClickLock on July 20, 2026, reporting on Group-IB research into a macOS stealer that coerces users into giving up their login password. The likely entry point is a ClickFix-style page, the kind of fake browser verification flow that tells someone to open Terminal, paste a command, and press Return. The victim thinks they are proving they are human or fixing a browser issue. In reality, they are starting the malware.
That is the operational lesson. A Mac does not have to be exploited for the business to lose credentials, browser sessions, password manager data, wallet data, shell history, and remote access control. If an attacker can persuade a user to paste and run a command, then pressure that user with convincing prompts, the boundary has already moved from “is the OS vulnerable?” to “can the user tell when Terminal is being abused?”
The attack starts with a command
ClickFix lures work because they look like a support instruction. A page may pretend to be a Cloudflare check, browser verification, or some other “quick fix.” Instead of exploiting the browser, it tells the user to copy a command and run it locally.
That matters because Terminal is a privileged workflow even before sudo appears. A shell command can download code, change files in the user’s home folder, create LaunchAgents, access application data available to the user, query local tools, and launch other macOS components. It may not have admin privileges at first, but it is still running as the user.
BleepingComputer’s coverage describes Group-IB finding the malicious script after a VirusTotal submission on June 9, with the campaign active since May. The same reporting says the initial script did not need elevated privileges or an exploit. It used the user’s own action as the first step.
That is why “never paste commands from random websites” is not a throwaway awareness line. It is a real control boundary. If a web page needs Terminal to prove you are human, something is wrong.
The password prompt is the coercion layer
ClickLock’s next move is where the name makes sense. The malware uses a fake macOS password prompt that includes the user’s real username and an Apple-looking icon. If the user enters the password, the malware validates it locally and sends a working credential to the attacker.
If the user refuses, ClickLock does not simply exit. Reporting from Malwarebytes, AppleInsider, and The Hacker News describes loops that repeatedly kill visible apps and system tools while the password prompt remains the only useful thing on screen. Finder, Dock, Terminal, Activity Monitor, System Settings, Spotlight, and browsers can be closed over and over again.
That is not ransomware in the traditional file-encryption sense. It is forced interaction. The attacker is not trying to hold files hostage. The attacker is trying to make the Mac annoying enough that the user gives up the password.
The difference matters for response. If a user sees an unexpected password prompt and the Mac starts closing apps, the correct answer is not to satisfy the prompt. Shut the Mac down and investigate from a safer state. A password entered into the fake prompt is not just a local inconvenience. It can unlock the next stage of data access.
Keychain access is the real business risk
The login password is valuable by itself, but the more damaging part is what it can unlock.
ClickLock reporting describes attempts to access Chrome’s Safe Storage key in the macOS Keychain. That key is used by Chromium-based browsers to protect saved passwords and cookies. If attackers can obtain it alongside copied browser databases, they may be able to decrypt browser data offline. The malware also targets password manager data, cryptocurrency wallet material, browser credentials, Keychain data, shell history, FTP credentials, and related local artifacts.
That is why this kind of malware matters in business environments even if the victim is not holding cryptocurrency. Browser cookies and saved sessions can be more useful than a password. A stolen session may let an attacker bypass some login friction until the session is revoked. Shell history can reveal internal hostnames, scripts, tokens, or admin workflows. Password manager browser extensions and local vault metadata can become high-value targets.
The user thinks they are dealing with a stuck prompt. The business may be dealing with identity compromise.
Apple added friction, but friction is not a complete control
Apple has been moving in the right direction. MacRumors reported that macOS Tahoe 26.4 added a warning when a user attempts to paste a command into Terminal from a website, chat, or message, and may block known-malware pastes outright. That kind of friction is useful because it interrupts the exact behavior ClickFix campaigns depend on.
It is not enough by itself.
A warning can be ignored. A known-malware block depends on the system recognizing the malware. A user who frequently uses Terminal may treat paste warnings as normal. Attackers can also shift techniques when one path becomes harder.
Apple’s broader macOS malware protection documentation explains the layered model: App Store review, Gatekeeper, notarization, XProtect blocking, and XProtect remediation. Those layers matter, but ClickLock is a reminder that social engineering can route around the user’s own decision path. If the user runs the command, approves prompts, and provides a password, platform controls are now sharing responsibility with training, endpoint telemetry, and policy.
How can we detect this in real time?
The useful detection plan is not “look for ClickLock” as a single thing. The campaign has enough moving parts that I would split it into behaviors Jamf Protect can see: AppleScript password prompts, Keychain access from command-line tools, user LaunchAgent persistence, hidden staging under the user’s home folder, and rapid attempts to kill visible macOS processes.
That approach lines up with how Jamf documents custom analytics. Jamf Protect custom analytics are predicate-based rules for specific endpoint activity, and Jamf explicitly recommends targeted predicates that are tested before production deployment. Jamf’s own tailored event monitoring guide walks through this pattern with the /usr/bin/security binary: use a Process Event, start with $event.type == 1 for process creation, match the Apple signing identifier, and narrow the result with the command line.
For ClickLock, I would build a small analytic set rather than one broad rule. The first analytic is the fake password prompt behavior. Jamf Threat Labs published a telemetry example for infostealers that looks for /usr/bin/osascript with command-line arguments containing display dialog and password, because AppleScript password dialogs are a common credential-harvesting technique. In Jamf Protect, I would turn that into a custom analytic like this:
Name: clicklock_osascript_password_prompt
Sensor Type: Process Event
Severity: High
Categories: CredentialAccess, SocialEngineering
Predicate:

$event.type == 1 AND
$event.process.signingInfo.appid == "com.apple.osascript" AND
$event.process.commandLine CONTAINS[cd] "display dialog" AND
$event.process.commandLine CONTAINS[cd] "password"
That analytic is not ClickLock-specific, and that is the point. It should catch the credential prompt behavior even if the next stealer changes the file names. I would expect legitimate false positives in environments that still use AppleScript for internal tools, so the first test is to run it in a pilot analytic set and review what normal admin scripts trigger.
The second analytic watches for suspicious Keychain access. Group-IB’s ClickLock analysis describes the Keychain stage that tries to obtain Chrome’s Safe Storage key, while Jamf’s tailored monitoring example shows the security binary pattern and confirms the signing identifier for /usr/bin/security is com.apple.security. A starting predicate would look like this:
Name: clicklock_browser_safe_storage_query
Sensor Type: Process Event
Severity: High
Categories: CredentialAccess
Predicate:

$event.type == 1 AND
$event.process.signingInfo.appid == "com.apple.security" AND
$event.process.commandLine CONTAINS[cd] "find-generic-password" AND
(
  $event.process.commandLine CONTAINS[cd] "Safe Storage" OR
  $event.process.commandLine CONTAINS[cd] "Chrome" OR
  $event.process.commandLine CONTAINS[cd] "Chromium" OR
  $event.process.commandLine CONTAINS[cd] "Brave" OR
  $event.process.commandLine CONTAINS[cd] "Edge"
)
The third analytic watches the ClickLock persistence names Group-IB reported: com.authirity.plist and com.chromer.plist under ~/Library/LaunchAgents/. This one is more indicator-specific, but it is useful because those filenames are known artifacts from the campaign.
Name: clicklock_known_launchagents
Sensor Type: File System Event
Severity: High
Categories: Persistence
Predicate:

$event.type IN {0, 4} AND
$event.path CONTAINS[cd] "/Library/LaunchAgents/" AND
(
  $event.path ENDSWITH[cd] "/com.authirity.plist" OR
  $event.path ENDSWITH[cd] "/com.chromer.plist"
)
The fourth analytic watches the hidden staging directory. Group-IB reports that ClickLock stores the credential and Keychain modules in $HOME/.cacheb/ for later execution through LaunchAgents. I would treat writes there as high-confidence investigation triggers, because .cacheb is not a normal managed software staging path.
Name: clicklock_cacheb_staging
Sensor Type: File System Event
Severity: High
Categories: Persistence, CredentialAccess
Predicate:

$event.type IN {0, 4} AND
$event.path CONTAINS[cd] "/.cacheb/"
The fifth analytic is for the coercion behavior: repeated killall or pkill activity against Finder, Dock, Activity Monitor, Terminal, System Settings, browsers, or NotificationCenter. The Hacker News summarized Group-IB’s finding that this app-killing loop is unusual forced-interaction behavior, not a normal admin pattern. I would start with a visible-process kill analytic and tune it against known IT workflows.
Name: clicklock_visible_app_kill_loop
Sensor Type: Process Event
Severity: High
Categories: Impact, DefenseEvasion
Predicate:

$event.type == 1 AND
(
  $event.process.signingInfo.appid == "com.apple.killall" OR
  $event.process.signingInfo.appid == "com.apple.pgrep"
) AND
(
  $event.process.commandLine CONTAINS[cd] "Finder" OR
  $event.process.commandLine CONTAINS[cd] "Dock" OR
  $event.process.commandLine CONTAINS[cd] "Activity Monitor" OR
  $event.process.commandLine CONTAINS[cd] "Terminal" OR
  $event.process.commandLine CONTAINS[cd] "System Settings" OR
  $event.process.commandLine CONTAINS[cd] "NotificationCenter"
)
Those predicates are starting points, not a finished SOC rule pack. I would create them in Analytics > All Analytics > Create Custom Analytic, use the Filter Text View, add meaningful descriptions, and assign them to a dedicated analytic set such as ClickLock Behavioral Watch. Then I would add that analytic set to a Jamf Protect plan scoped to a pilot group before sending it fleet-wide.
The response path is where Jamf Pro becomes useful. In the analytic action, enable Add to Jamf Pro Smart Group and use a shared identifier such as clicklock_suspected. Jamf’s analytic remediation documentation explains the flow: Jamf Protect writes an extension attribute value, Jamf Pro reads that value into a Smart Computer Group, and admins can monitor or remediate the Macs in that group.
The Jamf Pro side is mechanical:
- Go to
Settings > Computer Management > Extension Attributes. - Choose
New from Template. - Select the Jamf template for
Jamf Protect Smart Groups. - Go to
Computers > Smart Computer Groups. - Create a group named
Security - ClickLock Suspected. - On
Criteria, choose the Jamf Protect Smart Groups extension attribute. - Set the value to match the analytic identifier, for example
clicklock_suspected.
Jamf’s Smart Group documentation is clear that smart group membership is dynamically updated from inventory criteria, and Jamf’s Jamf Protect remediation workflow shows the same Smart Group pattern with the Jamf Protect extension attribute. Once the Mac lands in Security - ClickLock Suspected, I would scope a response policy to that group.
The first response policy should collect evidence and contain the endpoint; it should not blindly delete everything and pretend the incident is over. A useful first-pass Jamf script is a triage collector that captures LaunchAgents, the hidden staging folder, the suspicious backdoor path, process state, and the recent local log view that includes Terminal, osascript, security, killall, and pkill.
#!/bin/zsh
set -u

timestamp=$(/bin/date '+%Y%m%d-%H%M%S')
case_dir="/Users/Shared/ClickLock-Triage-${timestamp}"
/bin/mkdir -p "$case_dir"
/bin/chmod 700 "$case_dir"

logged_in_user=$(/usr/sbin/scutil <<< "show State:/Users/ConsoleUser" | /usr/bin/awk '/Name :/ && $3 != "loginwindow" { print $3 }')
if [[ -z "${logged_in_user:-}" ]]; then
  echo "No logged-in user found"
  exit 1
fi

user_home=$(/usr/bin/dscl . -read "/Users/${logged_in_user}" NFSHomeDirectory | /usr/bin/awk '{print $2}')
uid=$(/usr/bin/id -u "$logged_in_user")

/bin/echo "User: ${logged_in_user}" > "$case_dir/context.txt"
/bin/echo "Home: ${user_home}" >> "$case_dir/context.txt"
/bin/date >> "$case_dir/context.txt"

/bin/ls -la "$user_home/Library/LaunchAgents" > "$case_dir/launchagents.txt" 2>&1
/usr/bin/find "$user_home/.cacheb" -maxdepth 3 -ls > "$case_dir/cacheb.txt" 2>&1
/usr/bin/find "$user_home/Library/Application Support/iCloudsync" -maxdepth 3 -ls > "$case_dir/icloudsync.txt" 2>&1
/bin/ps auxww > "$case_dir/processes.txt"

/usr/bin/log show --last 6h --style syslog \
  --predicate 'process == "Terminal" OR process == "osascript" OR process == "security" OR process == "killall" OR process == "pkill"' \
  > "$case_dir/recent-clicklock-related.log" 2>&1

for plist in com.authirity.plist com.chromer.plist; do
  plist_path="$user_home/Library/LaunchAgents/$plist"
  if [[ -e "$plist_path" ]]; then
    /bin/cp -p "$plist_path" "$case_dir/$plist"
    /bin/launchctl bootout "gui/$uid" "$plist_path" 2>/dev/null
    /bin/mv "$plist_path" "$case_dir/${plist}.removed"
  fi
done

/usr/local/bin/jamf recon
exit 0
That script is intentionally conservative. It preserves evidence, unloads only the two known ClickLock LaunchAgent names, moves those plist files into the case folder, and updates inventory so the Smart Group state can be reviewed. If the environment has Jamf Security Cloud Web Protection and UEM Connect configured, the stronger version is to map the Smart Group to a restricted network access group; Jamf’s automated network isolation workflow shows that model for high-severity alerts.
After the Jamf policy runs, the security response still needs identity cleanup. Group-IB and the downstream coverage are clear that ClickLock is after browser credentials, Keychain material, password manager data, wallet data, and session material. For a business Mac, that means revoke browser sessions, rotate passwords from a clean device, review MFA devices, check identity provider logs, and treat the Mac as potentially backdoored until the iCloudsync/SystemUIServerl path has been investigated.
The Mac admin value here is speed. A user may report “my Mac is closing apps and asking for a password,” but Jamf Protect should already be able to flag the supporting behavior: osascript asking for a password, security querying browser Safe Storage, ClickLock LaunchAgents landing in the user’s LaunchAgents folder, .cacheb staging activity, and abnormal process killing. That turns the article from “do awareness training” into a workflow that can put a suspect Mac into a Jamf Pro group within minutes.
The practical takeaway
ClickLock is a Mac admin problem because it attacks the space between user trust and local authority, but the detection strategy does not have to be vague. The behaviors are concrete enough to monitor: Terminal-driven execution, AppleScript password prompts, command-line Keychain access, user LaunchAgent persistence, hidden staging, and coercive app-killing loops.
The goal is not to write one perfect ClickLock rule and call it done. The goal is to build a layered Jamf Protect watchlist, route high-signal detections into a Jamf Pro Smart Group, collect evidence quickly, contain the endpoint when the organization is ready for that workflow, and start identity response before stolen browser sessions become the larger incident.
Sources
- MacRumors: ClickLock malware coerces Mac users into giving up passwords
- Group-IB: ClickLock Stealer, Paste Once, Lose Everything
- BleepingComputer: New ClickLock macOS malware traps users into revealing login password
- Malwarebytes: New ClickLock Stealer locks your Mac until you hand over your password
- AppleInsider: ClickLock malware makes Macs unusable until victims surrender passwords
- The Hacker News: New ClickLock macOS stealer kills apps every 210ms
- Jamf Protect Documentation: Creating Custom Analytics
- Jamf: Tailored Event Monitoring on macOS
- Jamf: Event analysis with Jamf telemetry
- Jamf Protect Documentation: Setting Up Analytic Remediation With Jamf Pro
- Jamf Pro Documentation: Smart Groups
- Jamf: Jamf Protect Remediation Workflows
- Jamf: Automated Network Isolation with Jamf Protect
- Apple Platform Security: Protecting against malware in macOS
AI Usage Transparency Report
AI Era · Written during widespread use of AI tools
AI Signal Composition
Score: 0.49 · Moderate AI Influence
Summary
ClickLock Stealer is a macOS malware that uses social engineering to coerce users into giving up their login password. It can access browser cookies, saved sessions, shell history, and other sensitive data.
Related Posts
Bromure Gives Codex a Room of Its Own
I installed Bromure Agentic Coding, watched it build the Linux VM, authenticated Codex, and followed a real Codex task through the workspace.

Amnesia Stealer Shows the Next Stage of ClickFix on macOS
Amnesia Stealer shows how ClickFix-style social engineering is adapting on macOS, while a public malware sample gives defenders an opportunity to study the behavior behind the campaign.
Reporting on Microsoft 365 DLP Overrides with PowerShell
DLP overrides are not automatically bad. They are a business process that needs visibility. This walkthrough covers a Microsoft Purview DLP policy, a custom sensitive information type, user override behavior, and a PowerShell report that exports override events from Activity Explorer.

Move Entra Users Off SMS and Voice Before Microsoft Retires Them
Microsoft is retiring Microsoft-provided SMS and voice authentication in Entra ID. The migration is not passkeys for everyone; it is removing weak telecom MFA and choosing supported replacement methods such as Microsoft Authenticator, FIDO2 keys, certificate-based authentication, OATH hardware tokens, or customer-managed telecom.

macOS Tahoe 26.6.1 Fixes a High-Severity Screen Sharing Authentication Bypass
macOS Tahoe 26.6.1 fixes CVE-2026-65400, a high-severity Screen Sharing authentication issue where an attacker on the network may be able to authenticate without valid credentials.
CrashStealer Shows the Gap Between Notarization and Detection
CrashStealer shows the security gap between Apple's Developer ID notarization path and App Store review, and why Jamf's behavioral detection mattered.

The CMMC Pause Does Not Make a Level 2 Audit Worthless
The July 2026 CMMC Phase II pause changes the timing of third-party assessment requirements, but it does not erase DFARS, NIST SP 800-171, SPRS, or the value of a completed Level 2 audit.

How We Structured and Hashed CMMC Evidence for Auditor Review
How folder naming, control-level artifact names, spreadsheet hyperlinks, and evidence hashing made a CMMC evidence package easier for the auditor to validate.

Opening the Ollama Black Box: Understanding the Trust Boundary Behind Local AI
Installing Ollama is easy. Understanding the trust boundary behind a local AI service is what determines whether it belongs in an automation workflow.

Your Vibe-Coded App Still Needs a Trustworthy Release Path
Why vibe-coded apps still need release discipline: code signing, notarization, checksums, and GitHub artifact attestations all support integrity and user trust.