
Rather than just a word processor Pages does much more it’s also a Desktop Publisher “DTP”.
At one stage around 2009 Pages was actually far superior to Microsoft Word for desktop publishing however Microsoft Word has started to fill those gaps and is a good PAID for alternative.
But let’s get back to the fact Pages is a really powerful app and now if you own a Mac or an iOS device it is free.
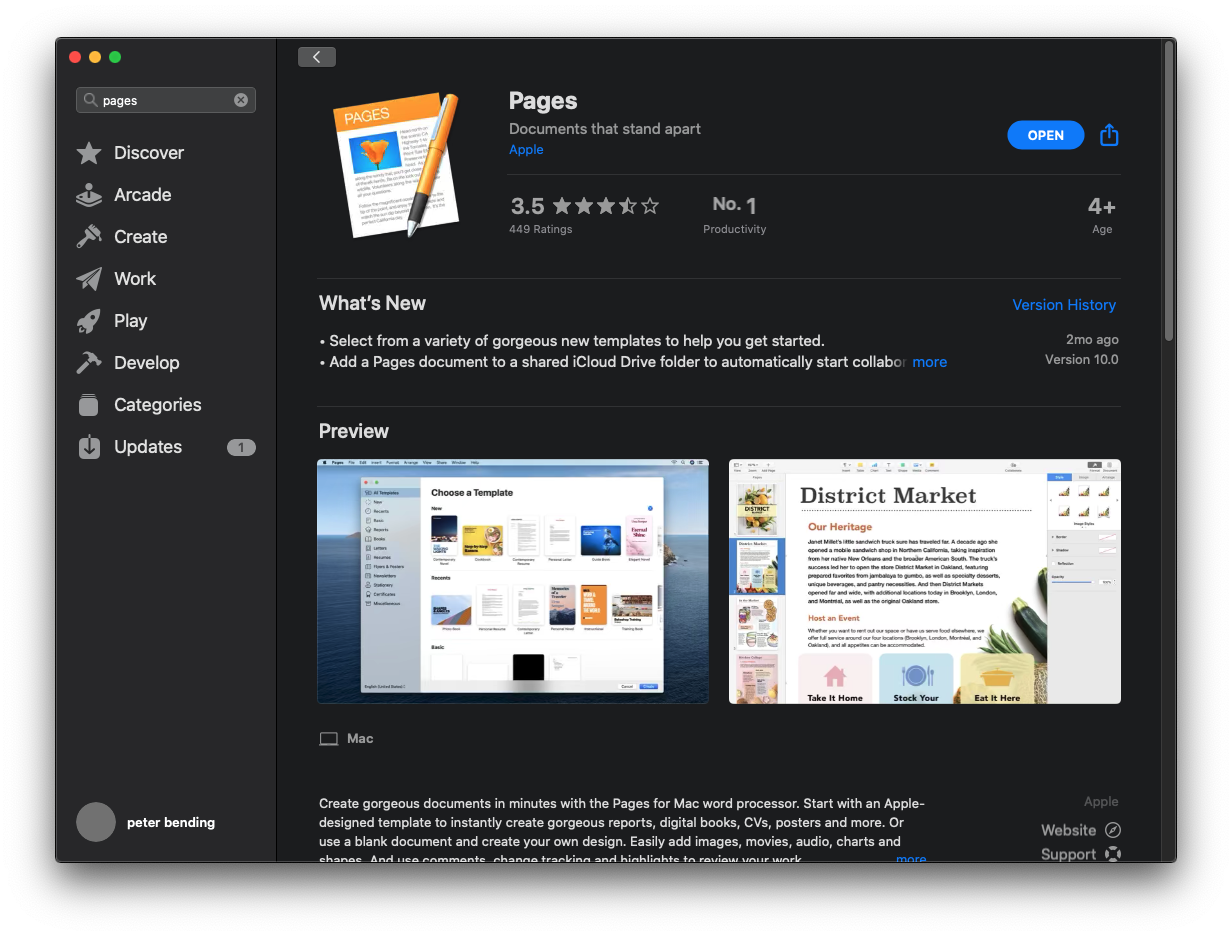
If it’s not already installed open the App store on your Mac or iPad/iPhone and search for Pages.
When you first open Pages you will be shown the Template chooser window, the templates are one of the reasons Pages is such a good choice for creating your documents, they look professional, they’re up to date styling wise and they speed up any kind of DTP.
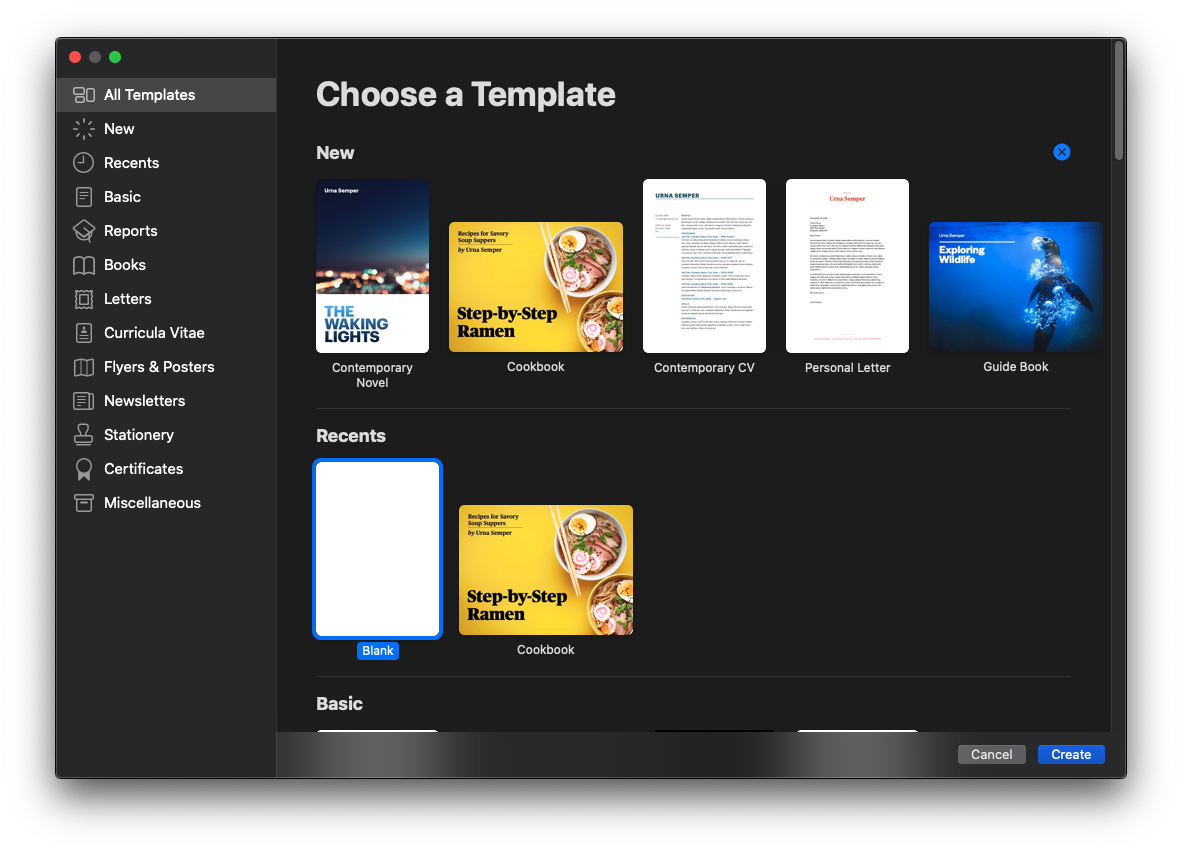
In this tutorial I’m going to select one of the Newsletter Templates, after selecting the template you want to use your Pages document will be pre-filled with text and images that you can change.
If like me you are going to use the template for desktop publishing rather than word processing (layout is more important) then to see the page thumbnails of the document click the view button top left corner and choose Page Thumbnails.
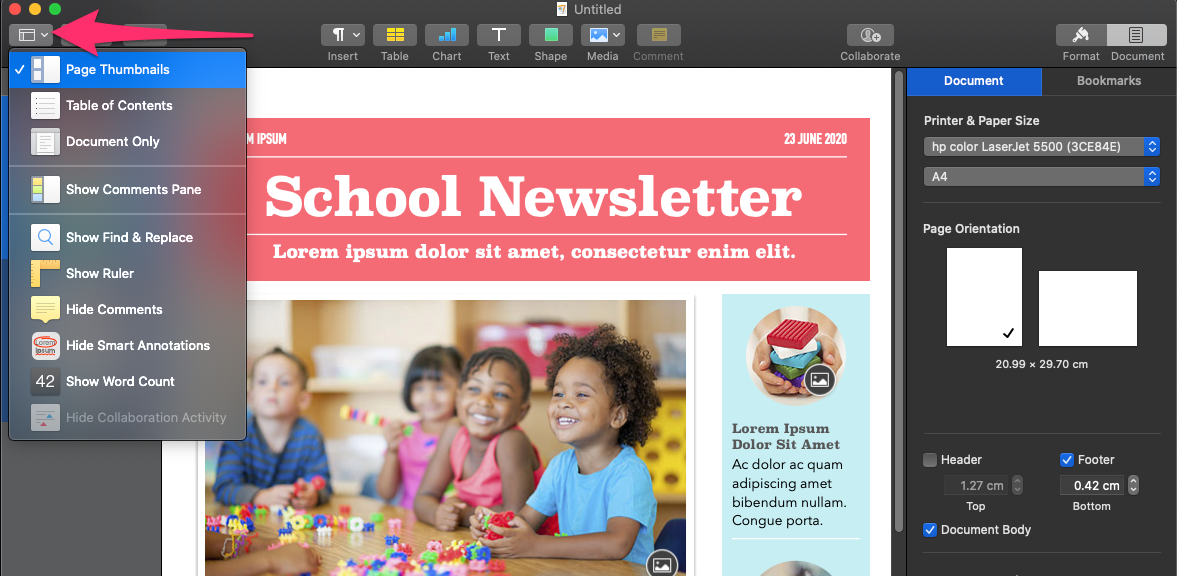
You’ll now see a list of the Pages within the document on the left-hand side.
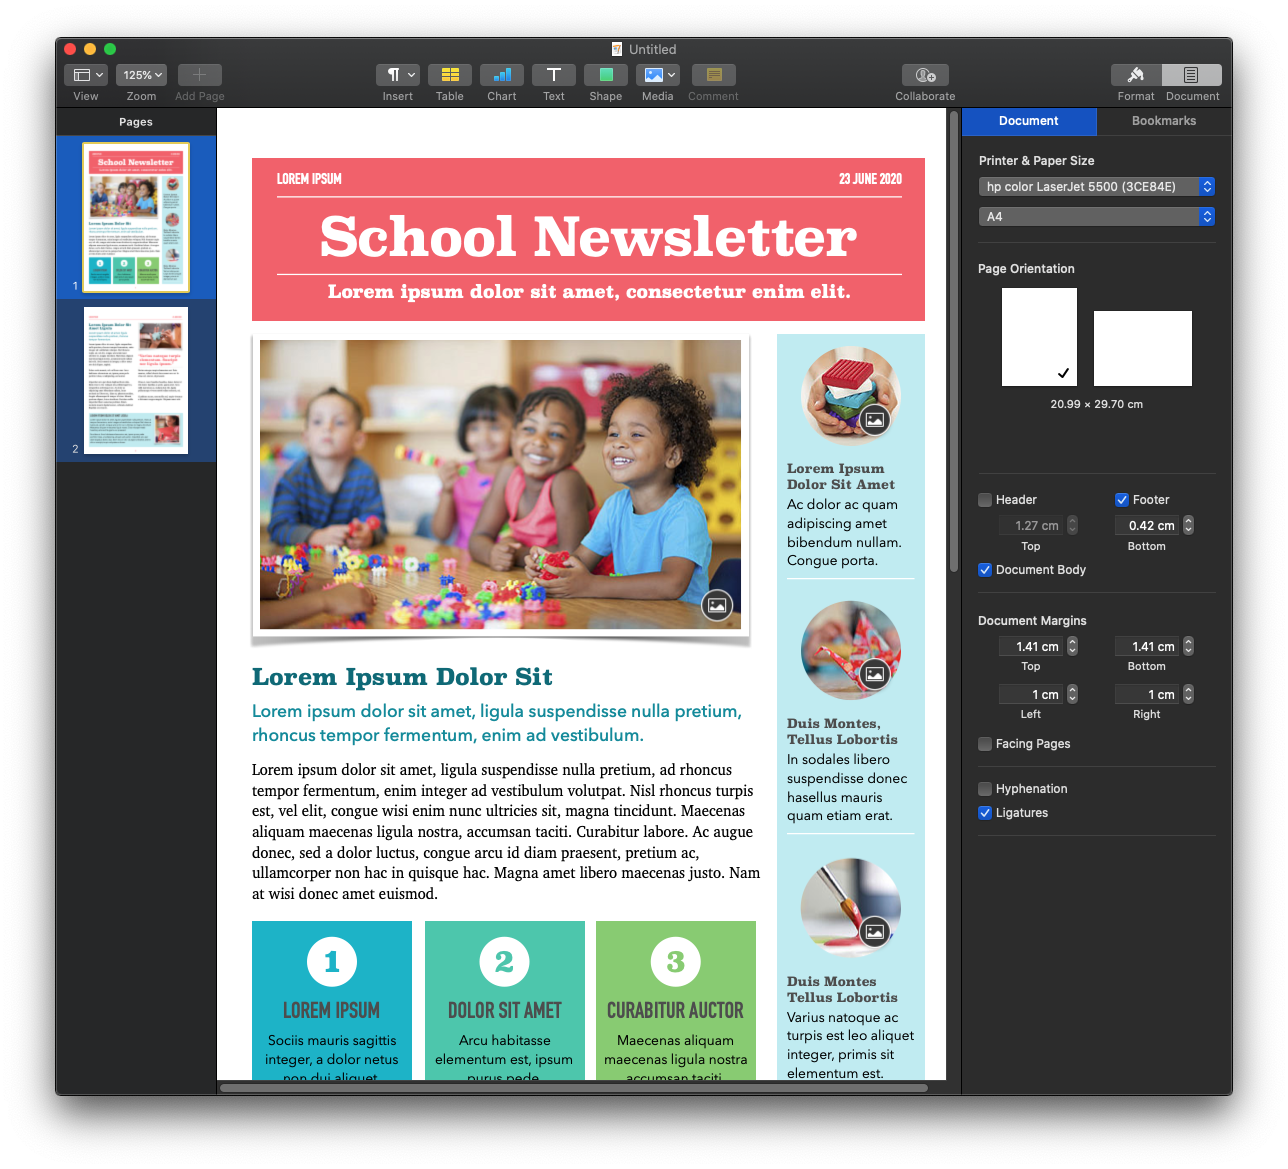
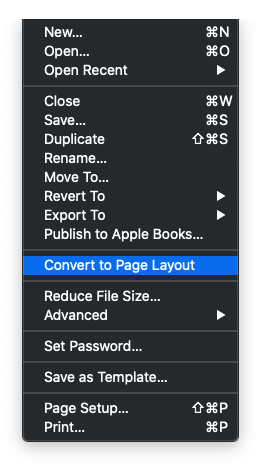
In my example I would like to create a new section from the first page or title page, if you ctrl or right click on the page you want to duplicate you will see a handy “duplicate” option, however this will then duplicate both pages 1 & 2 , To just duplicate the first page layout you need to first Convert the document to a page layout, Go to the File menu > Convert to page layout.
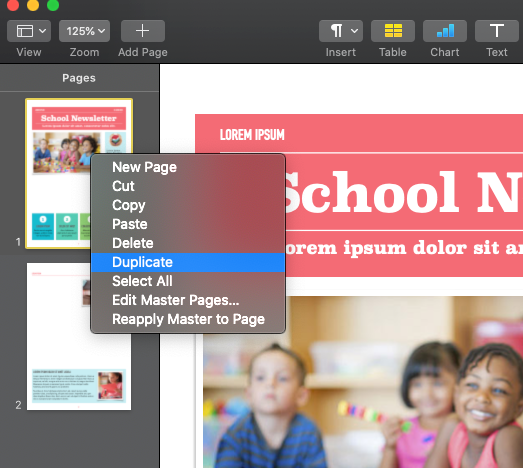
After we have done this you may notice that when you select the first page thumbnail on the left hand side only that page is highlighted whereas before converting to a layout both pages are selected at the same time.
Right click on the page you want to use again as a template and select duplicate:
Now instead of having 4 pages as both page 1 & 2 are duplicated you only get a second copy of the chosen page.
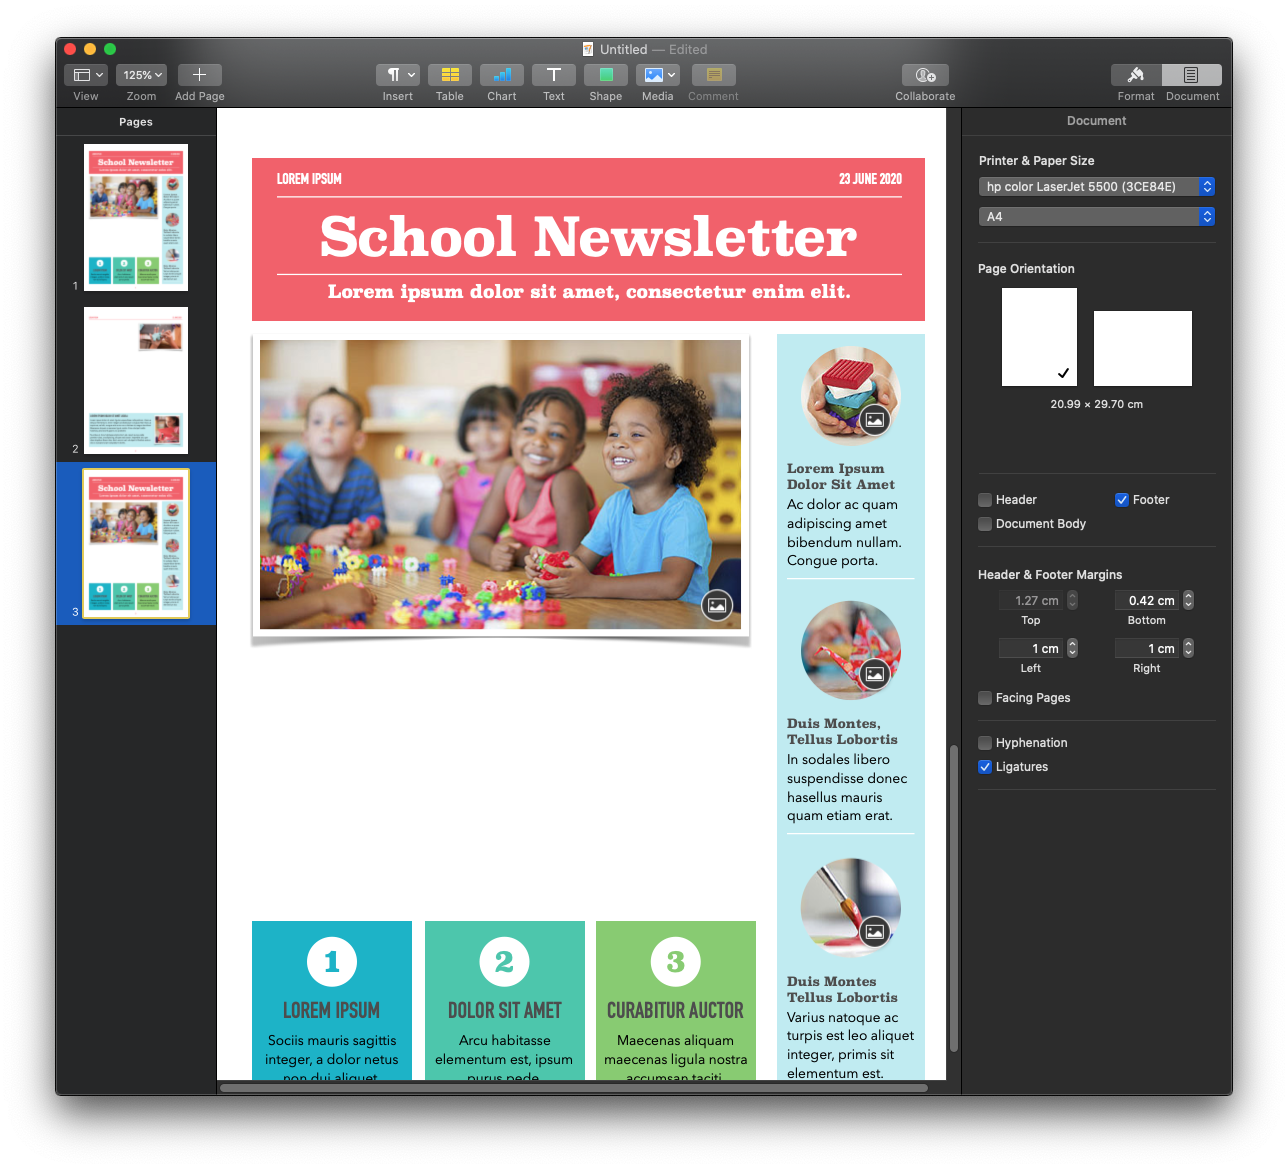
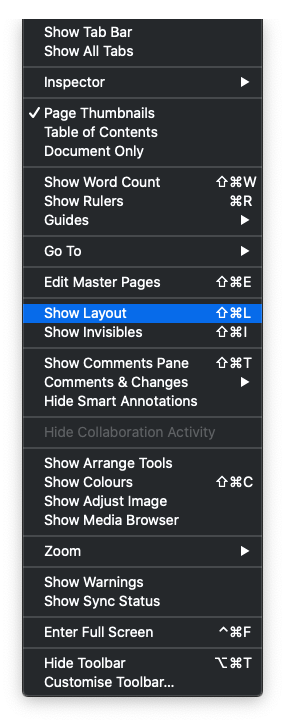
You’ll notice that the text entry areas have disappeared but don’t worry we’ll just recreate those now, my first tip is to enable the show layout and show invisibles, which can be found in the view menu:
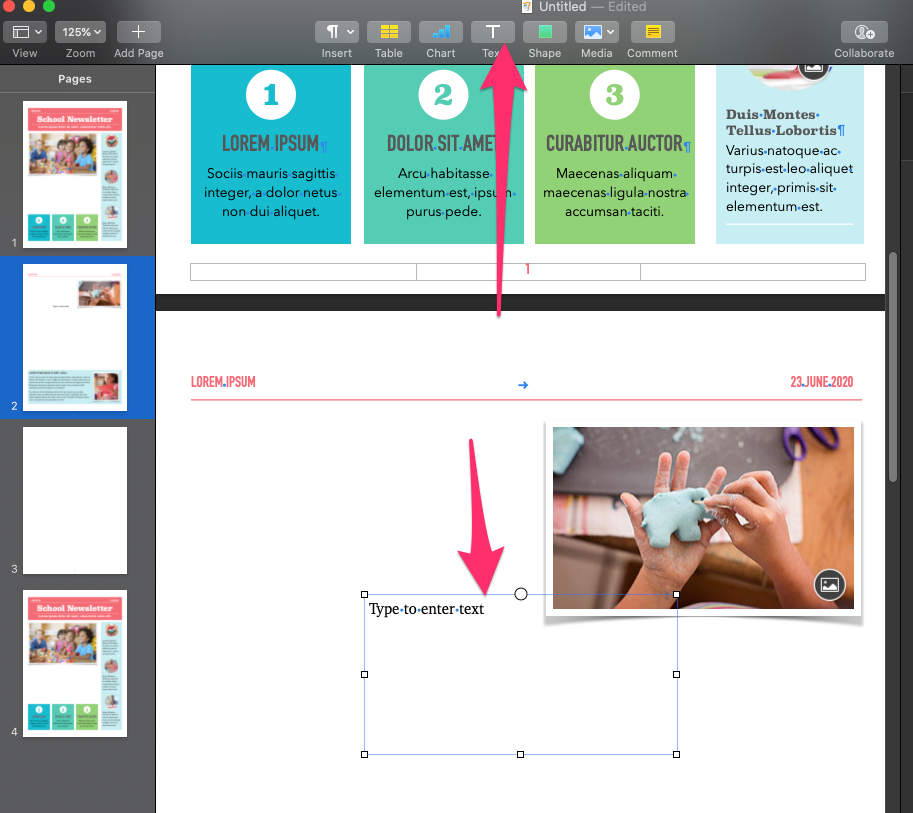
Next click on the Text button which will place text box in the page you are looking at:
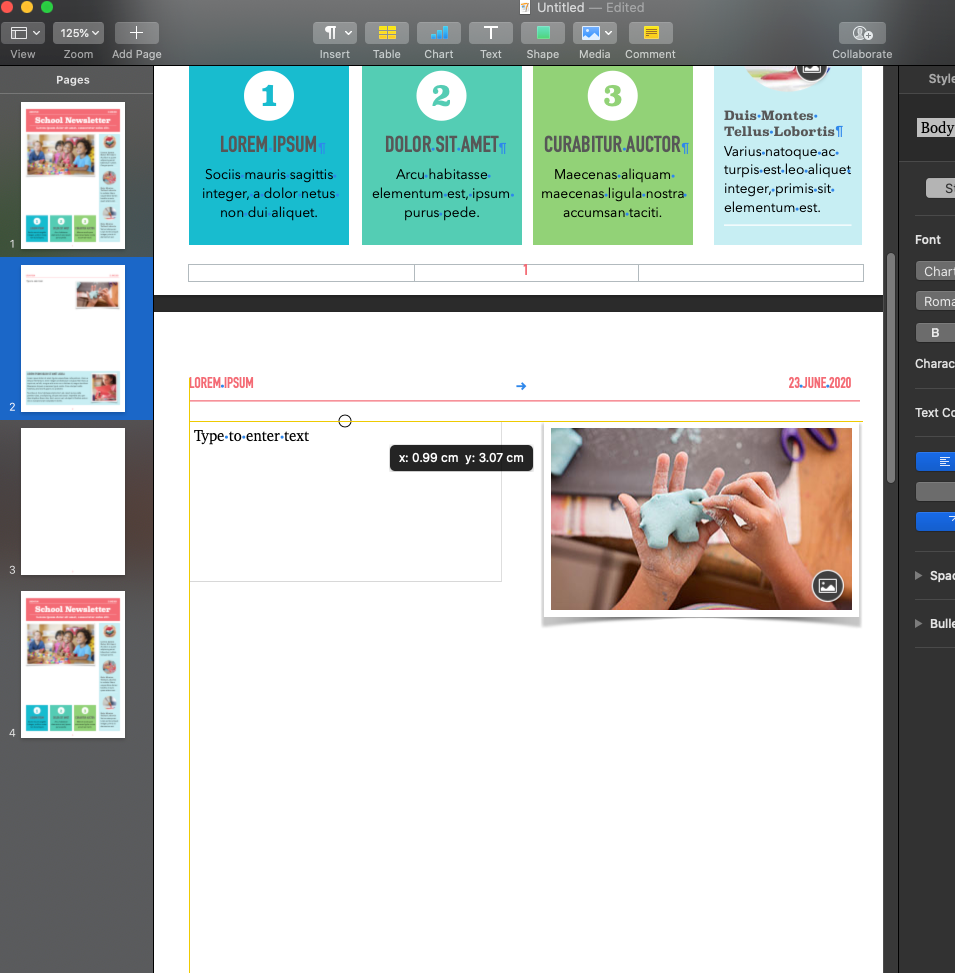
You’ll notice if you drag the text box it will align to yellow guidelines which place the text box top, left, right and centre to the page.
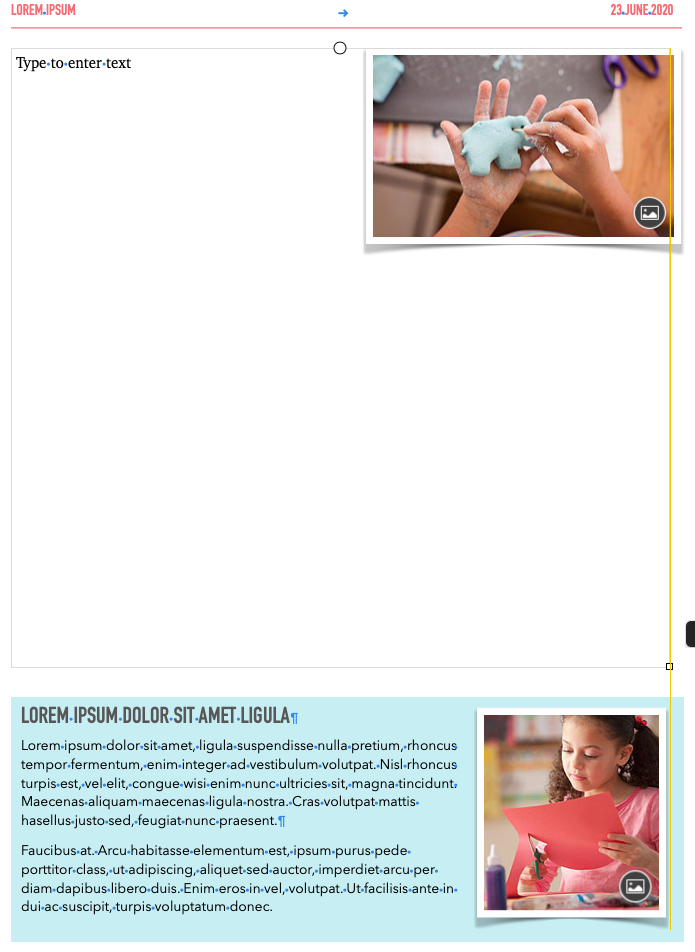
Next, you’ll want to drag the text box using the boxes that appear on the corners to fit the page, again following the yellow guidelines.
To move the image into the text to allow the text to wrap around it, simply right click on the image and cut it then click into the text box and paste it.
You’ll notice that the image no longer allows the text to wrap:
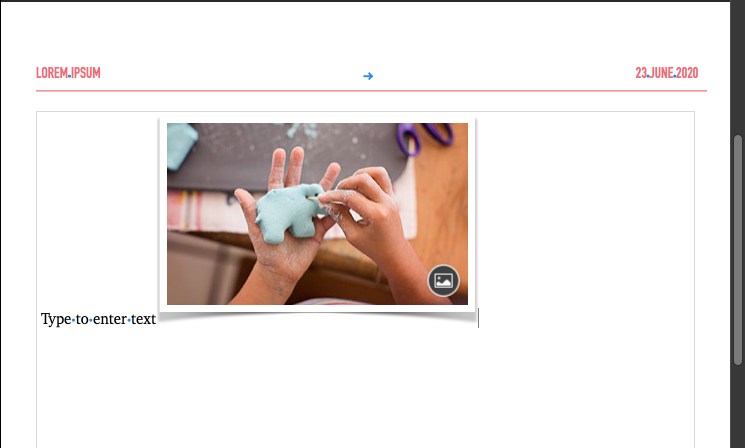
So now you will want to open the Format menu:
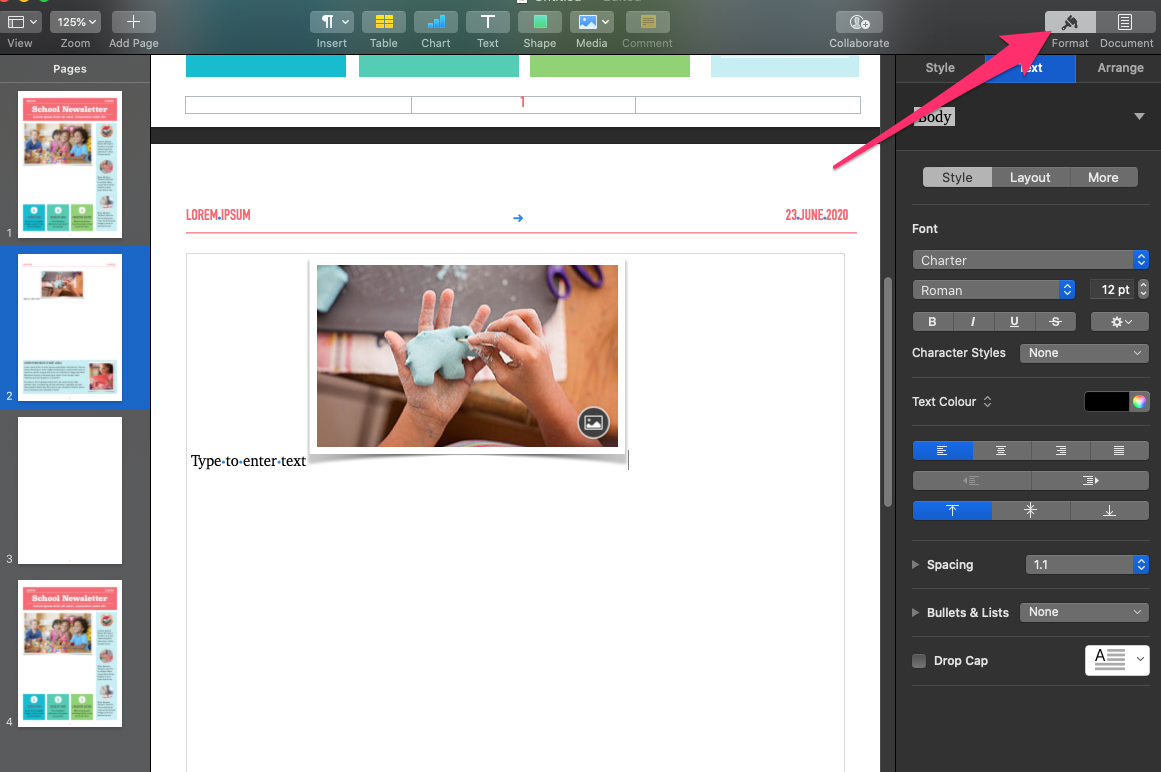
Click on the image to highlight it and then click on the Arrange tab from the format menu.
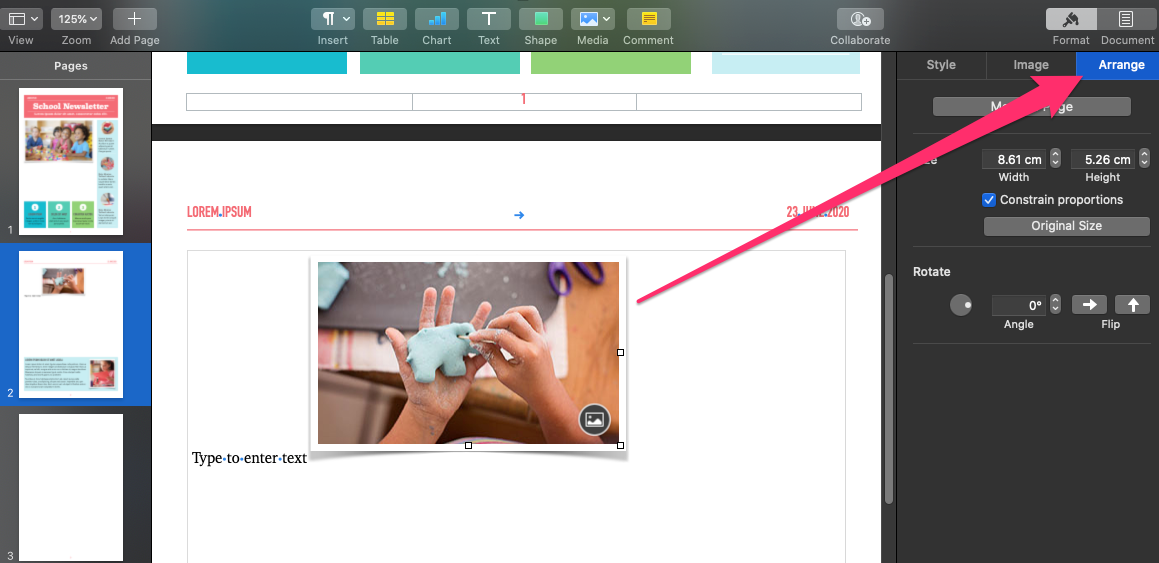
Next click on move to page.
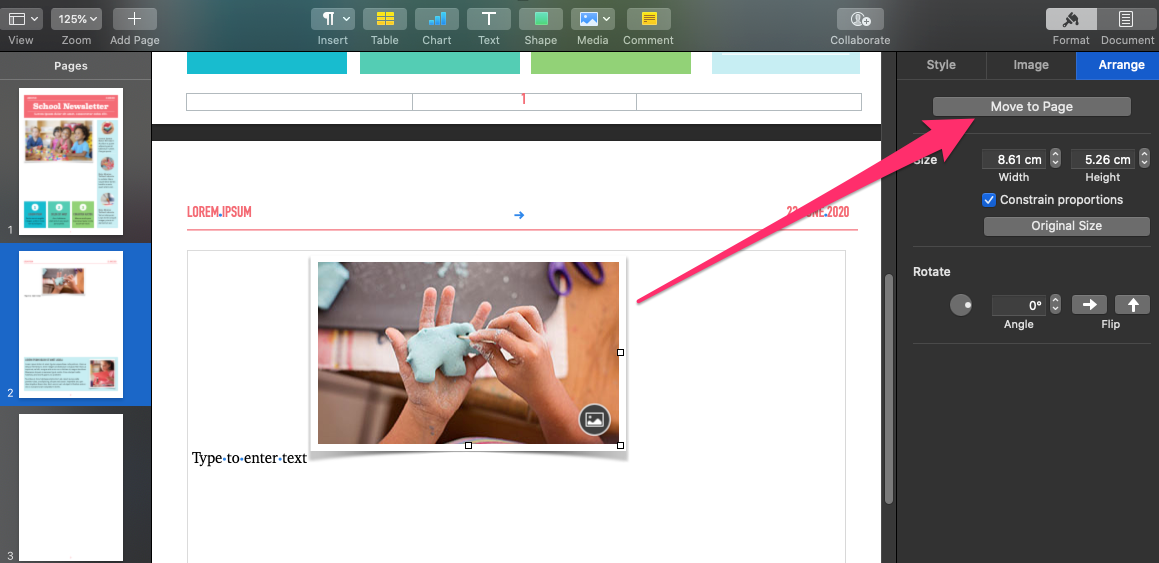
Now you will see the text wrap option for that image:
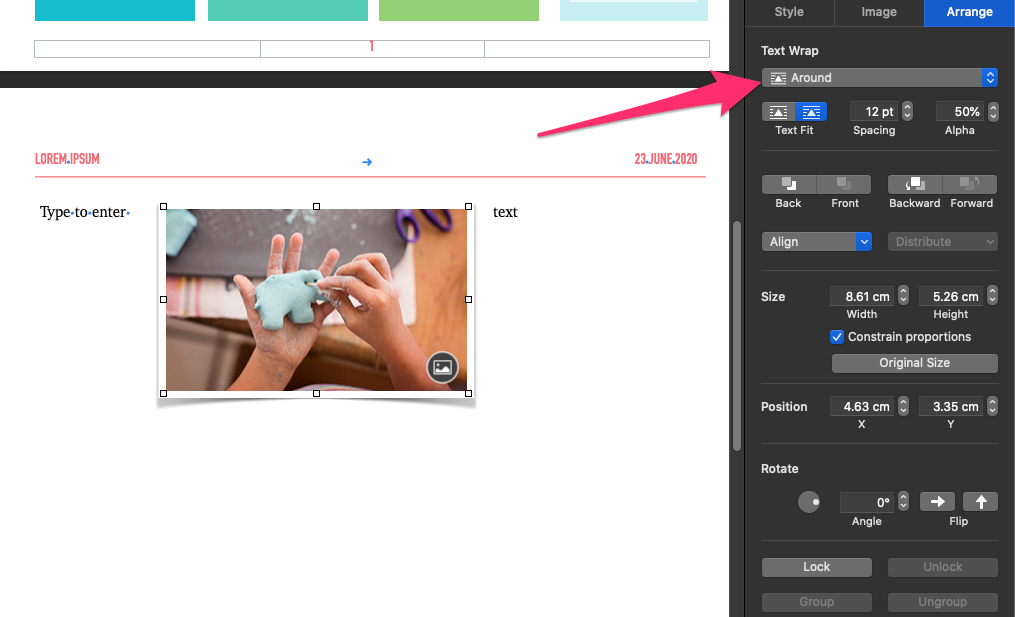
I have chosen around in this example, which makes the text wrap around the image.
Next drag the image into place.
The text will wrap nicely around the text
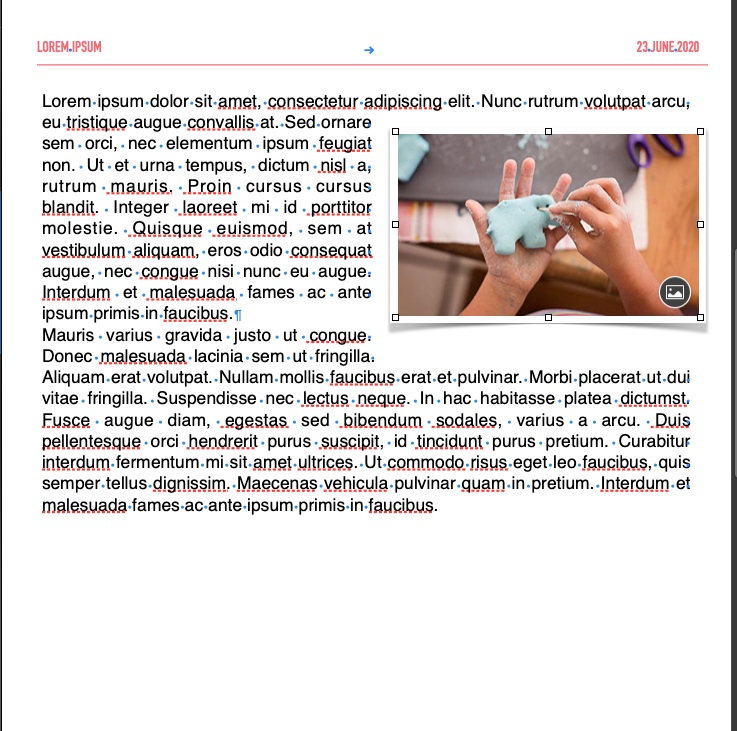
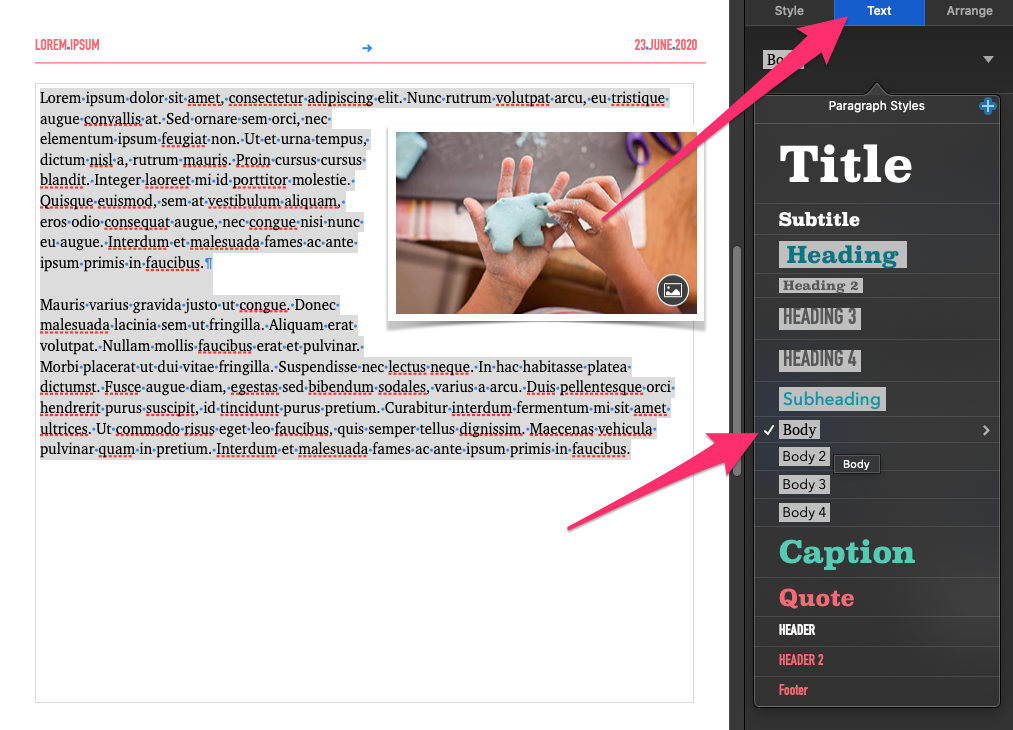
Next to format the text using the style provided in the template select the Text tab from the format menu and choose the body style.
And to style the title choose one of the title styles from the same tab.
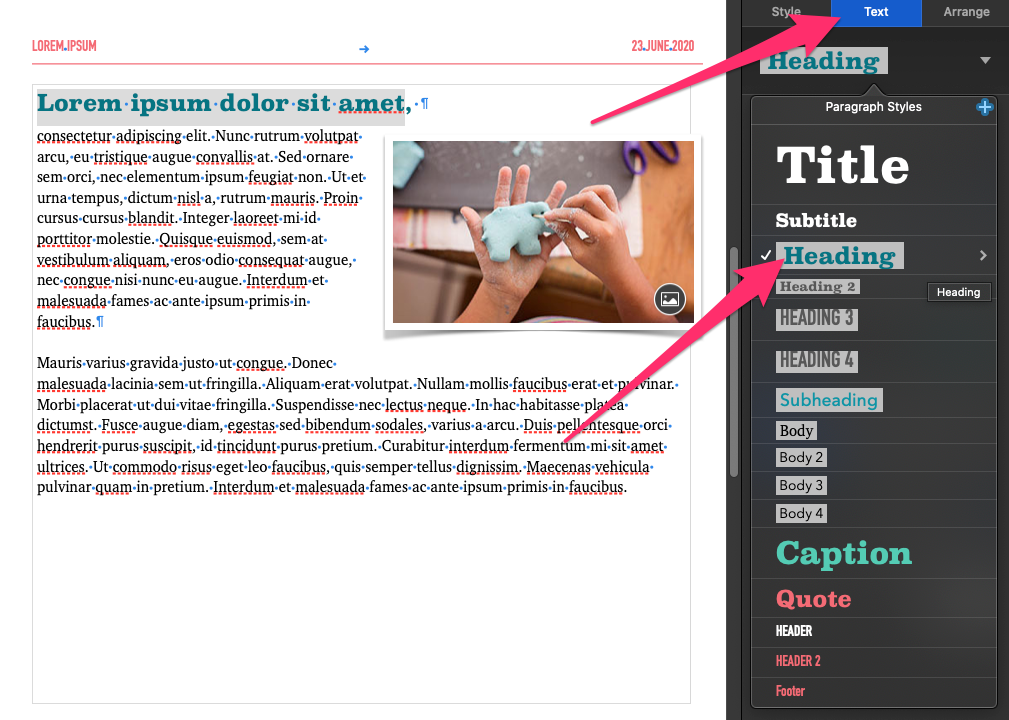
Now you’ll notice we have covered most of the basics for using Pages as a desktop publisher.
Lastly let’s take a quick look at the image options as these are some of the best features in Pages.
Place your cursor in the text roughly where you want to place the image and paste it, it’s easier to copy the image from preview or Photos or even a website rather than drag and drop in this case as Pages may try and apply some formatting that we don’t want.
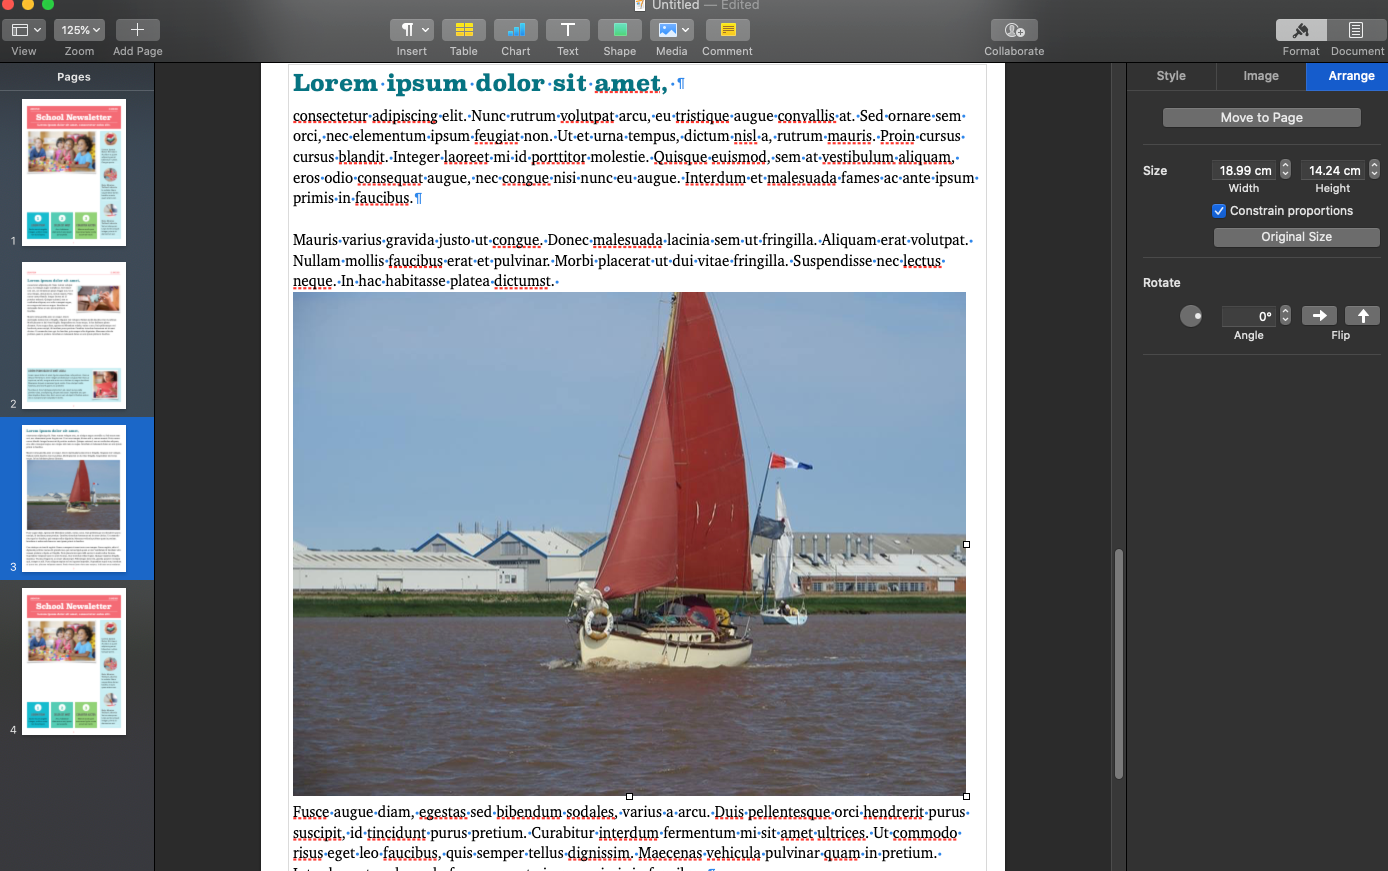
Again, from the Format menu with the image selected click on Arrange & then Move to Page:
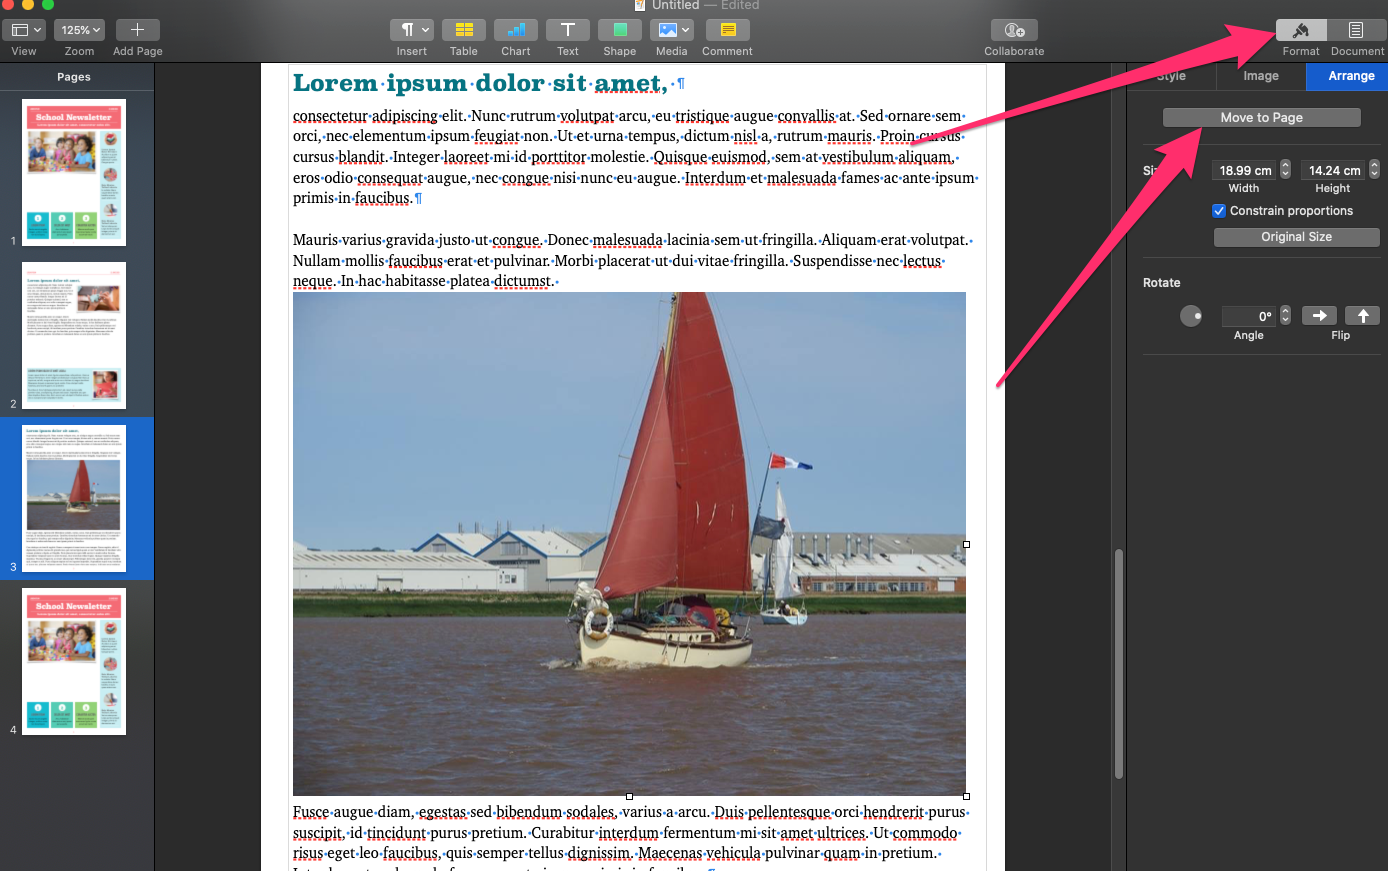
Again chose the most appropriate Text Wrap I have gone with Around again:
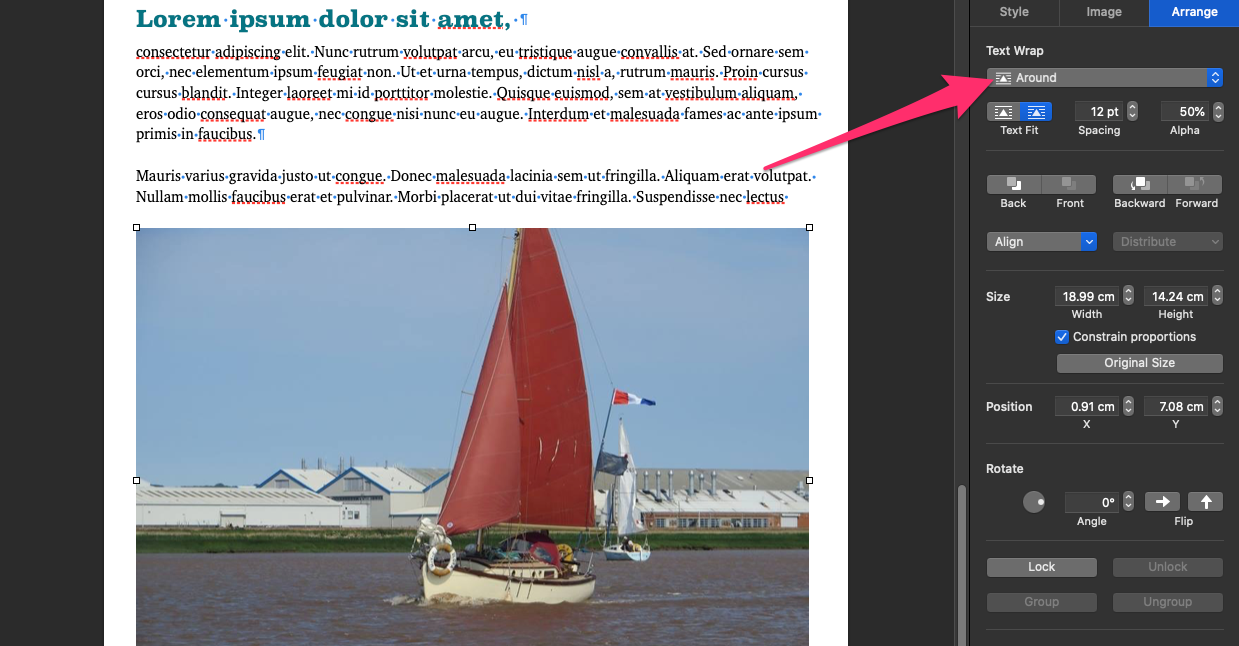
Draw a shape over the top of the image select Shape from the toolbar menu, here I have drawn a star:
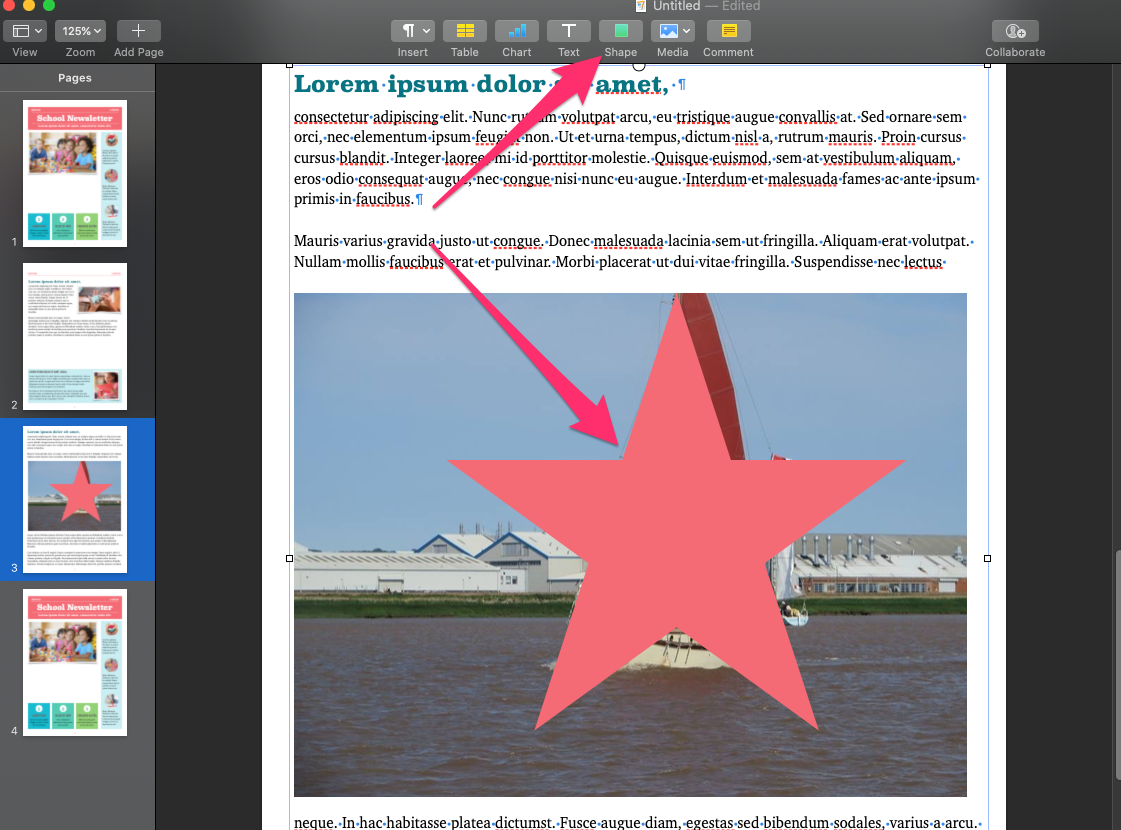
Now hold shift click the shape you have drawn & the image so both are selected, now from the format menu choose Image > Mask with selection, or Press Command Shift M.
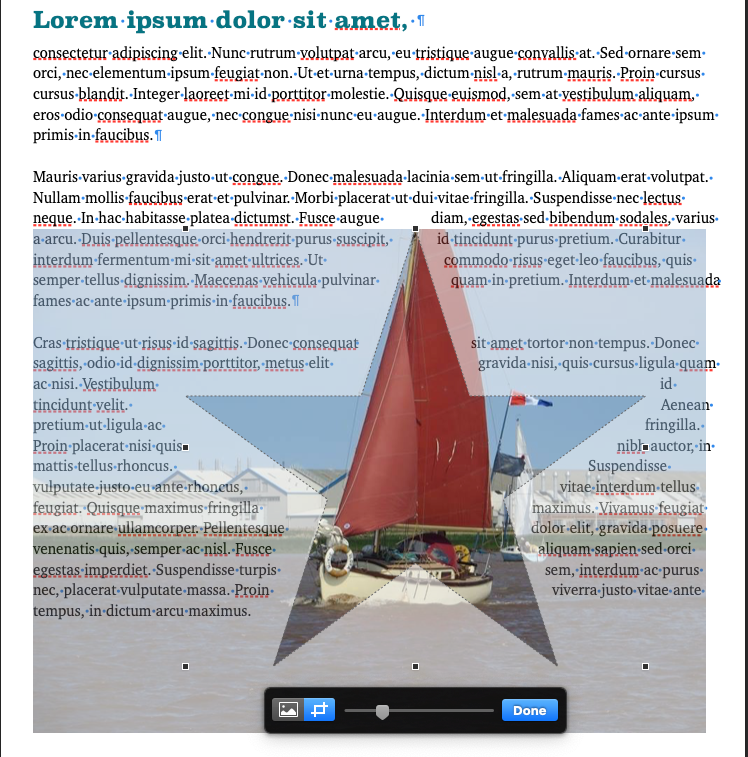
With the menu that appears below the new image mask you can quickly edit the mask size and position of the image.
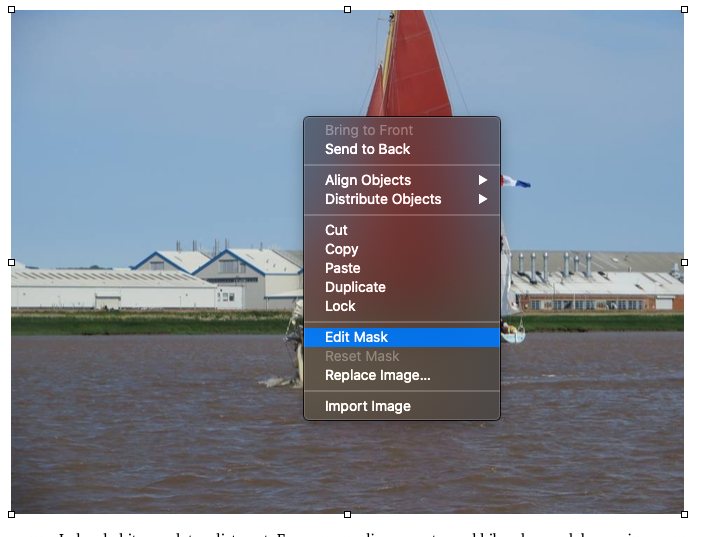
Right click on the Image Mask and choose Edit Mask to re-open this menu again.
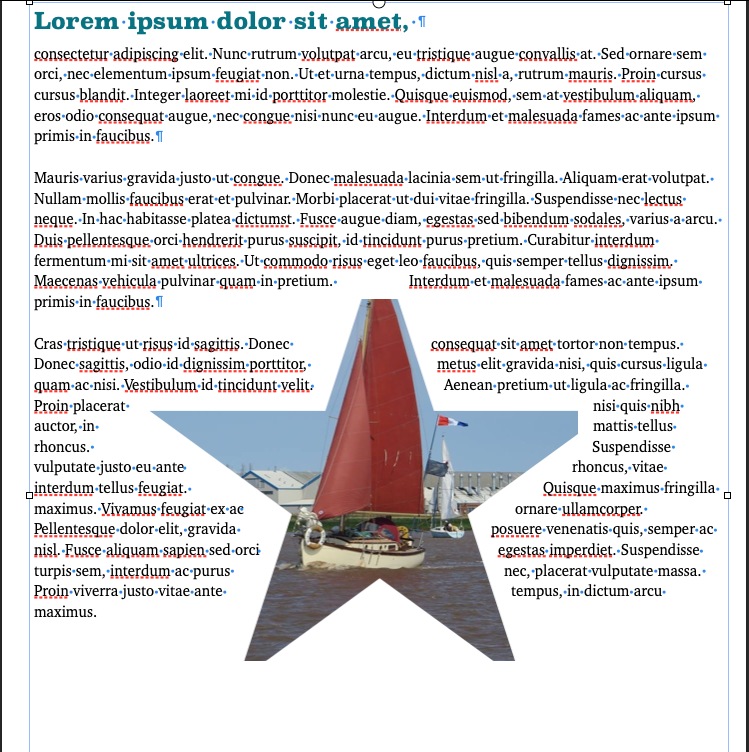
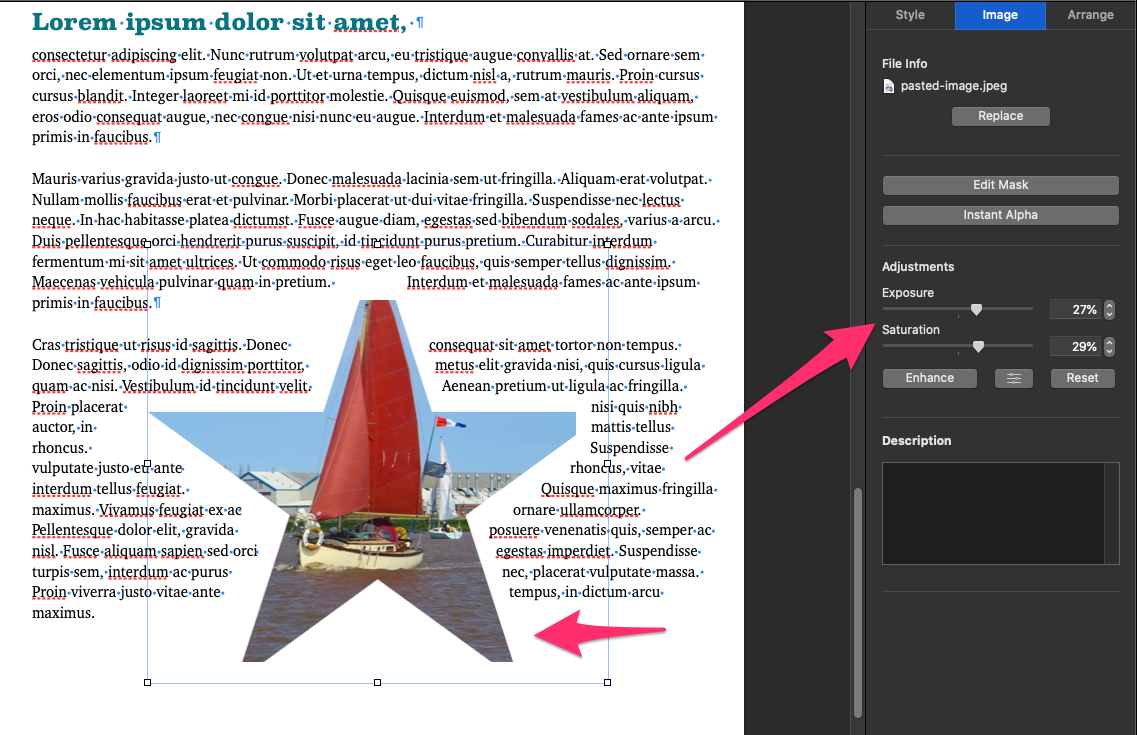
You’ll notice if you select the Image and the Image Tab from the format menu there are some controls to adjust the Image, here I have slightly increased the Exposure & saturation to make the image more vibrant.
Hopefully now you have a good idea of how to use Pages as a desktop publisher to create and modify stunning layouts.
Don’t forget Pages documents can be edited from any computer via iCloud.com as well as your iPads & iPhones. This makes collaborating on documents easy.
As of 2020 Apple is discontinuing the iBooks Author program that was being used to make ePub files on the Mac, now you can do that from within Pages, so get practicing those dtp skills!
If you’d like to see tips on any specific aspect of iWork or Pages let us know in the comments.
AI Usage Transparency Report
Pre-AI Era · Written before widespread use of generative AI tools
AI Signal Composition
Score: 0.08 · Low AI Influence
Summary
This tutorial covers the basics of using Pages as a desktop publisher, including creating templates, duplicating pages, and formatting text and images.
Related Posts

When Chromium Mistakes Your VPN for a Local Network
Turning off Jamf Trust fixed the webinar, which normally would have sent me straight to its routing policies. This time the route was fine: Chromium was treating Jamf's ZTNA broker addresses as a local network, and an Edge and Chrome preference corrected it.
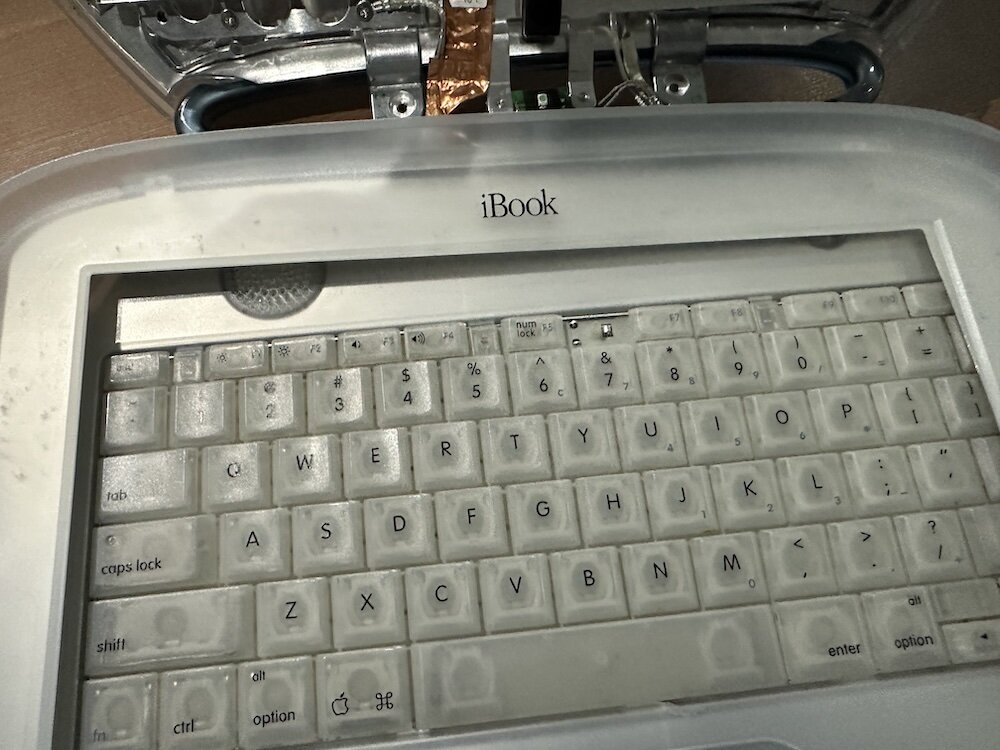
Clamshell iBook G3 Restoration, Part 1: From Broken Screen to Board-Level Repair
Part one of a Clamshell iBook G3 restoration: a broken screen, a charger detour, a blinking system folder, a full teardown, and the backlight connector mistake that paused the project.
Bromure Gives Codex a Room of Its Own
I installed Bromure Agentic Coding, watched it build the Linux VM, authenticated Codex, and followed a real Codex task through the workspace.

Claude Code Auto Mode Changes Approval Flow, Not the Safety Boundary
Claude Code Auto mode changes how approval decisions are handled. It does not expand the boundary of what the coding agent should be allowed to do.

Amnesia Stealer Shows the Next Stage of ClickFix on macOS
Amnesia Stealer shows how ClickFix-style social engineering is adapting on macOS, while a public malware sample gives defenders an opportunity to study the behavior behind the campaign.

Reporting on Microsoft 365 DLP Overrides with PowerShell
DLP overrides are not automatically bad. They are a business process that needs visibility. This walkthrough covers a Microsoft Purview DLP policy, a custom sensitive information type, user override behavior, and a PowerShell report that exports override events from Activity Explorer.

PowerBook 140 BlueSCSI Install: Cable Fixed, Battery-Bay Power, and Wi-Fi Setup
The PowerBook 140 project moved from preparing a BlueSCSI card in Basilisk II to installing the repaired internal SCSI cable, powering the BlueSCSI Pico externally from the battery bay, booting System 7.1, and fighting through DaynaPORT Wi-Fi setup.

Move Entra Users Off SMS and Voice Before Microsoft Retires Them
Microsoft is retiring Microsoft-provided SMS and voice authentication in Entra ID. The migration is not passkeys for everyone; it is removing weak telecom MFA and choosing supported replacement methods such as Microsoft Authenticator, FIDO2 keys, certificate-based authentication, OATH hardware tokens, or customer-managed telecom.
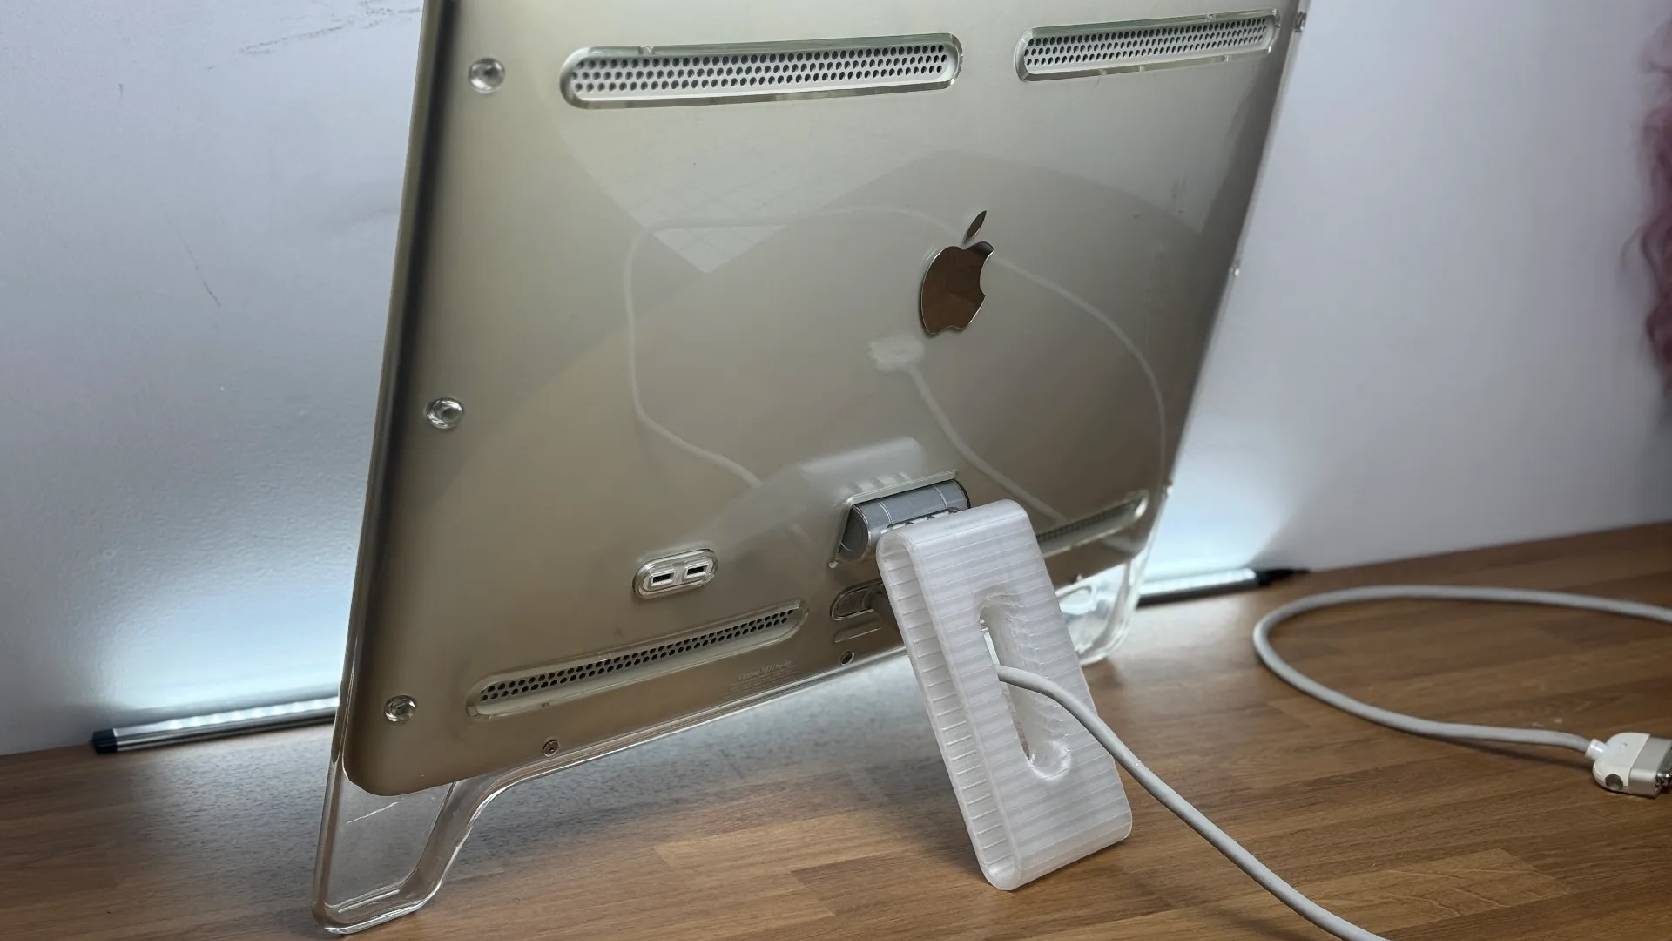
Fixing a Broken Apple Cinema Display Stand with a 3D Printed Leg
A 22-inch Apple Cinema Display arrived with a broken acrylic easel stand, so I used a 3D printed replacement leg instead of sending the monitor back.

macOS Tahoe 26.6.1 Fixes a High-Severity Screen Sharing Authentication Bypass
macOS Tahoe 26.6.1 fixes CVE-2026-65400, a high-severity Screen Sharing authentication issue where an attacker on the network may be able to authenticate without valid credentials.