

The last BlueSCSI post was the prep work. I used Basilisk II to build the System 7.1 image, stage the tools, sort out the BlueSCSI card layout, and make sure the card was ready before it ever went into the PowerBook. If you want the setup details for the card itself, start with Preparing a BlueSCSI Card for My PowerBook 145 with Basilisk II.
This follow-up starts after that work was done. The card was ready, but the PowerBook still needed the replacement internal SCSI cable, the BlueSCSI installed in the drive bay, a way to power the Pico, and then the first real boot and DaynaPORT Wi-Fi testing on the machine itself.
My broken SCSI Cable
As you may have remembered based on the last post, the original SCSI cable was torn inside the Powerbook 140, which meant the first step was scourcing a new cable, the image, luckily I was able to pick one up on 1Bit Rainbow here.
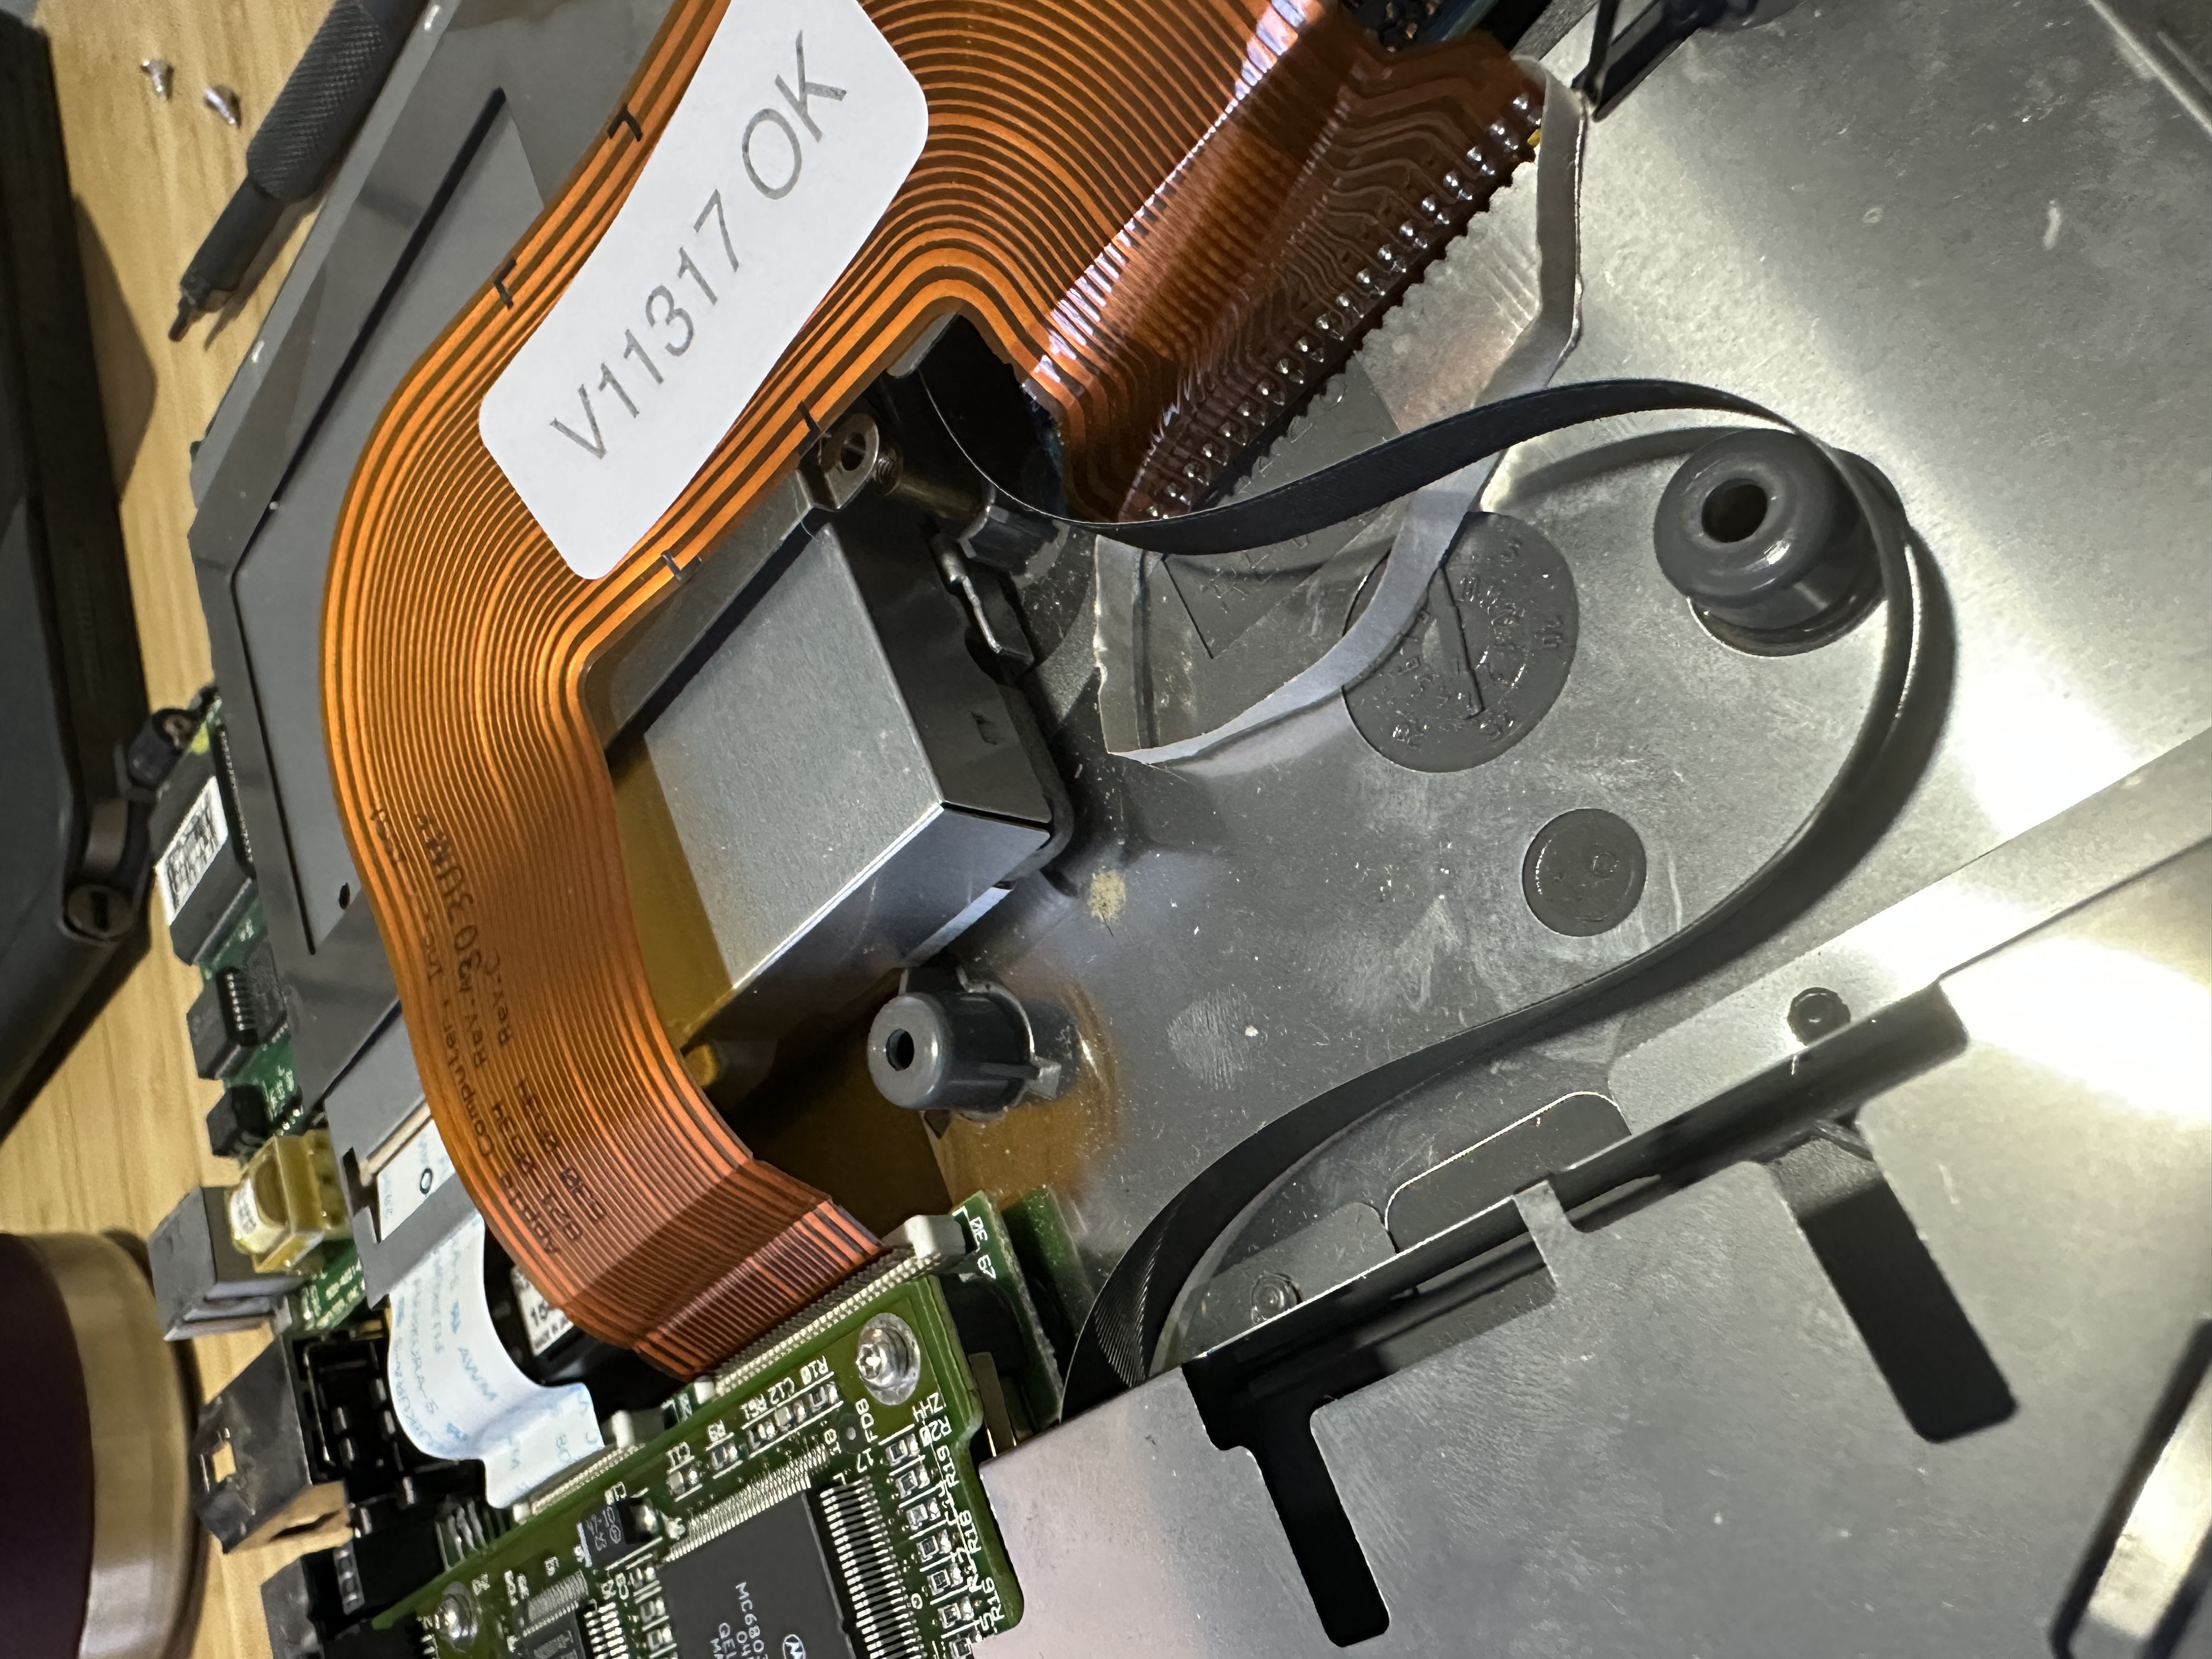
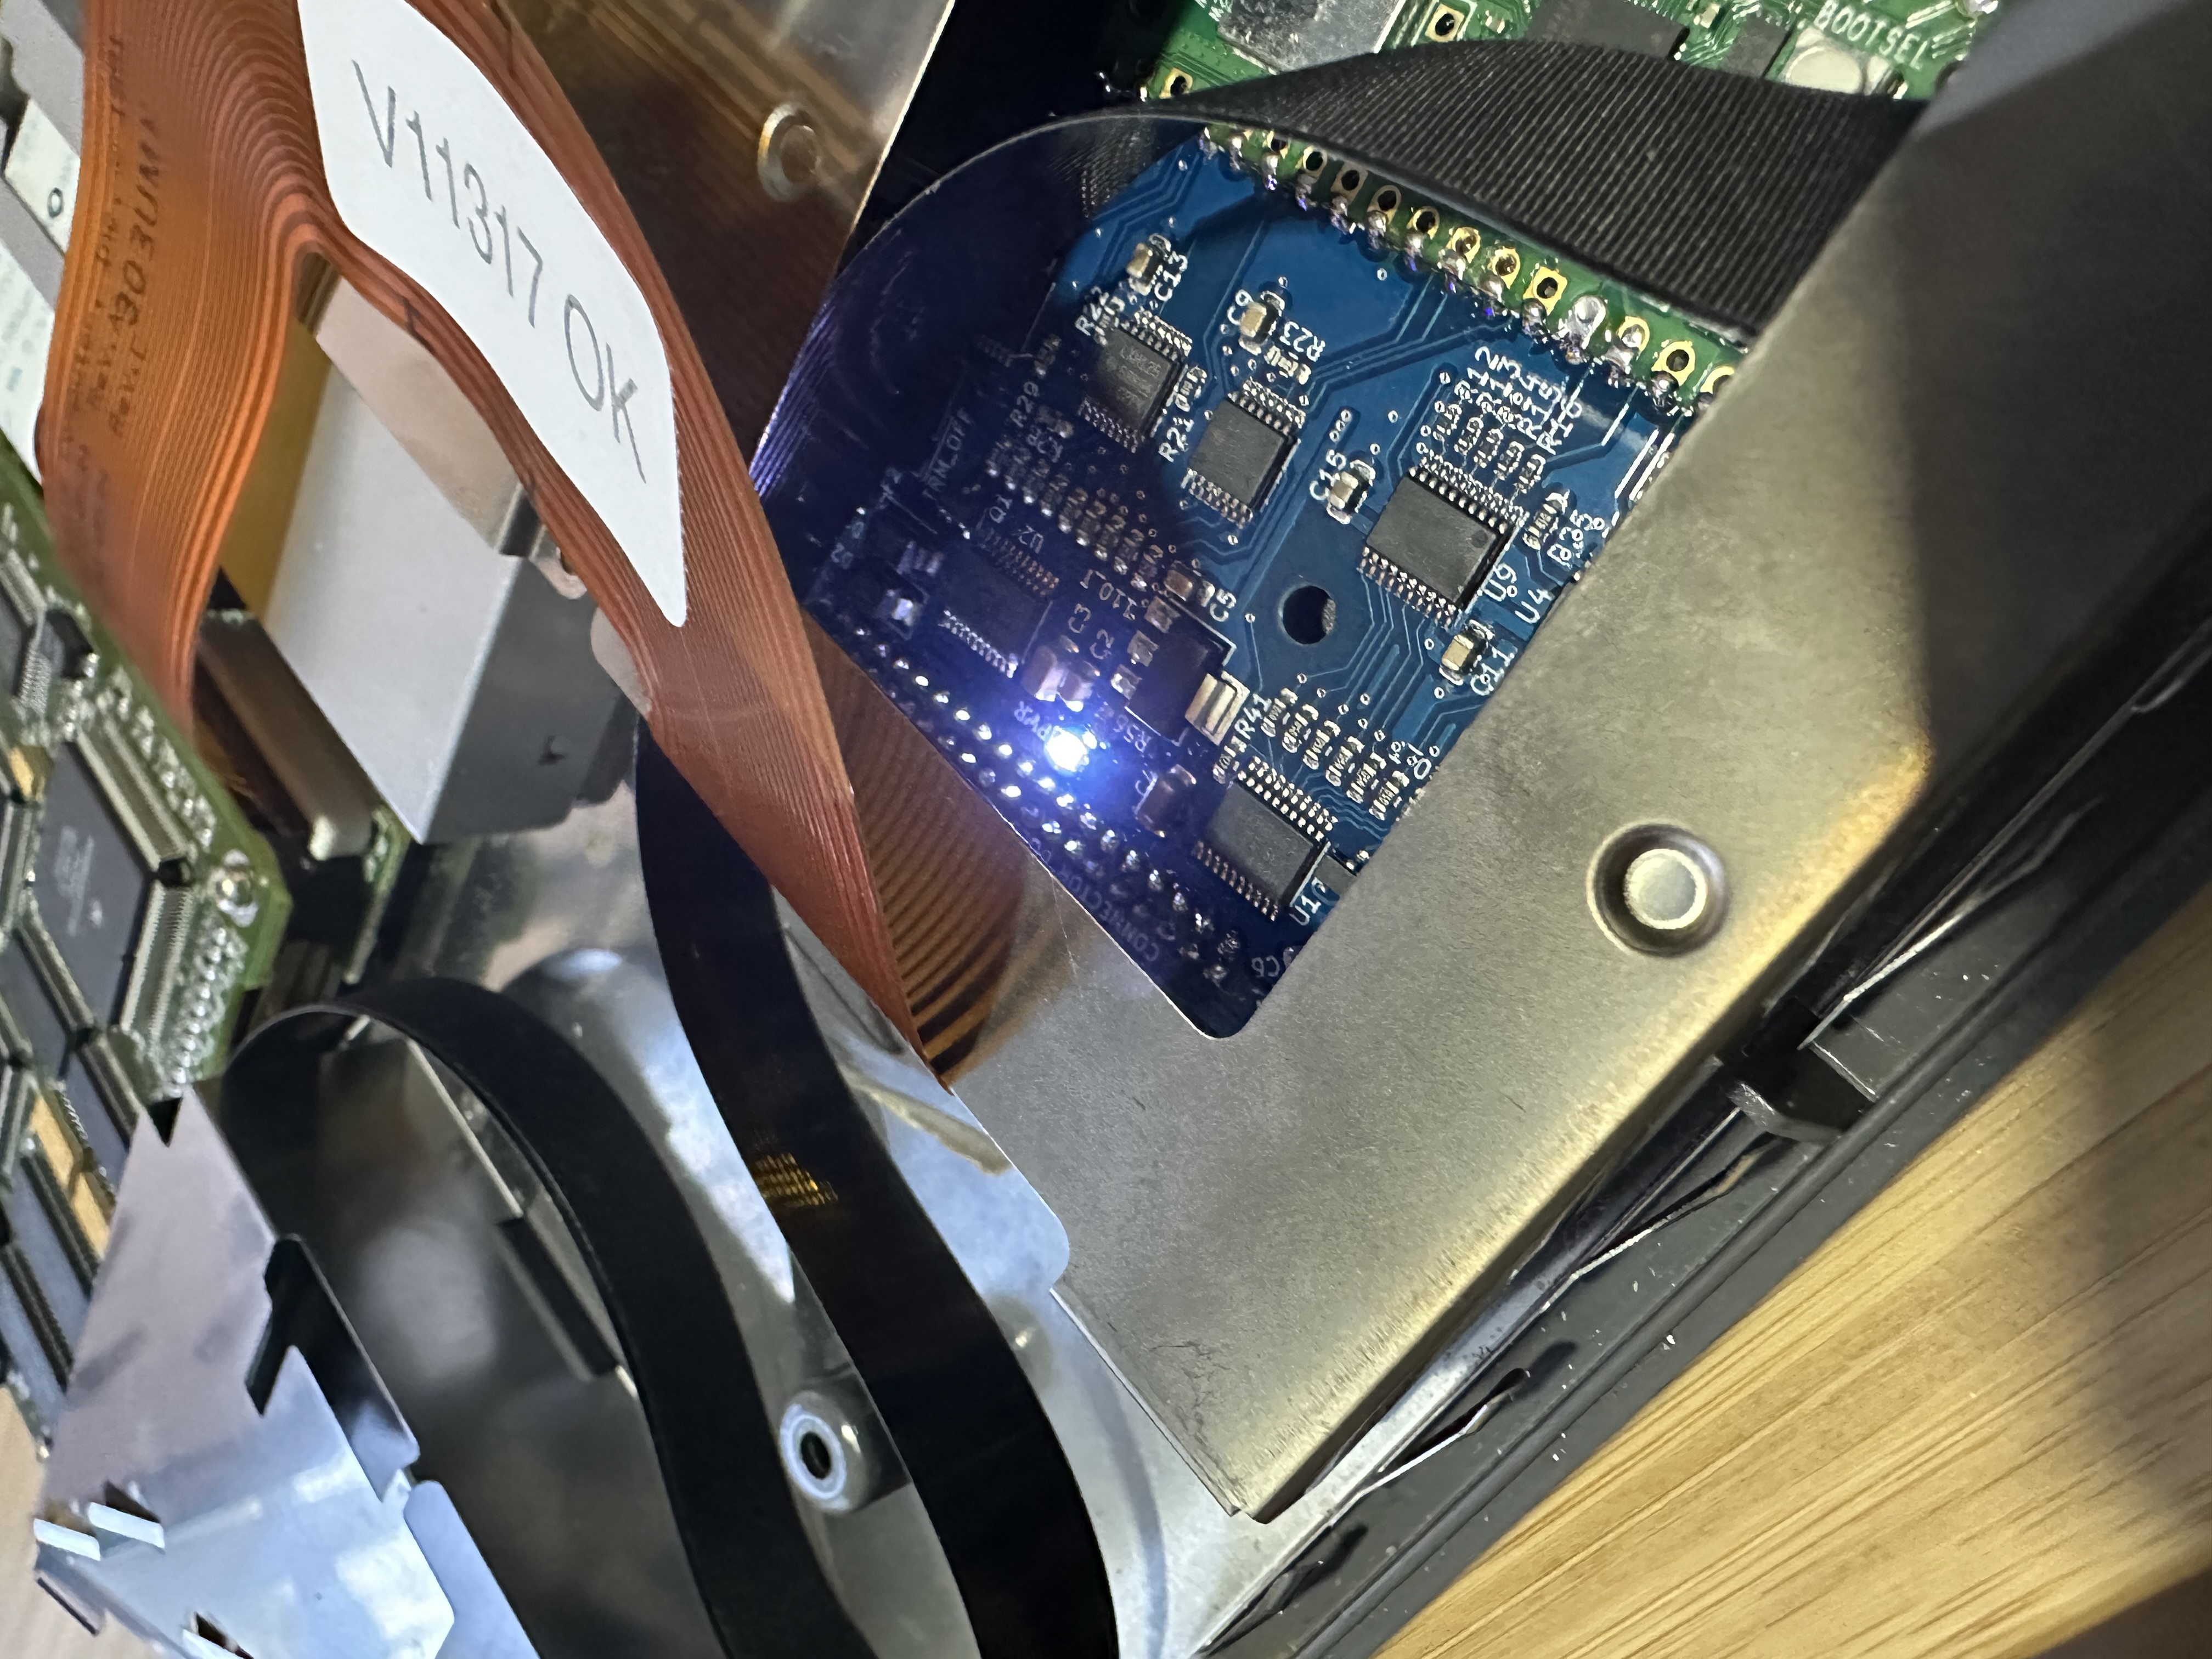
The cable shipped and arrived in a few weeks, once the replacement cable was in, I was able to connect it to the board and to the BlueSCSI device which fit neatly into the drive bay. The thing I was not prepared for was that the Pico NANO board (RasberryPi) actually needs to be powered in order for the BlueSCSI to work.
Install the BlueSCSI card
The BlueSCSI SD card I prepared earlier already had the System 7.1 image and helper images staged. The point of doing the Basilisk II work first was to avoid having to continually dismantle the computer to get to the card, the model BlueSCSI I opted for was the internal mount option and in order to connect it to the cable it had to sit in that drive bay which is only accessible after you dismantle the entire computer.
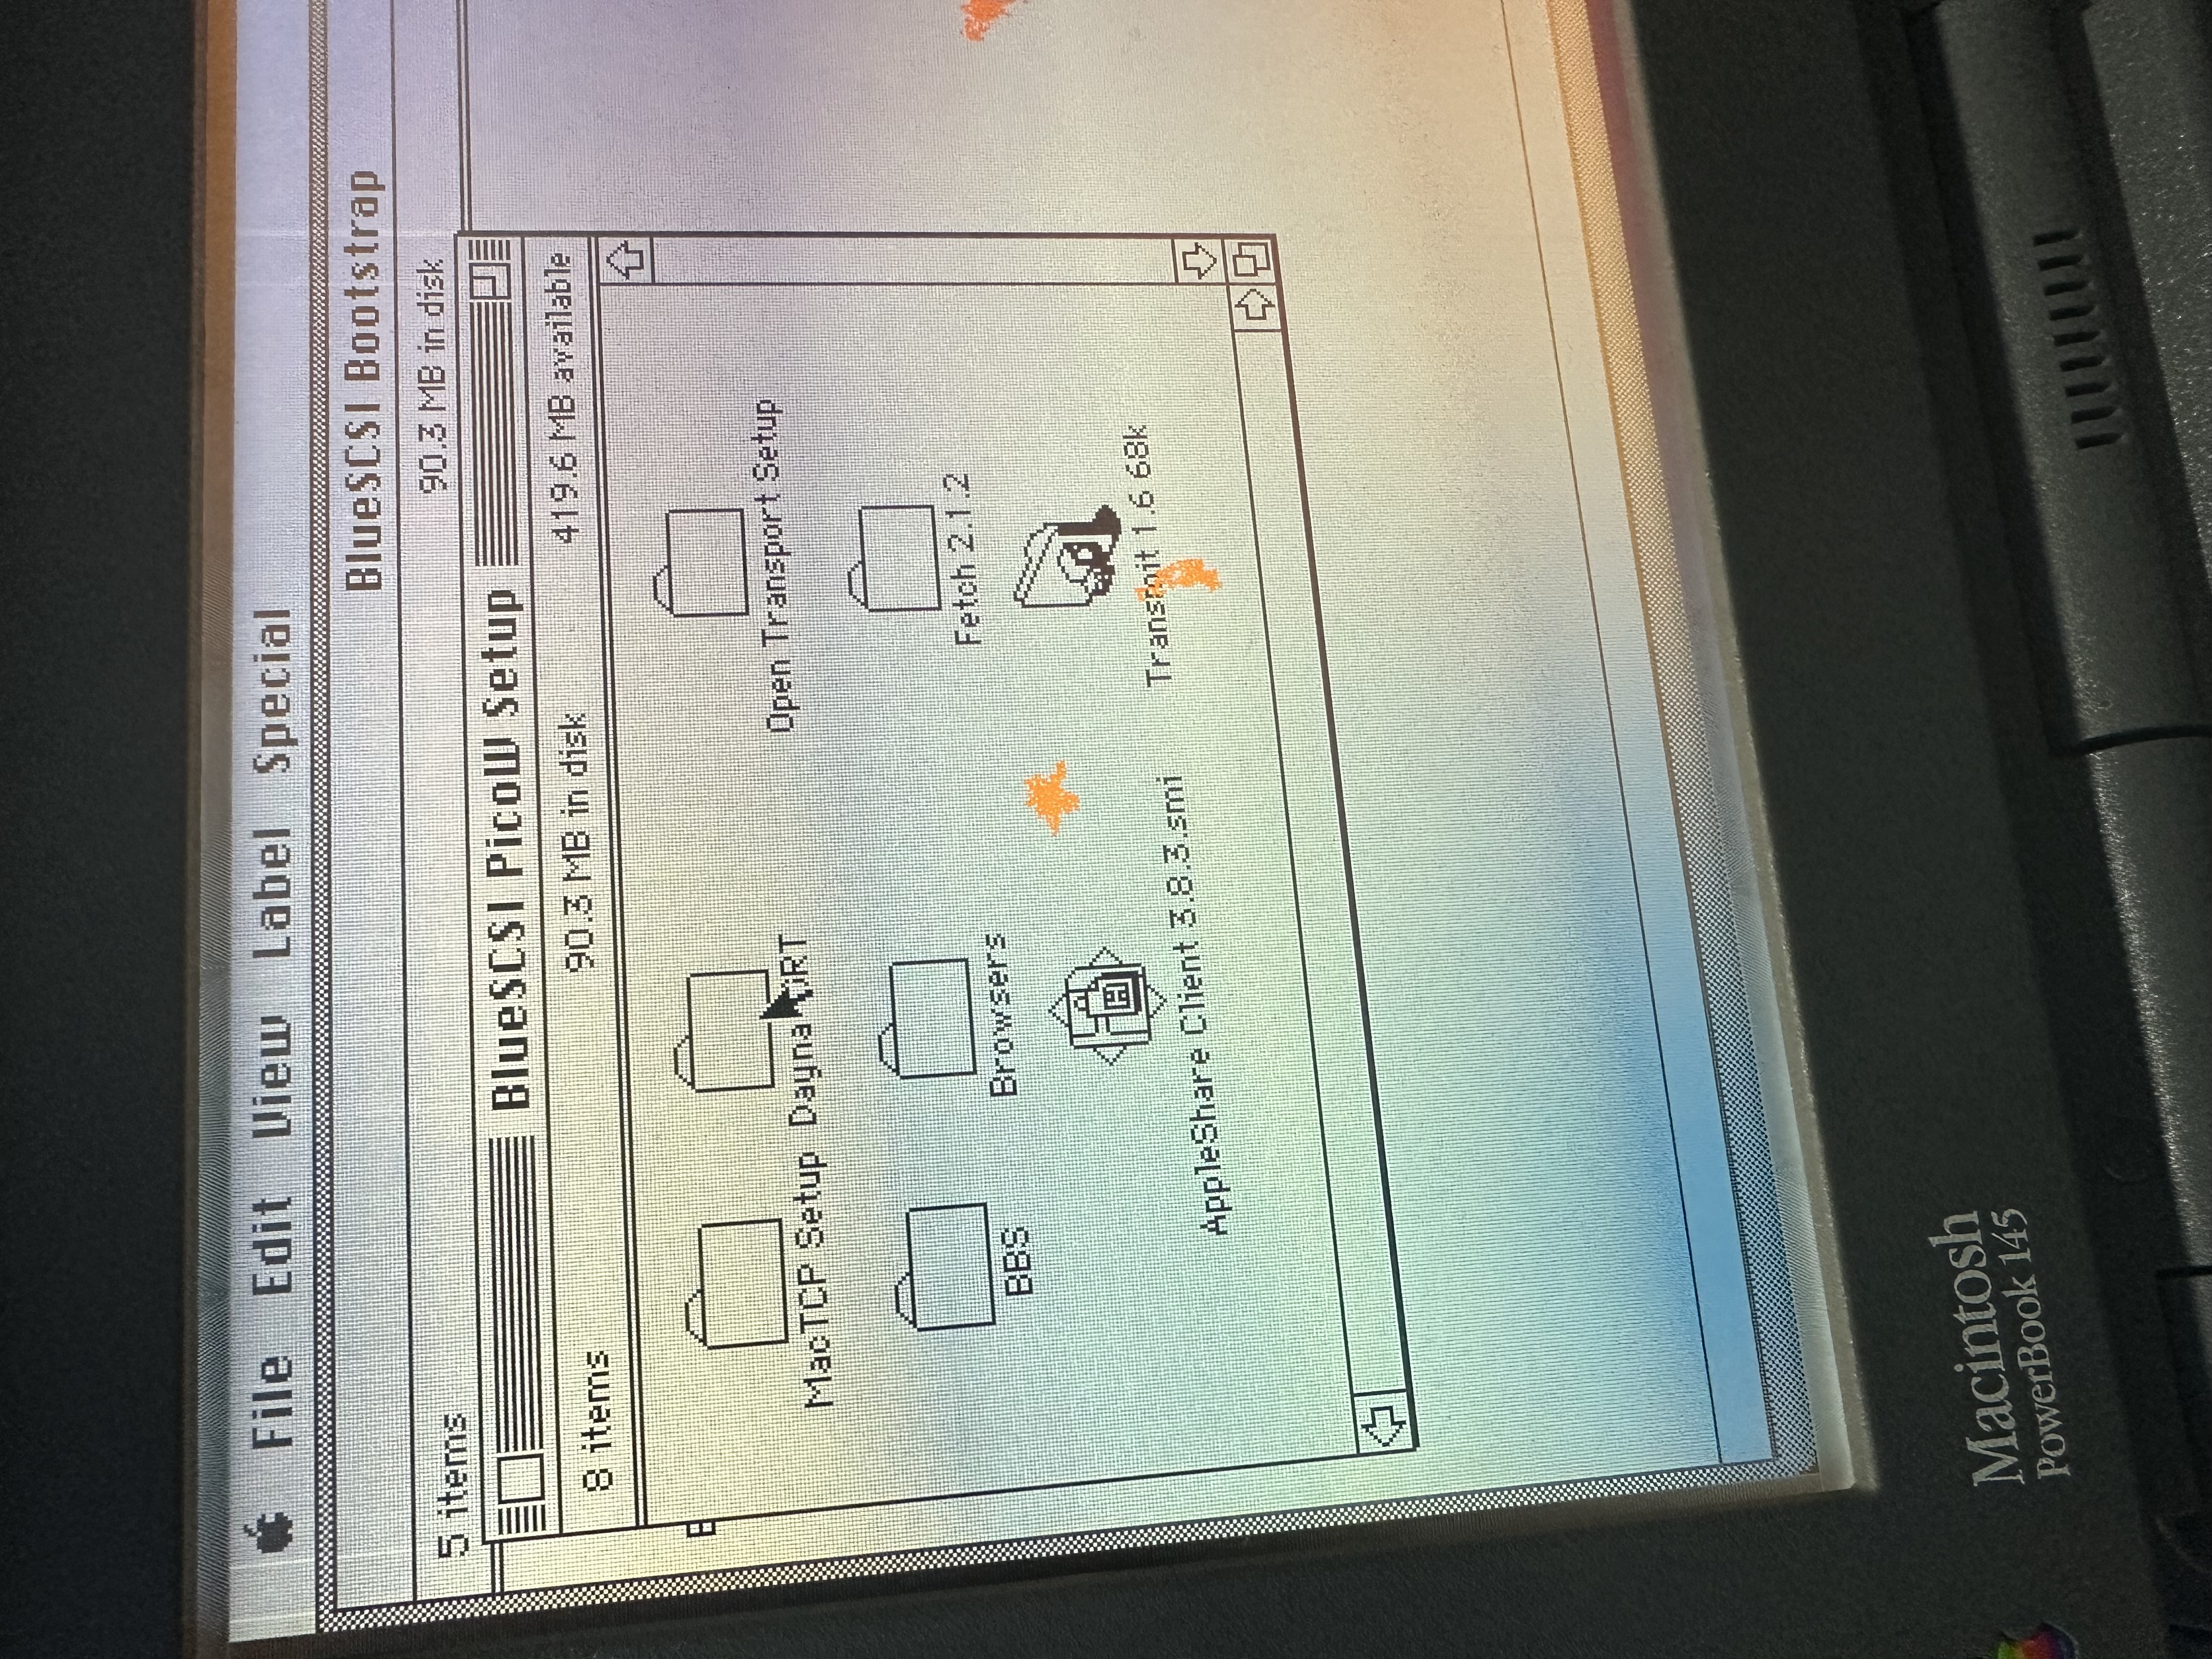
A quick recap of how we setup the BlueSCSI SD Card, BlueSCI uses image filenames and SCSI IDs to decide what devices to present. The BlueSCSI I got had WiFi on board, which means that you must include the Wi-Fi DaynaPORT driver to enable it. Initially I ran into an issue because I named one of my disk images with the 4 distinction NE4.hda, but that SCSI ID is reserved for the WiFi on the board so if you get the WiFi enabled version keep that in mind as it can cause issues.
The basic idea is:
HD00-7.1.dsk
HD10_Storage1.hda
HD20_Storage2.hda
HD30 BlueSCSI Toolbox 1.0.2.hda
HD50 BlueSCSI Bootstrap.hda
bluescsi.ini
shared/
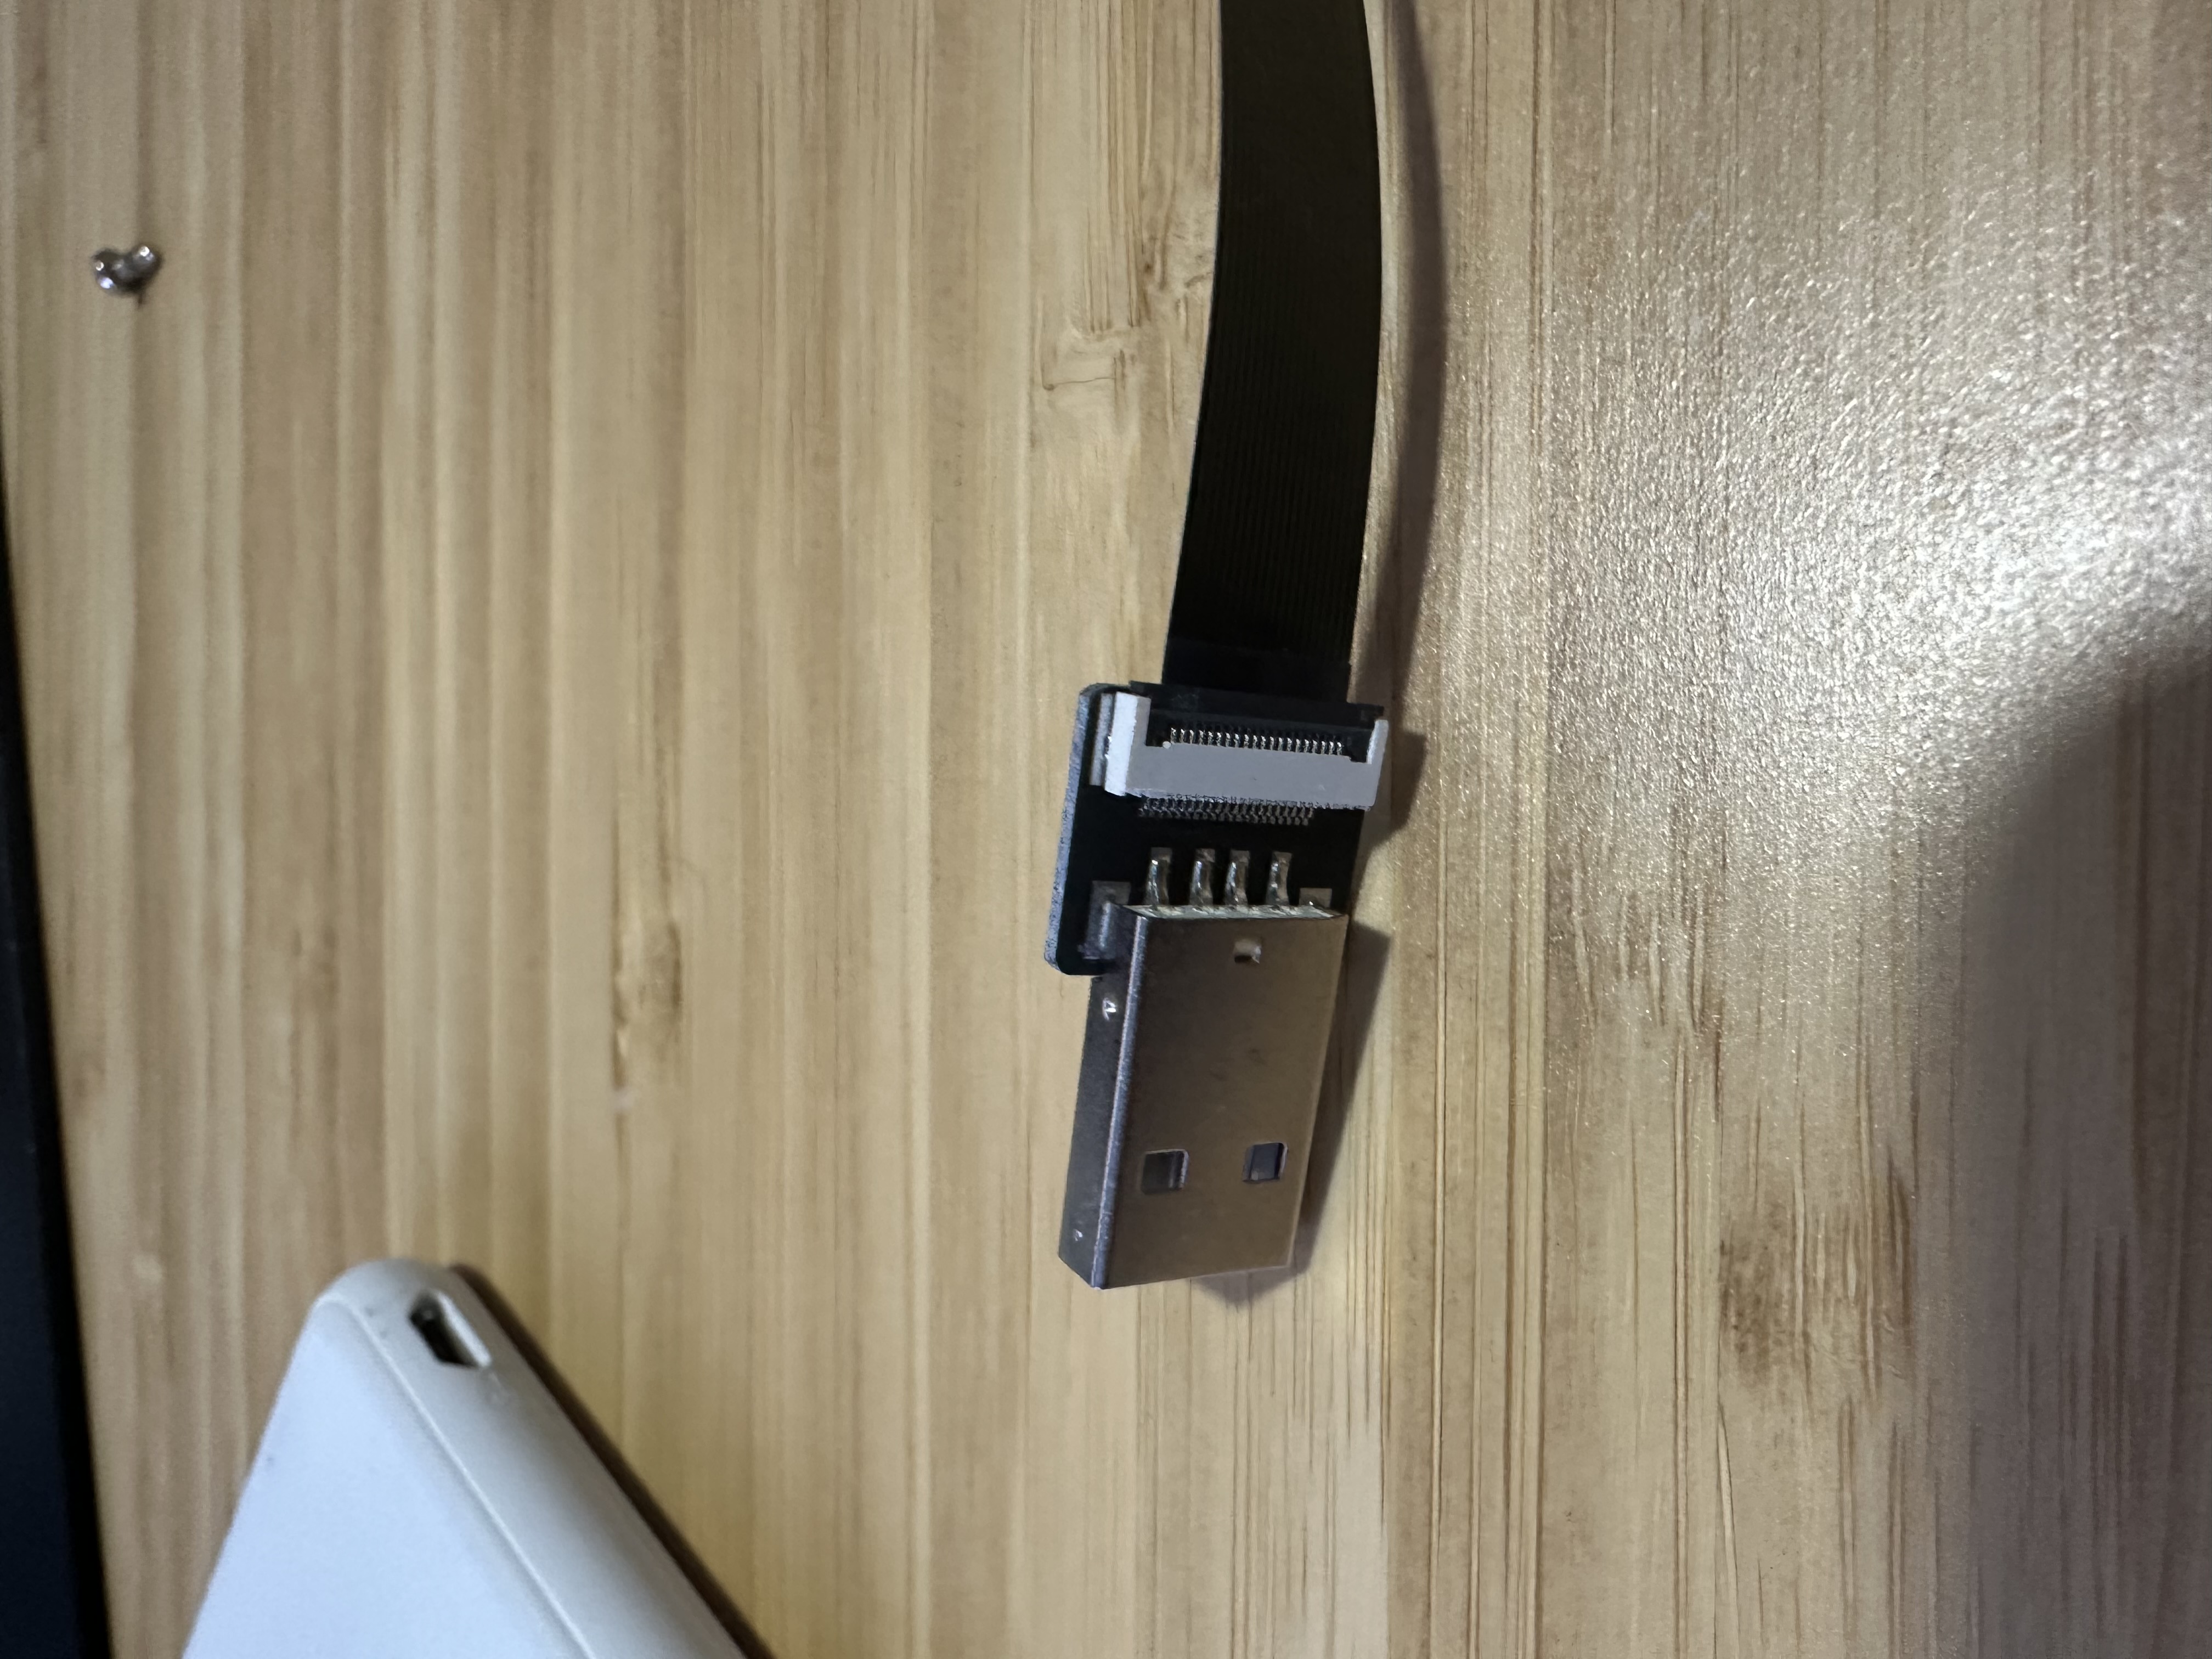
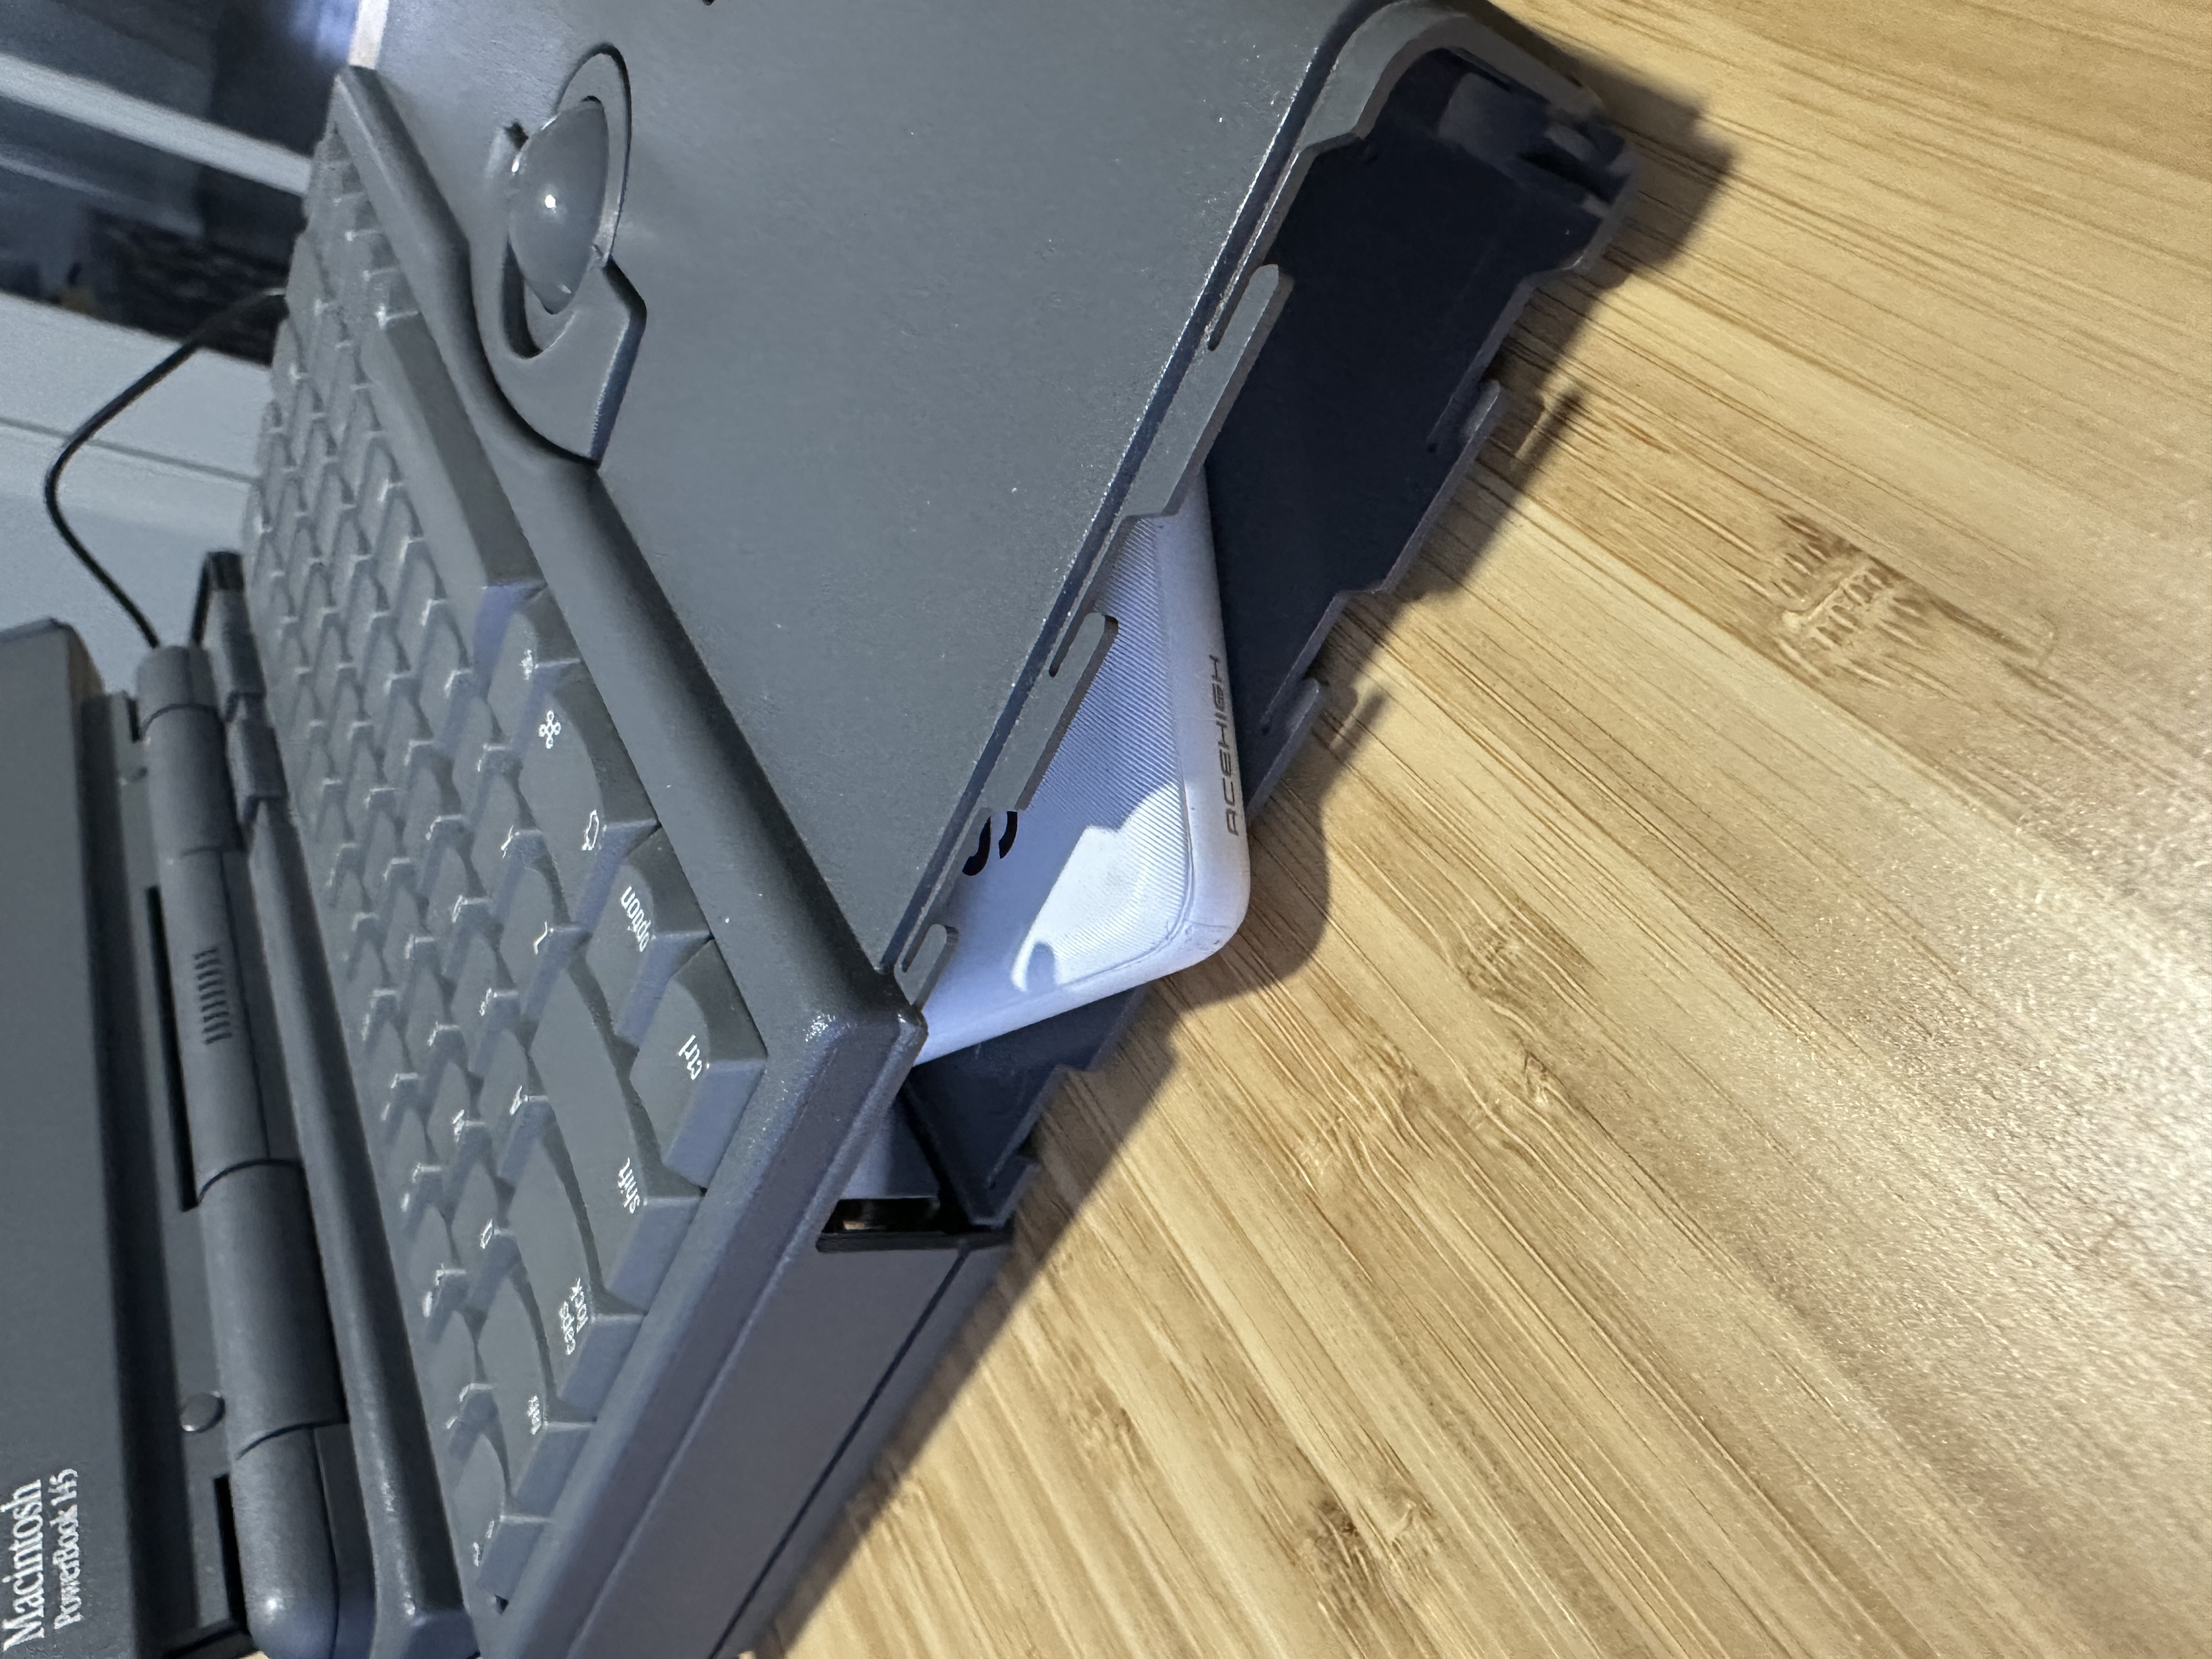
Power the Pico from the battery bay
As I mentioned the curveball for me was the fact that this board requires power. BlueSCSI documentation notes that the Pico W may draw more power than the SCSI bus can provide and recommends powering the BlueSCSI from a USB wall plug in that situation. For a desktop bench setup, that is easy. For a PowerBook, I wanted something cleaner.
The solution was a custom flat USB cable and an external battery that could slide into the battery bay. That gave the Pico its own power source without turning the laptop into a nest of cables on the desk.
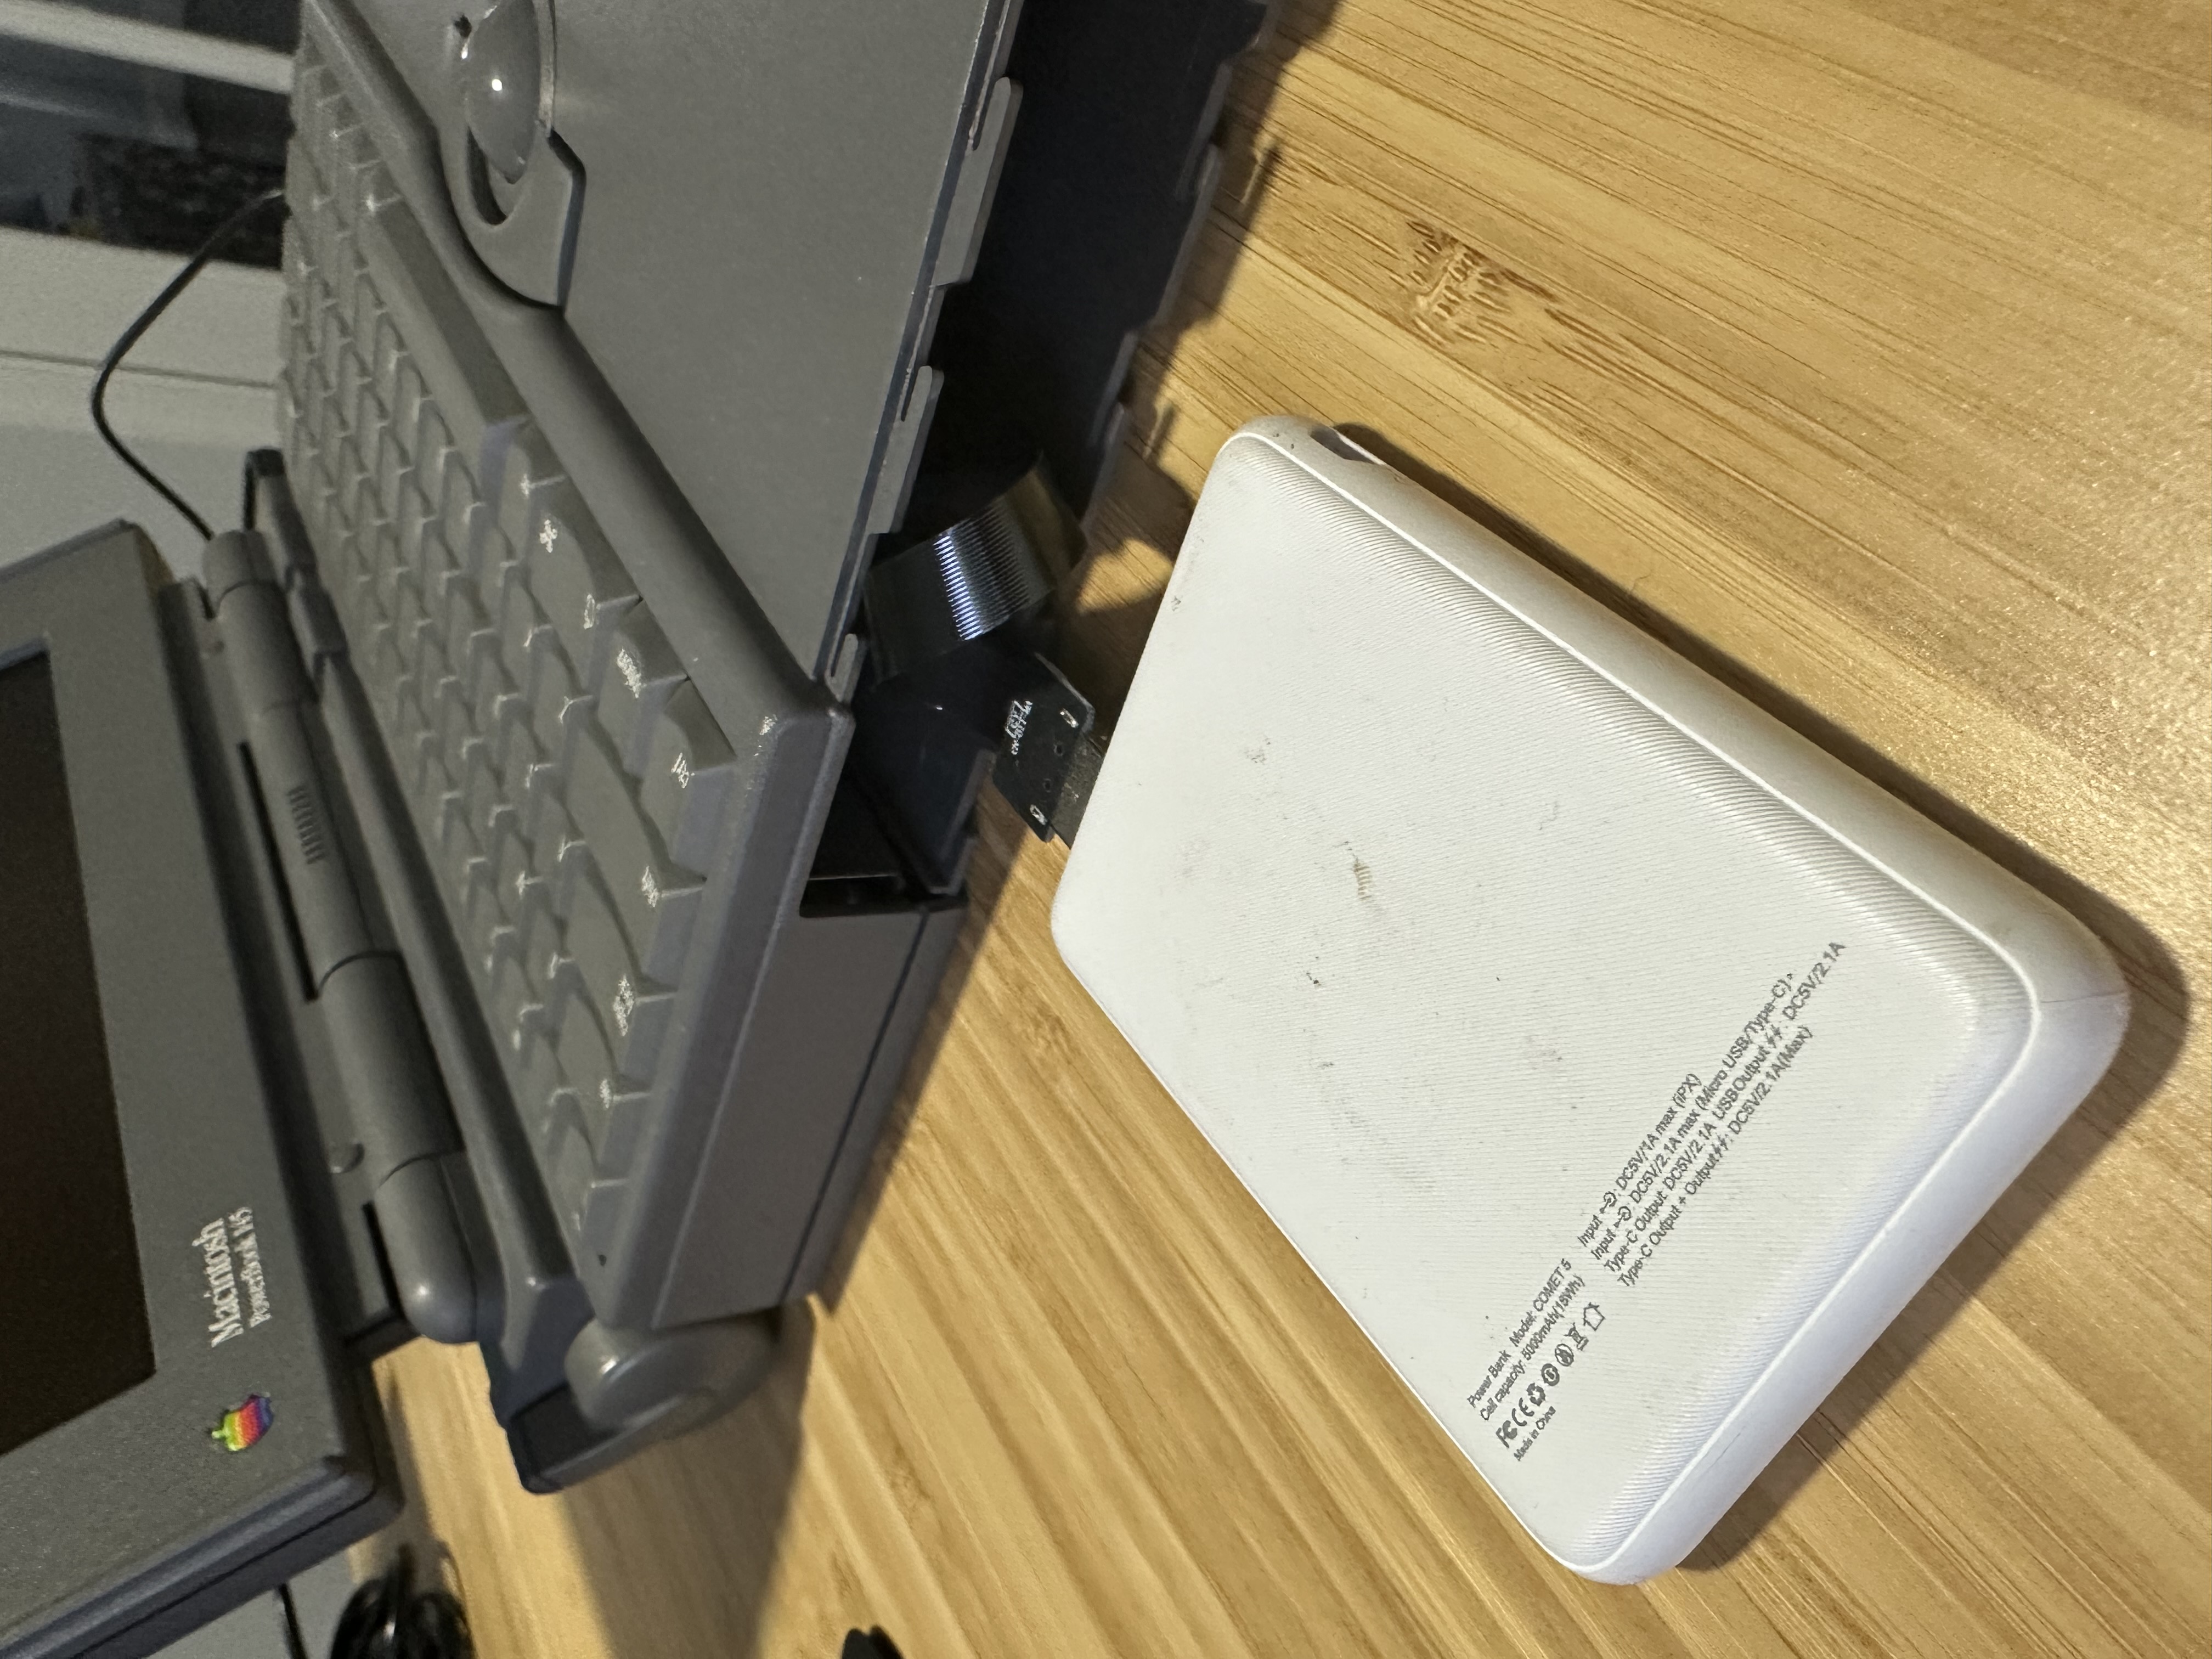
This allows me to power on the BlueSCSI Card with the battery pack, and then boot the computer.
First boot
Once the cable, card, and power path were in place, the PowerBook booted right up.
The apps and helper disks were already there. The PowerBook was not starting from a blank disk. I could move straight into validation: does the system boot, do the volumes mount, and can I open the tools I staged in Basilisk II.
The DaynaPORT setup was the bumpy part
Booting was clean. Wi-Fi was not.
BlueSCSI’s WiFi DaynaPORT documentation makes the hardware side sound straightforward enough: the Pico W can emulate a DaynaPORT SCSI/Link network device, bluescsi.ini holds the Wi-Fi settings, and the DaynaPORT device uses the SCSI ID reserved for networking. The PowerBook side was the part that turned into a real sequence of small failures. Every screenshot here matters because each one was a separate piece of getting from “the card boots” to “the PowerBook can actually use the network.”
The first problem was the installer media. I could load the DaynaPORT image in Disk Copy, but the installer was not happy with my modern assumption that a mounted image was good enough. It wanted the installer to behave like real classic Mac media.
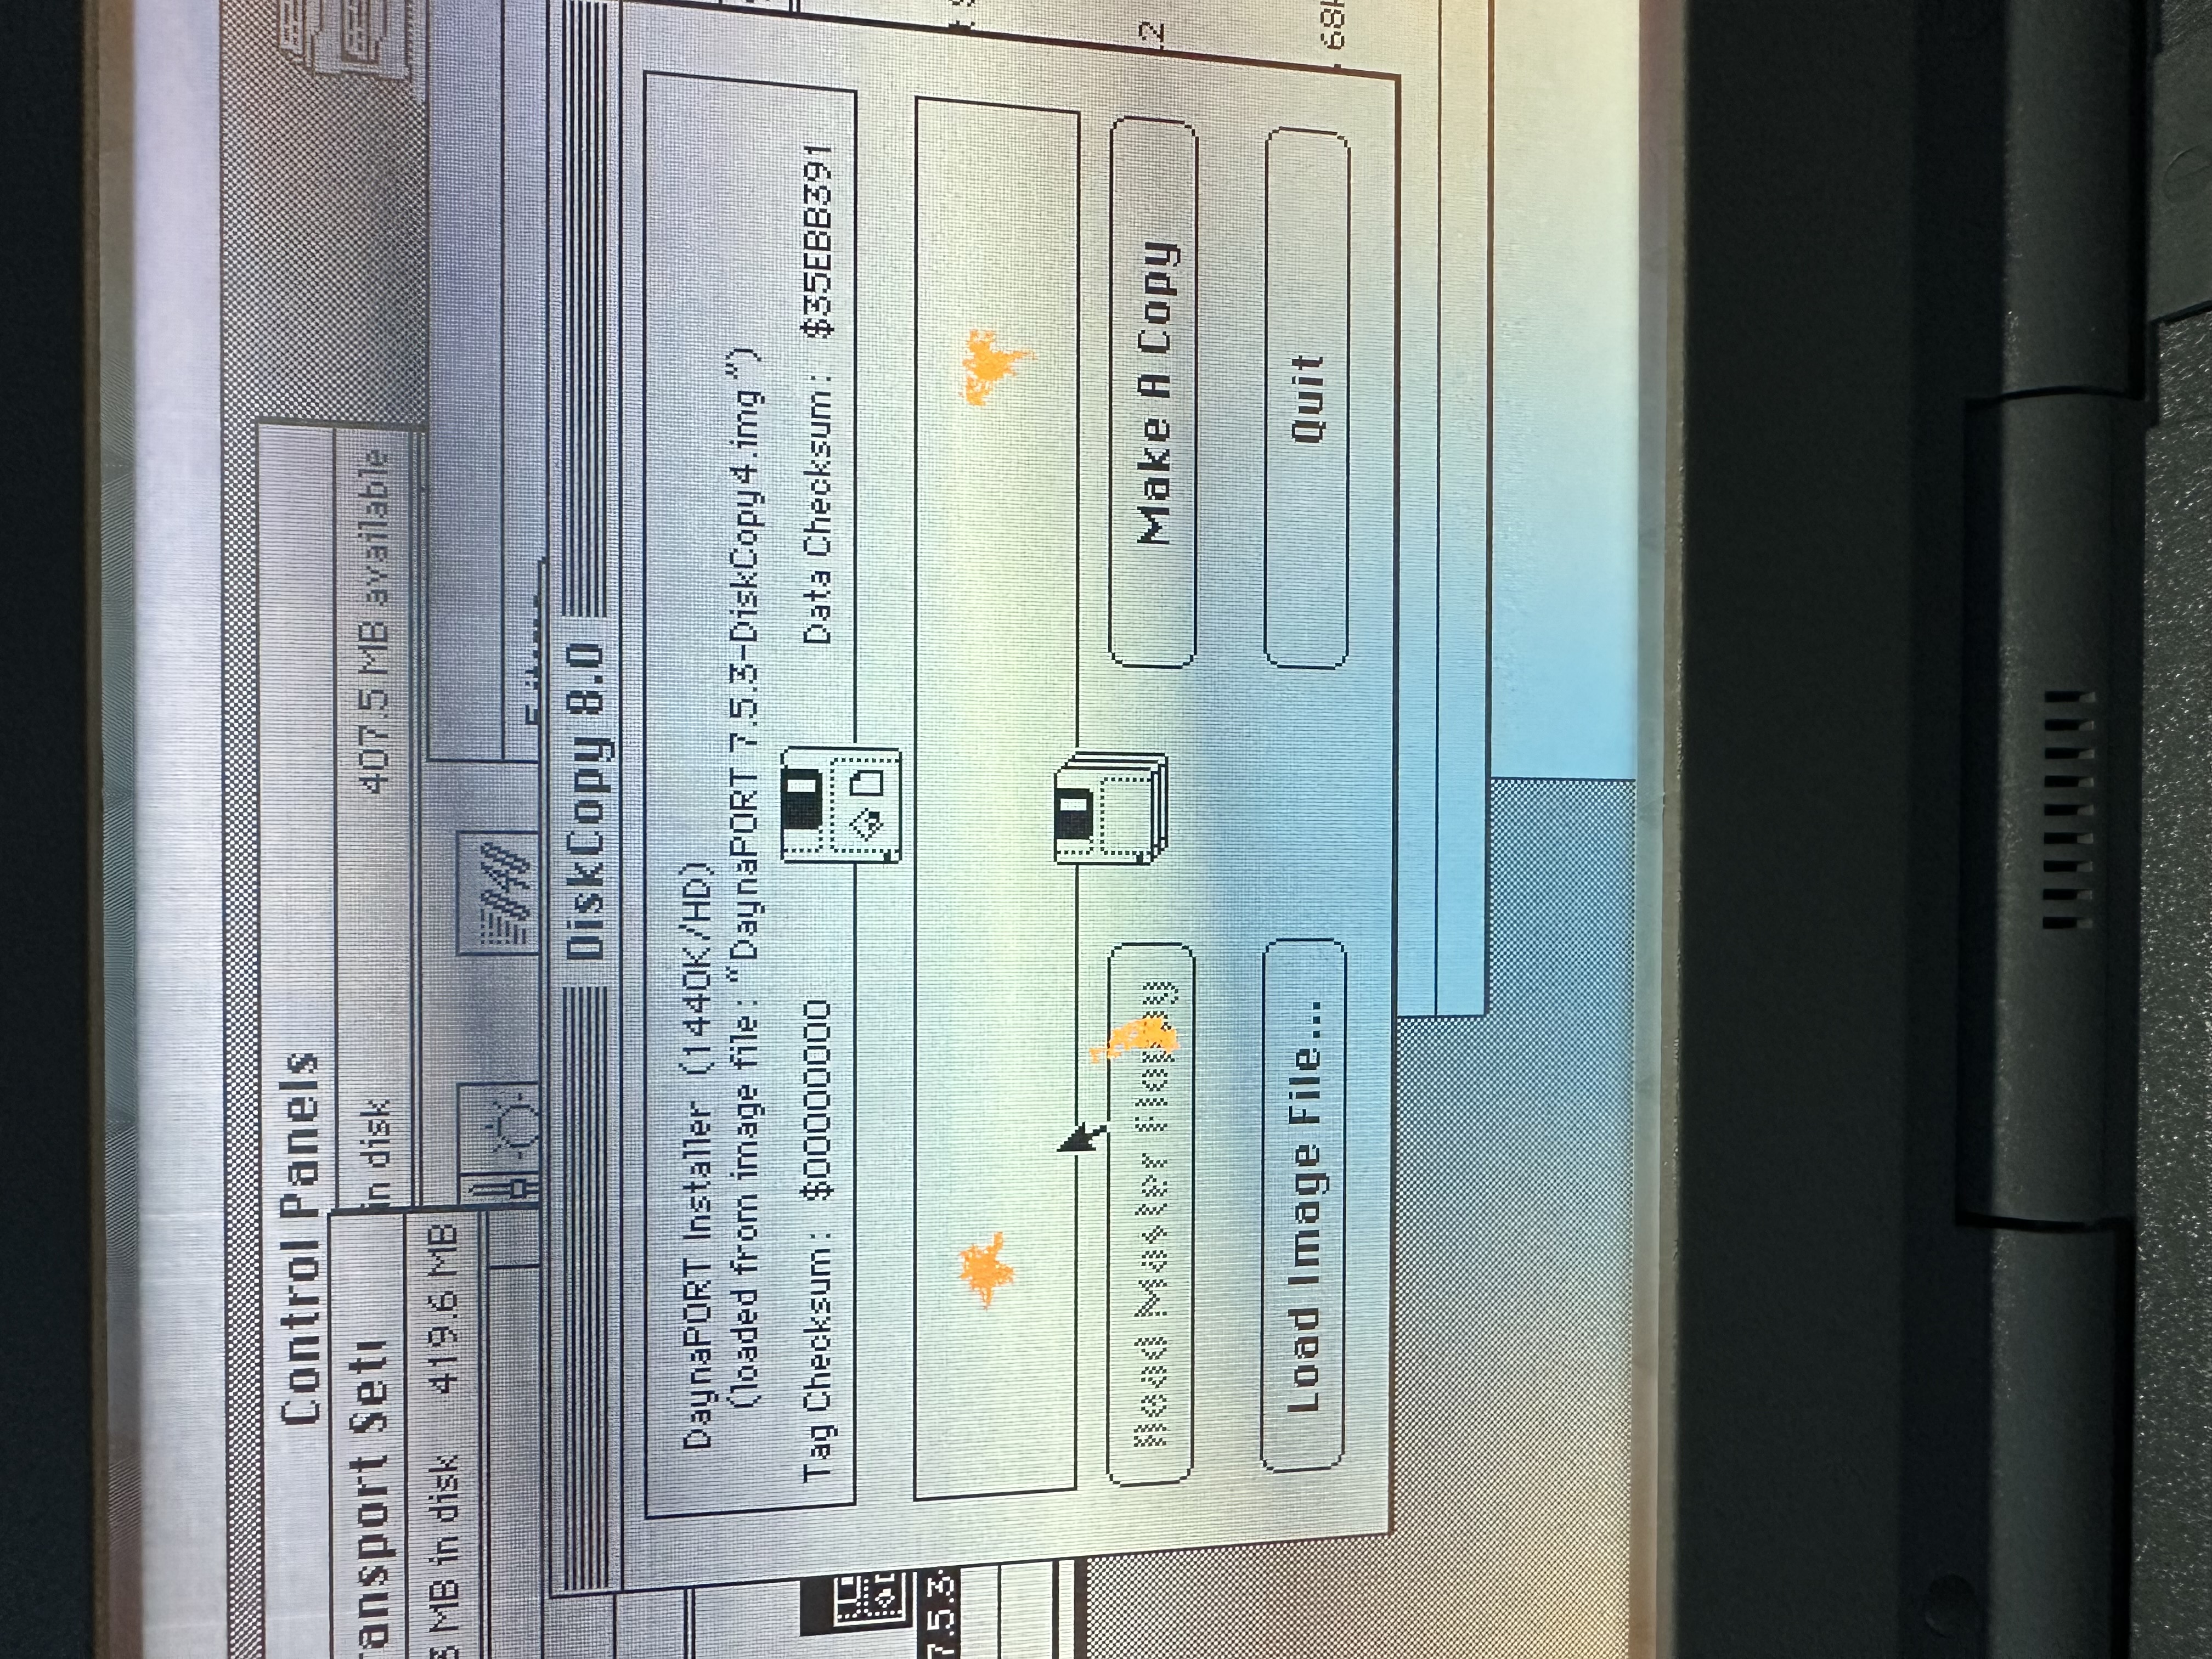
Once Disk Copy had the image loaded, the next move was not to keep poking at the mounted disk. I had to make the installer disk the way the old software expected it to exist.
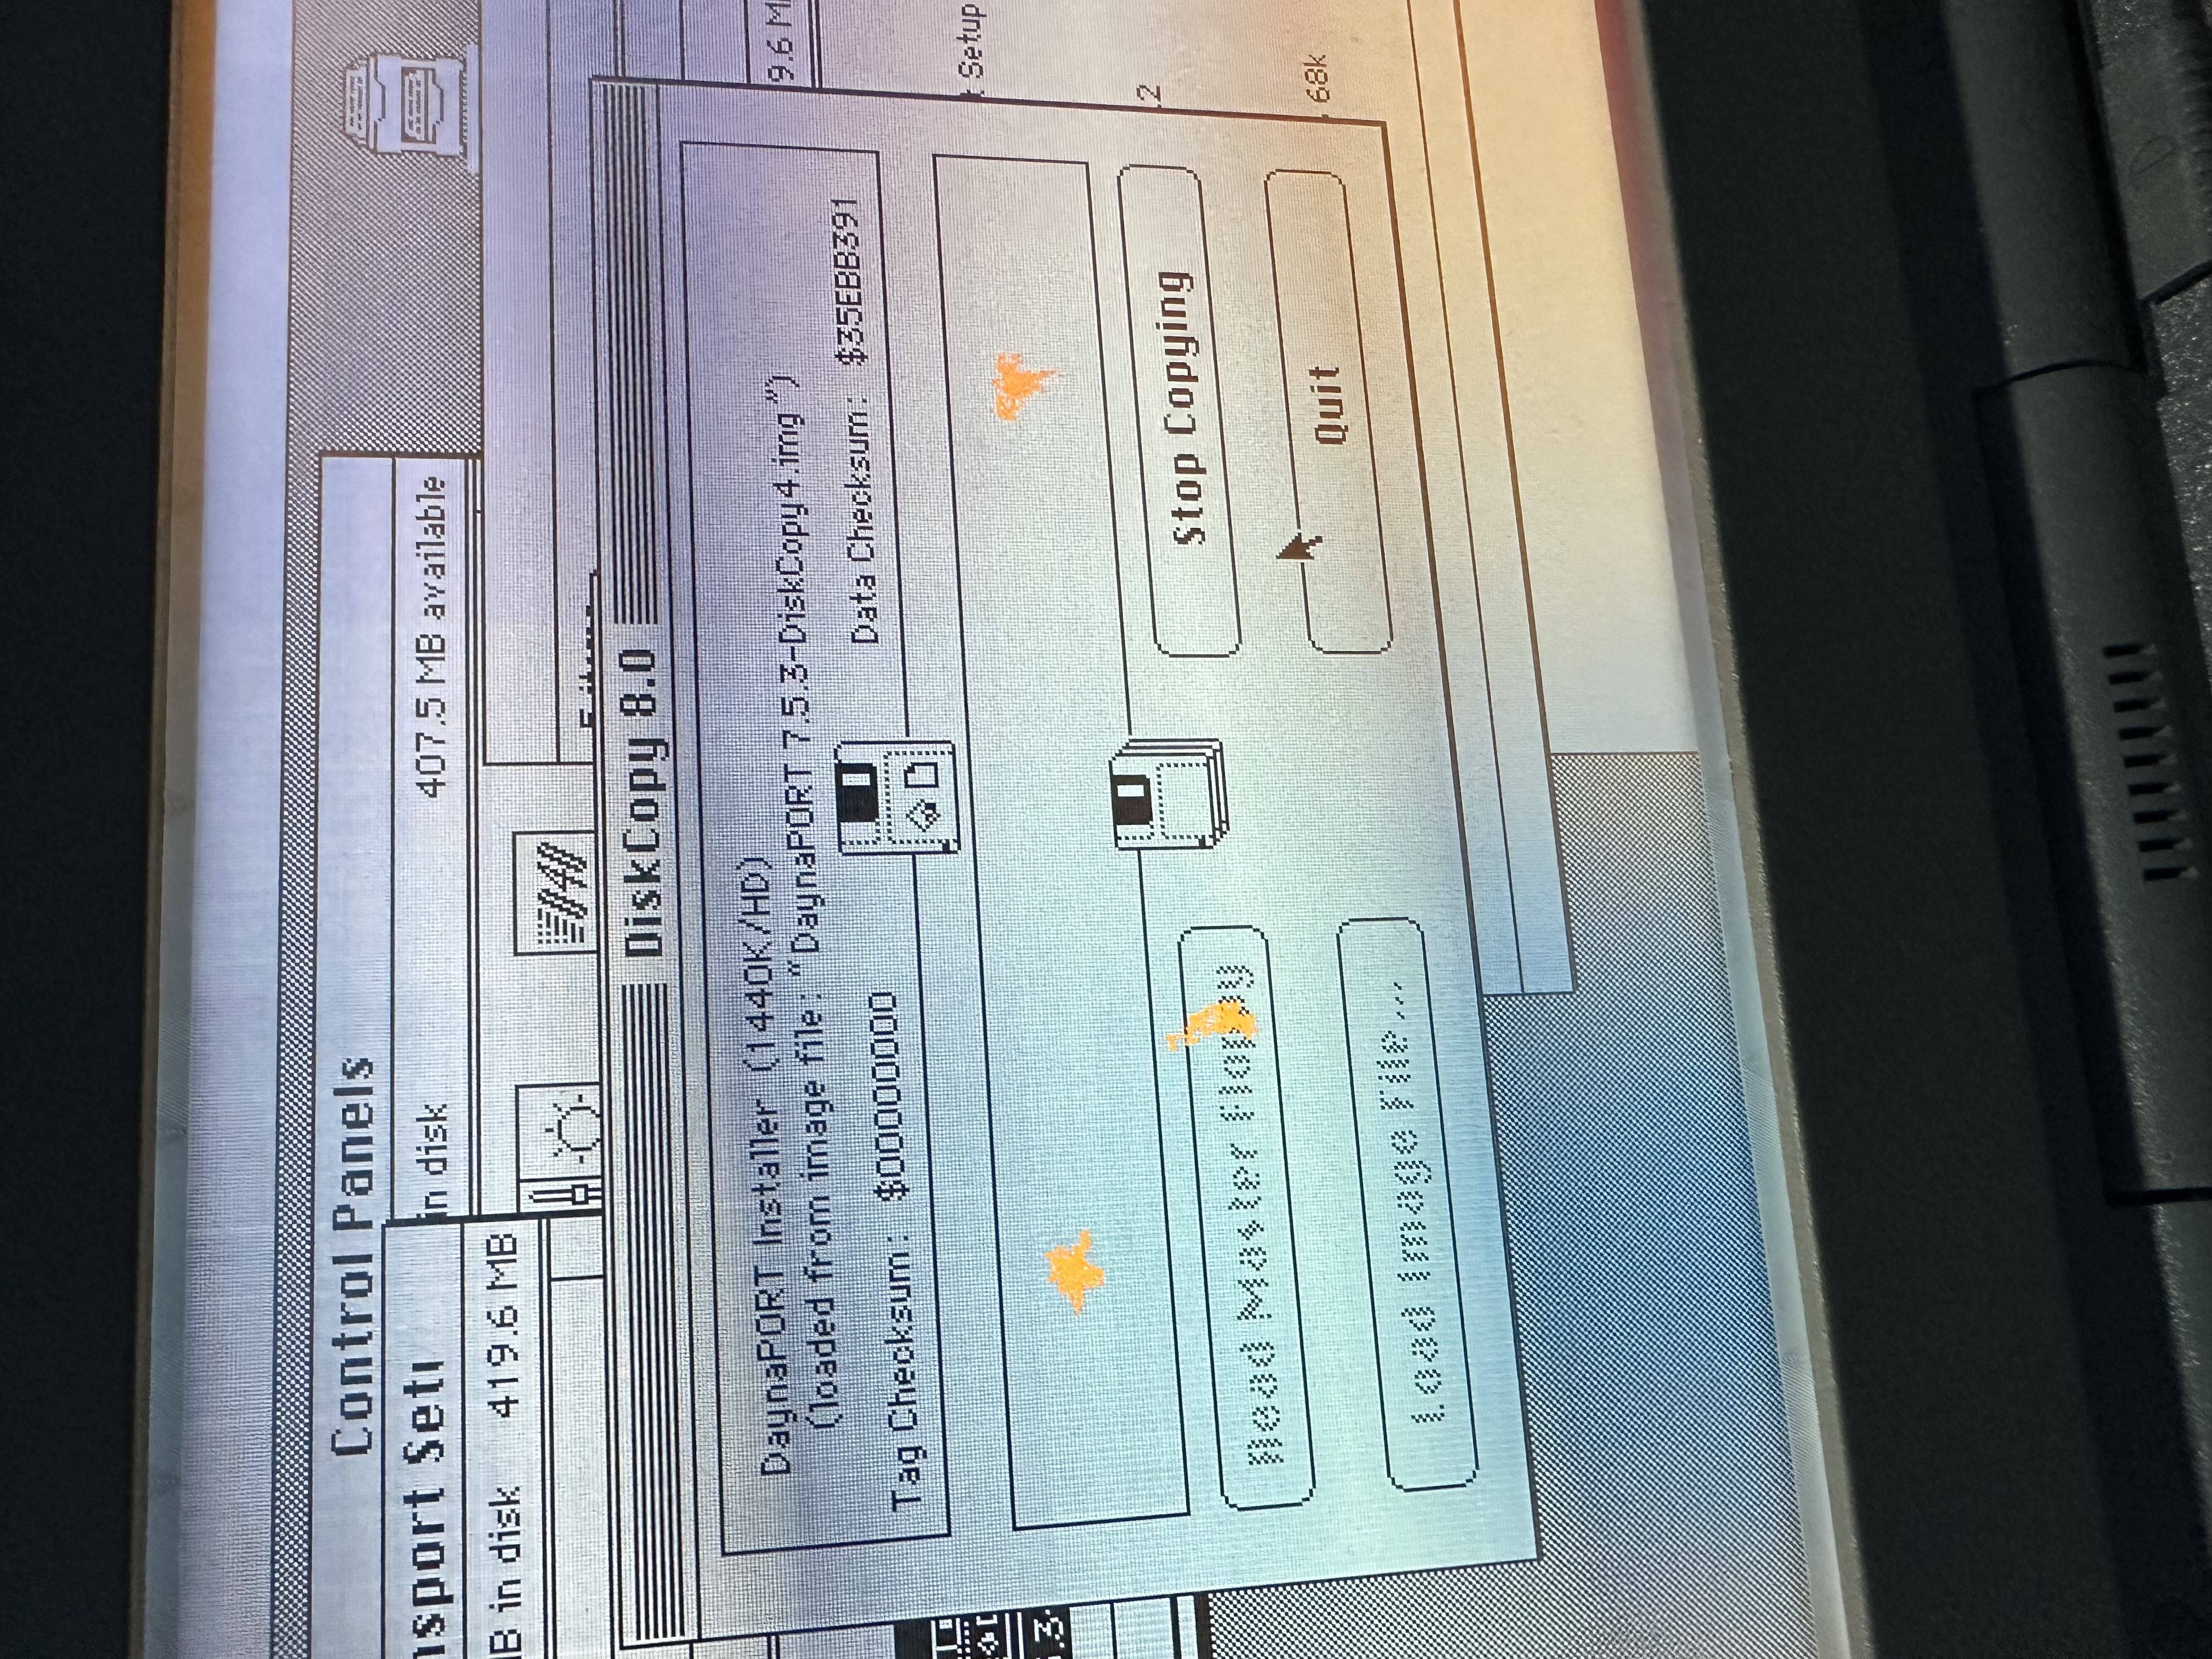
That meant letting Disk Copy initialize a physical floppy and write the DaynaPORT image to it. This was not a nostalgic extra step. It was the thing that made the installer behave.
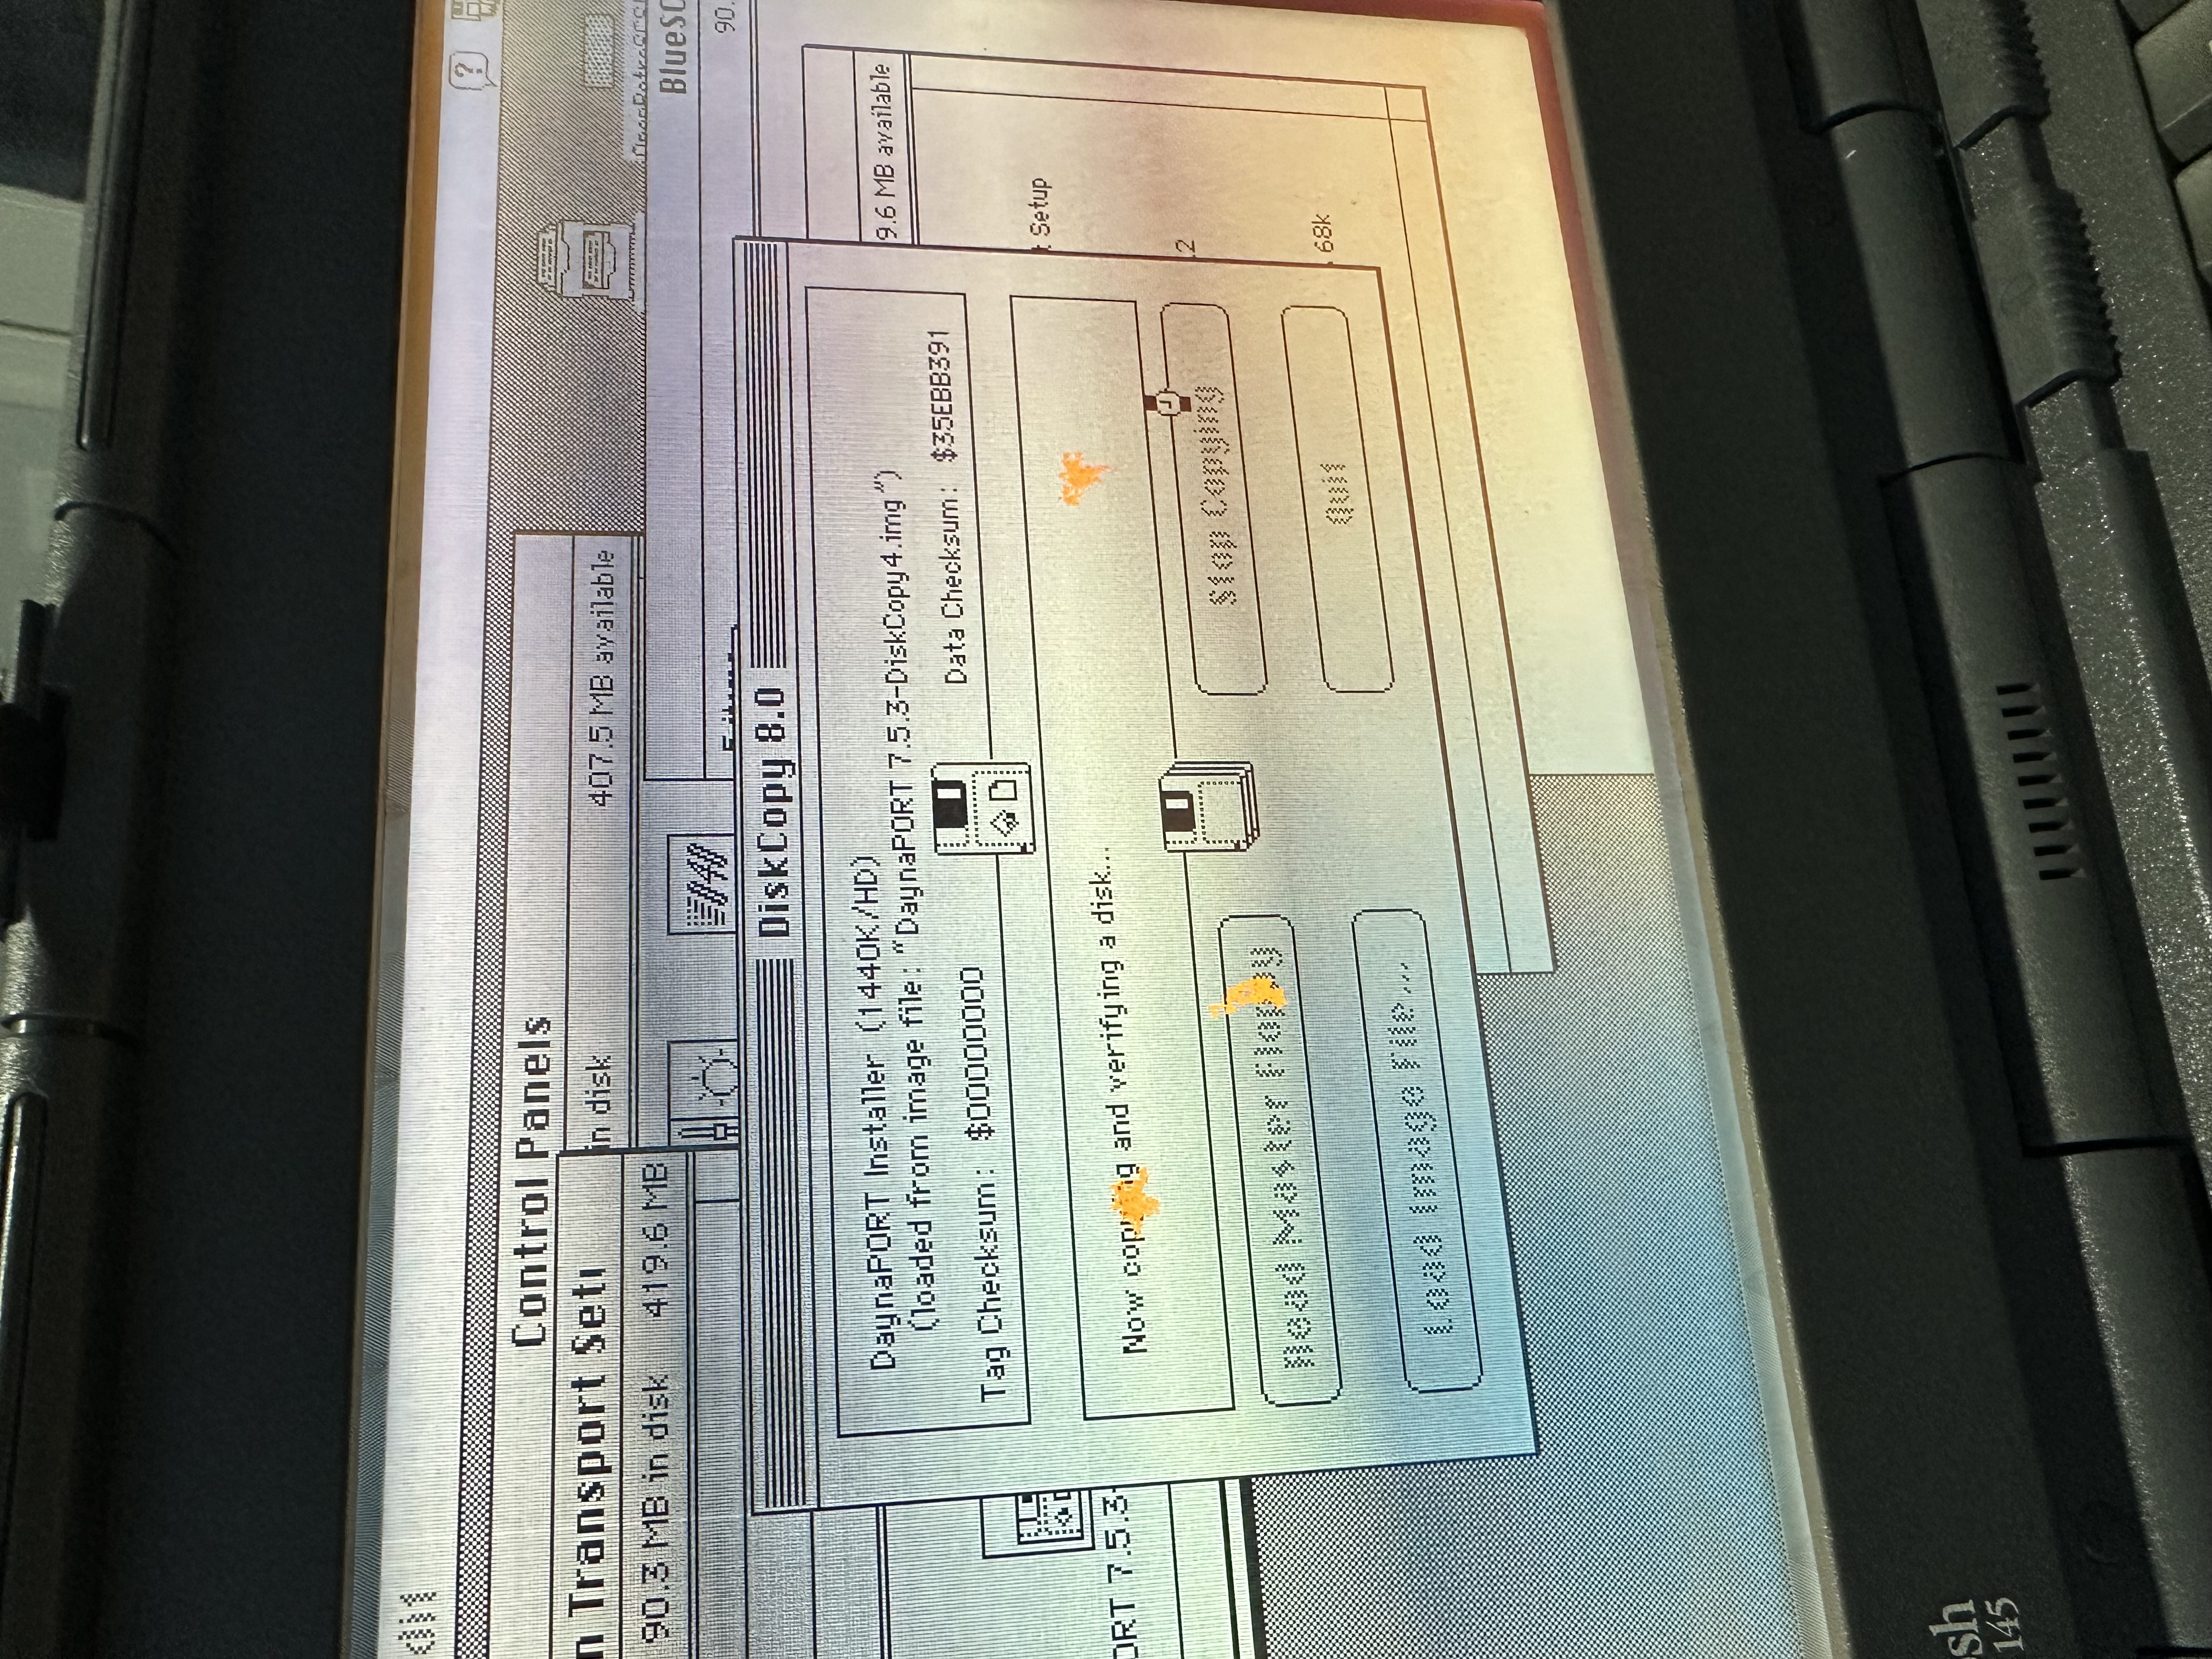
The write process had to finish cleanly before I could trust the disk. Until that point, I did not have install media; I had an image file and a theory.
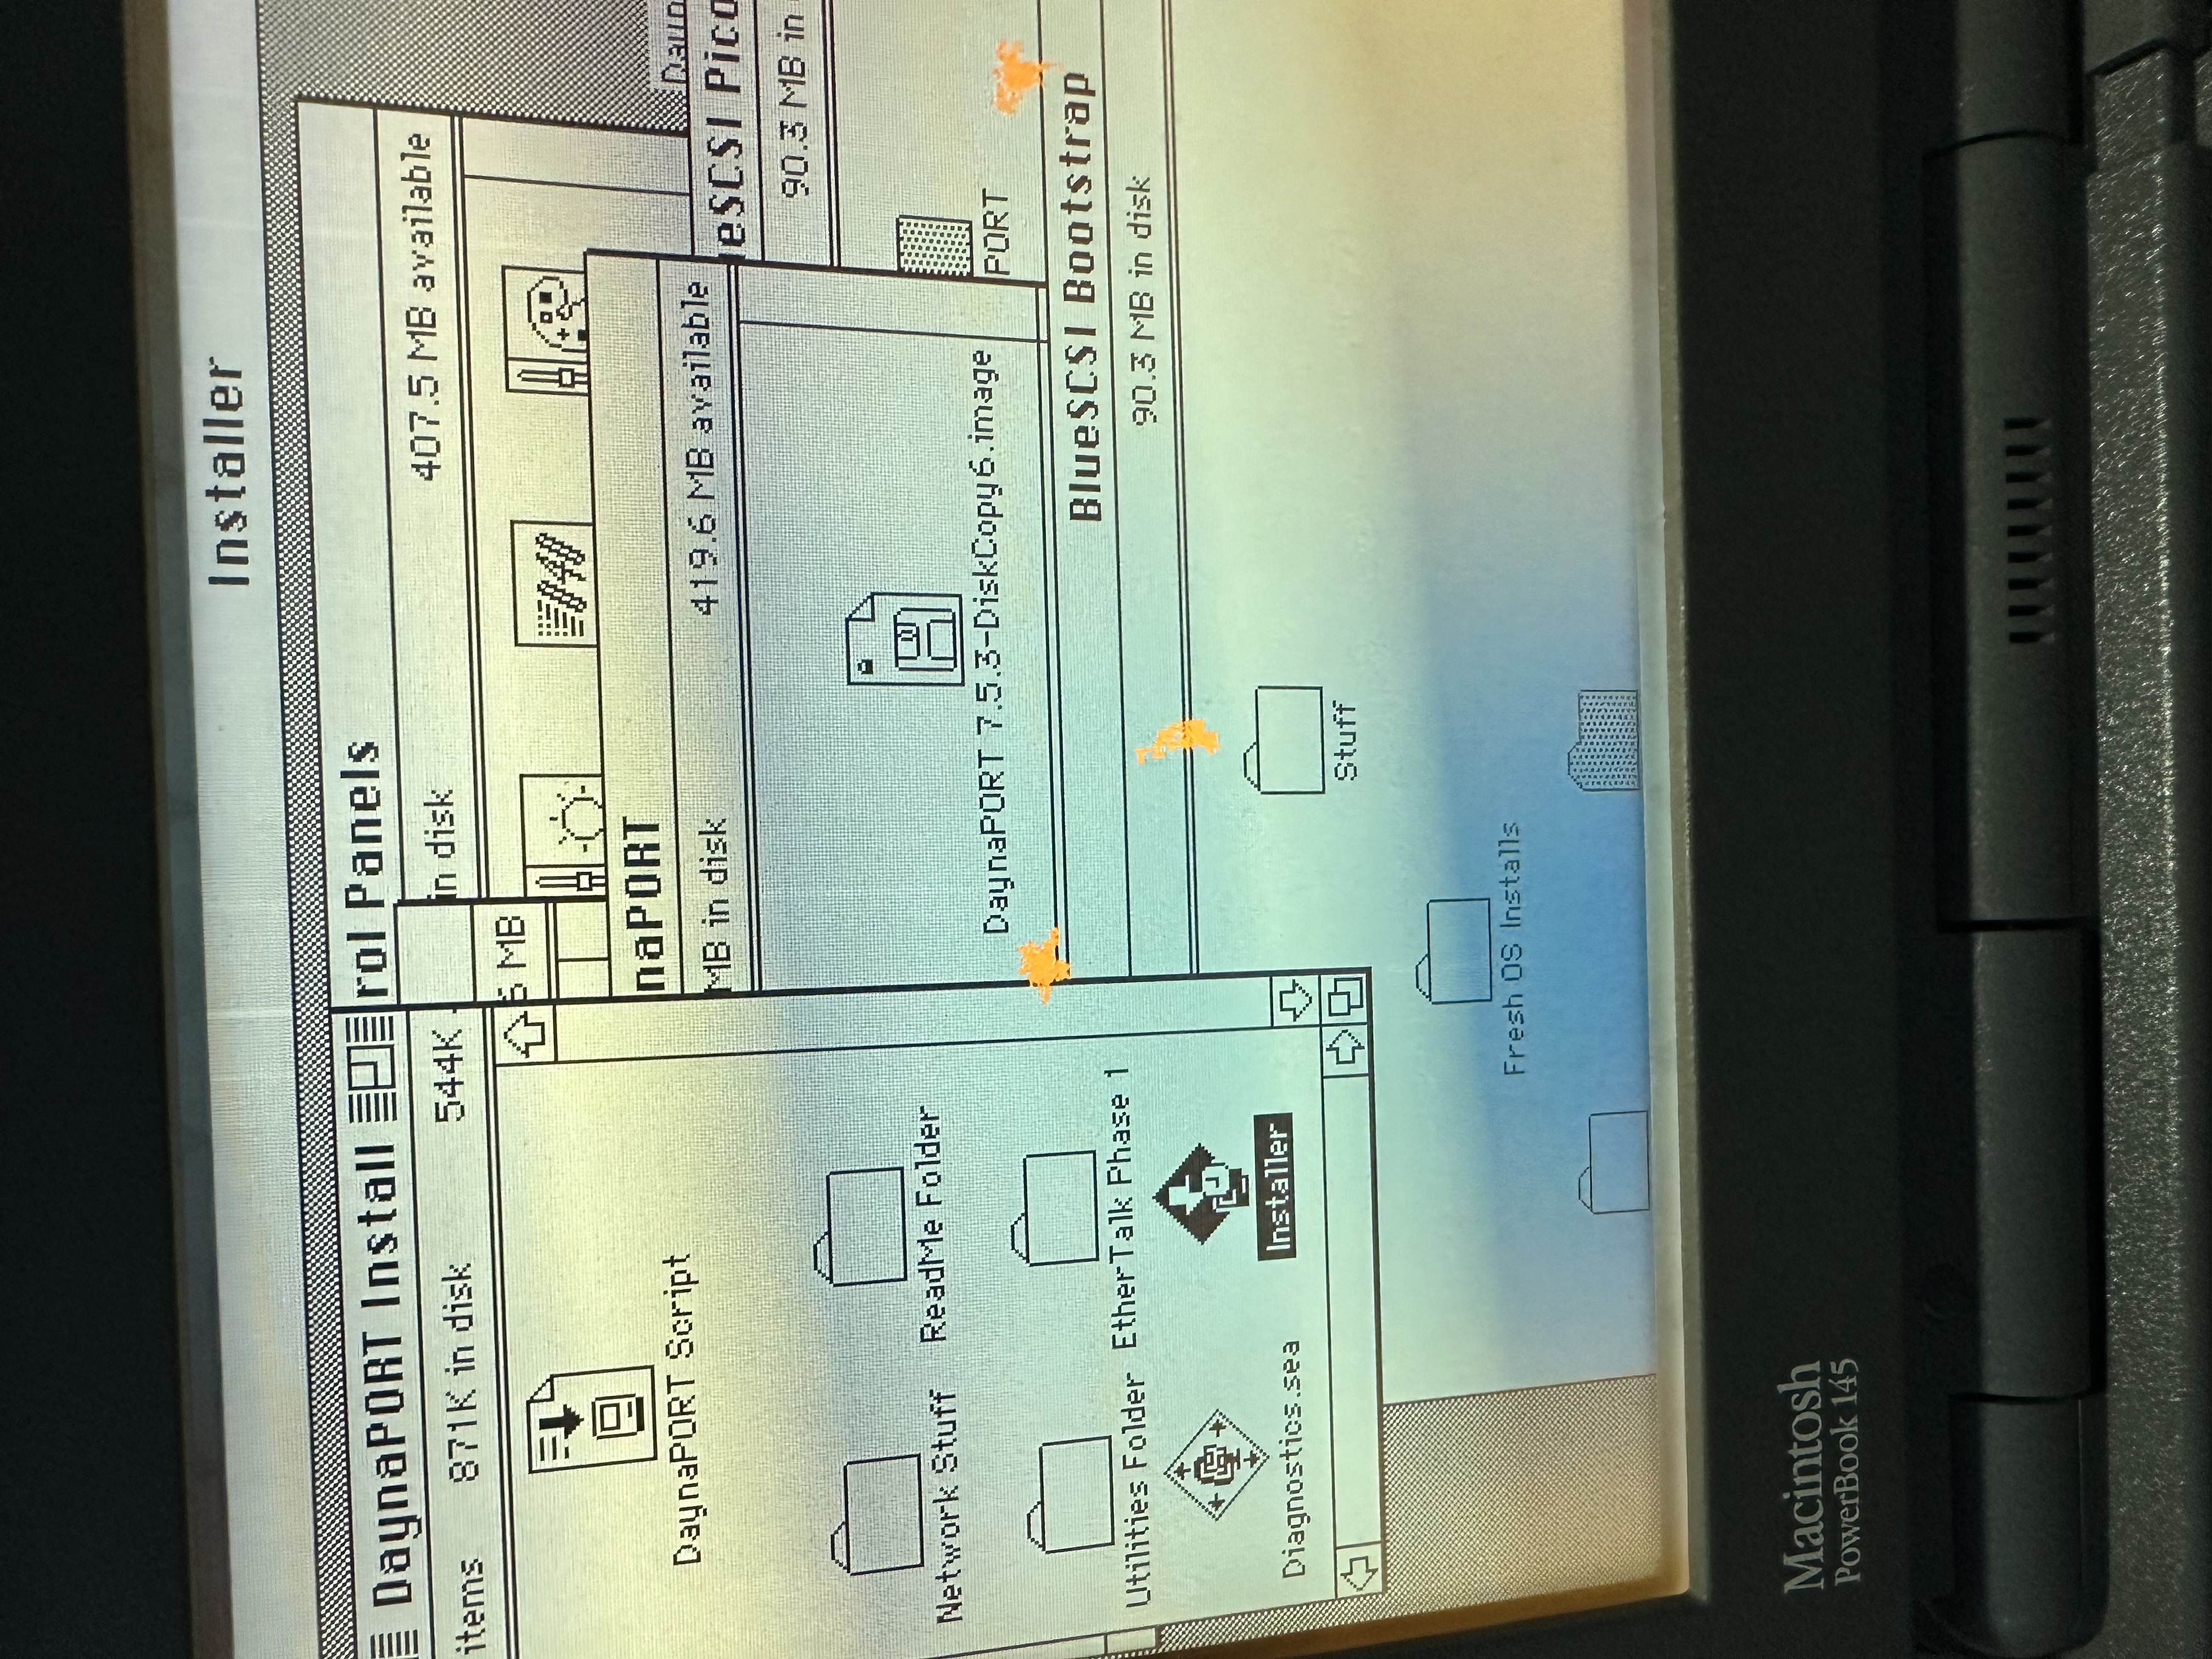
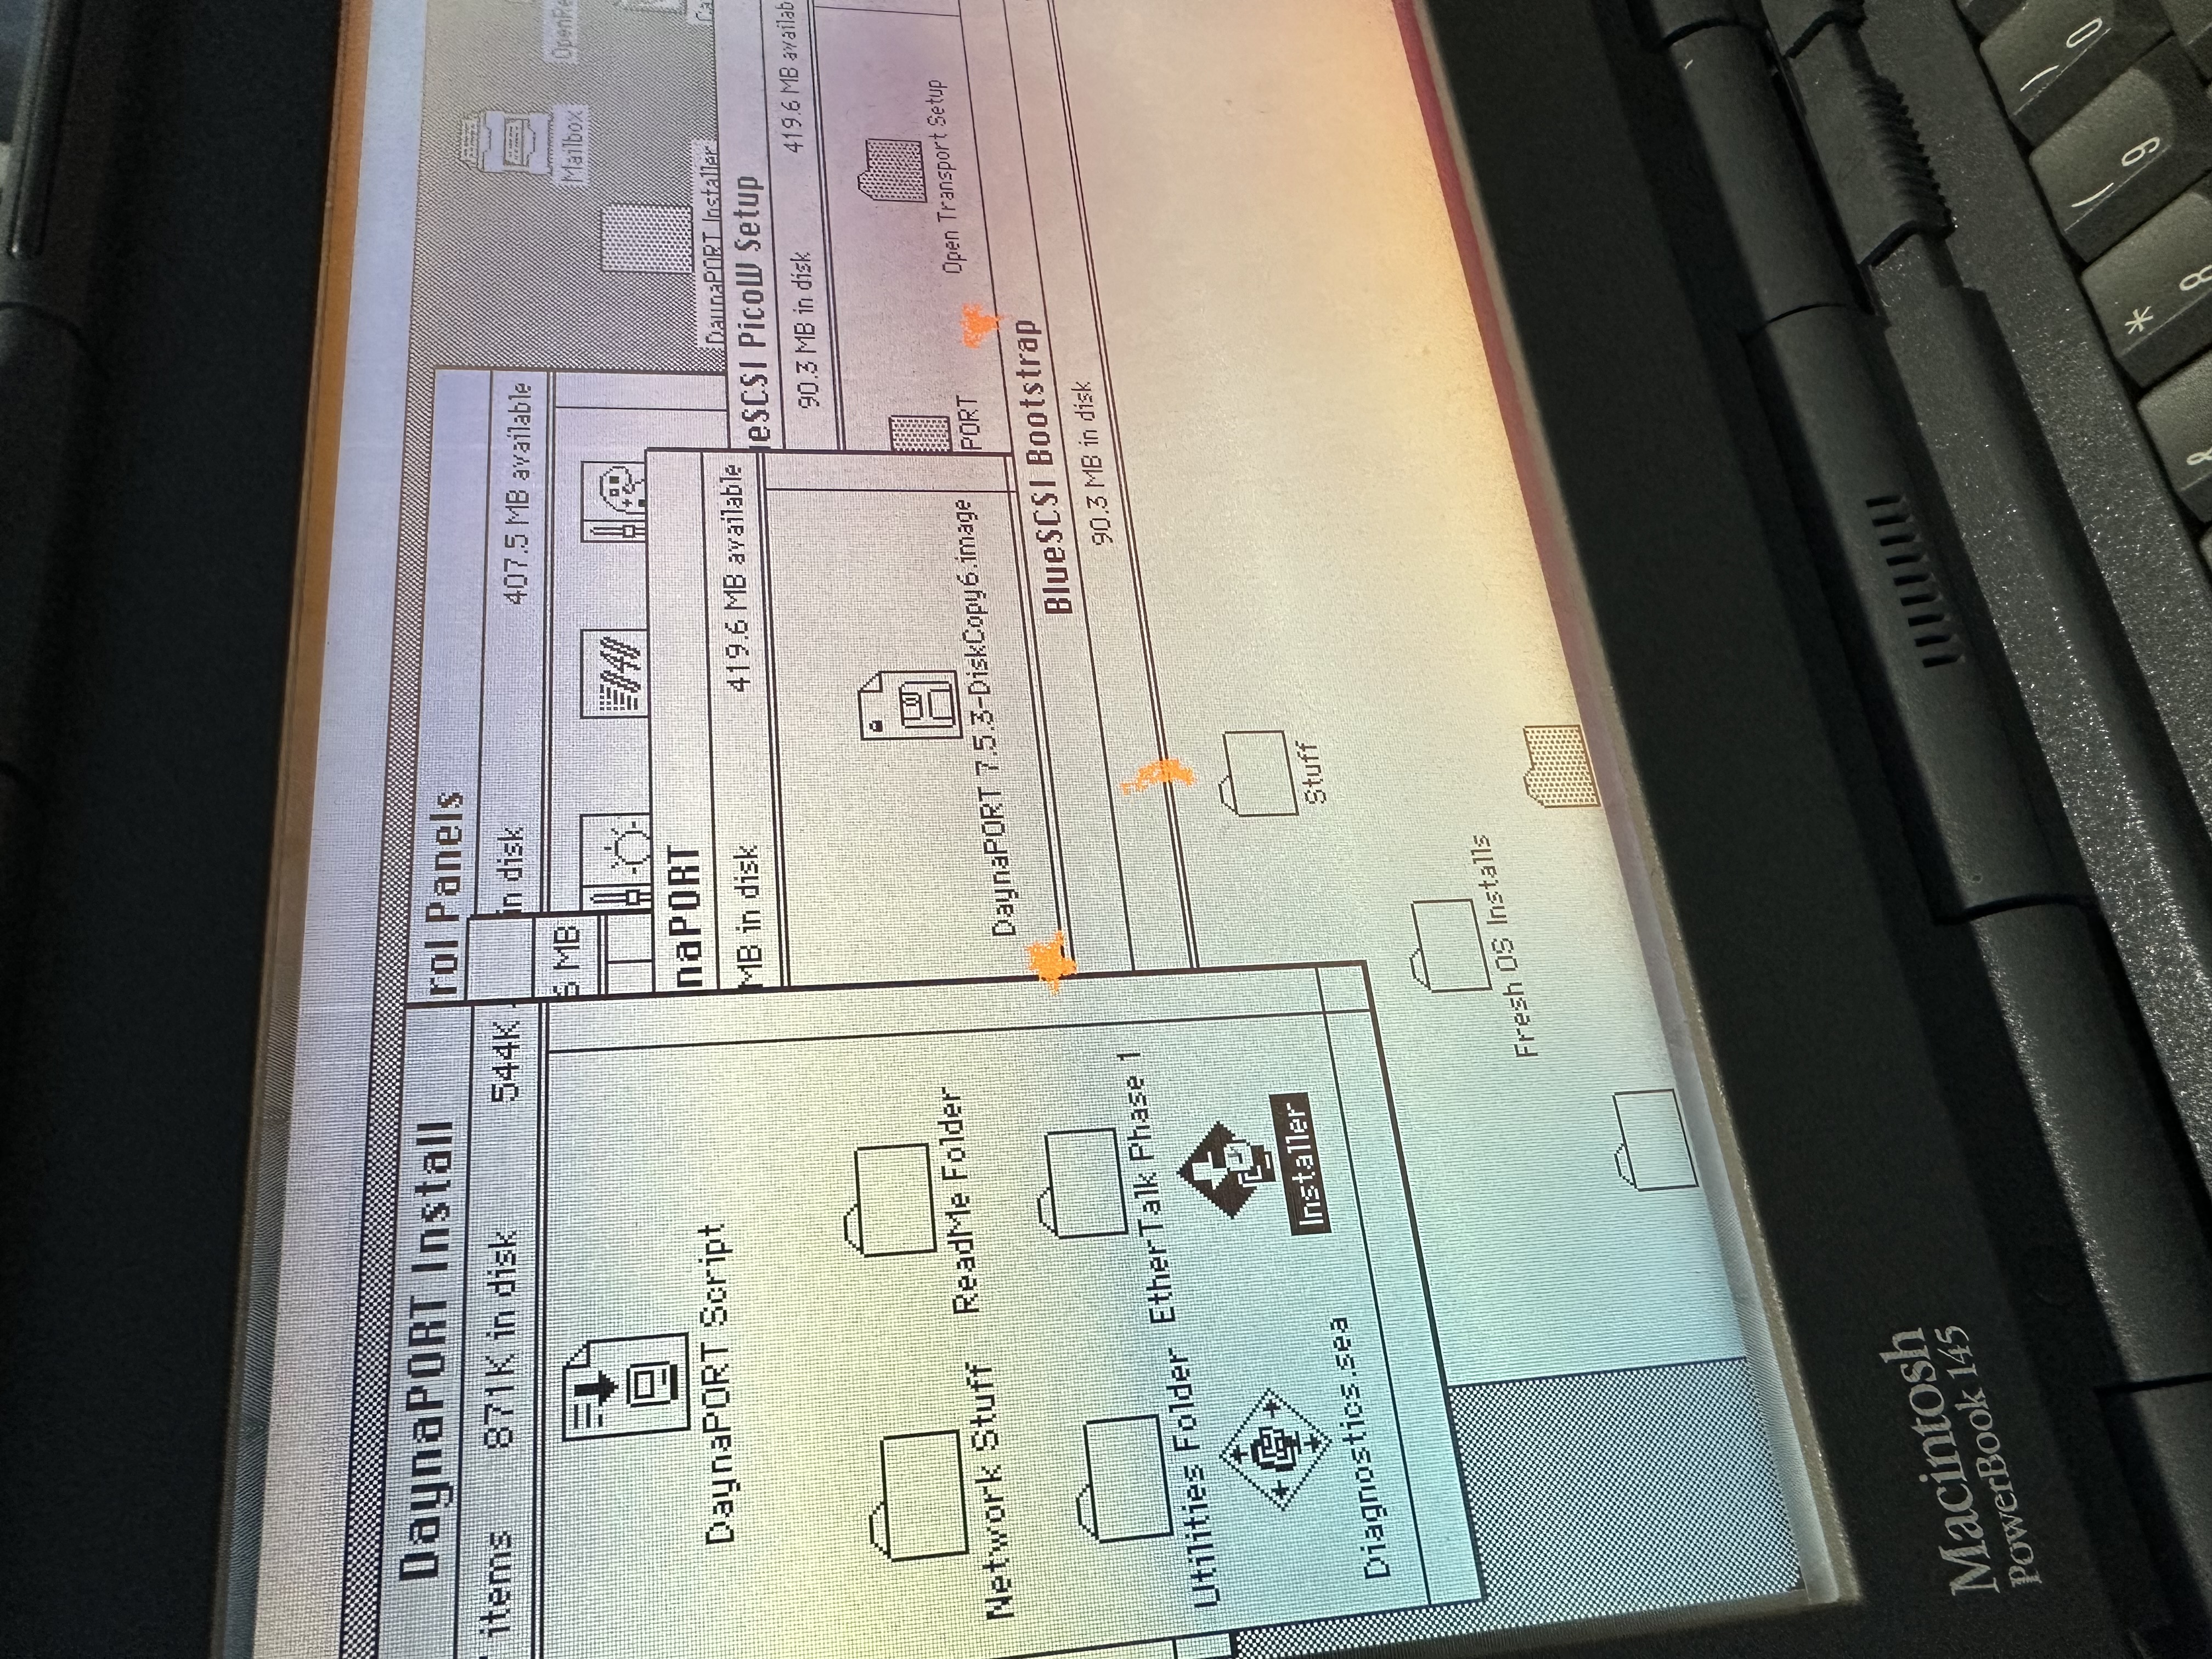
Once the floppy existed, the DaynaPORT installer disk showed up like real media on the PowerBook. That was the first point where the installer path started to look normal.
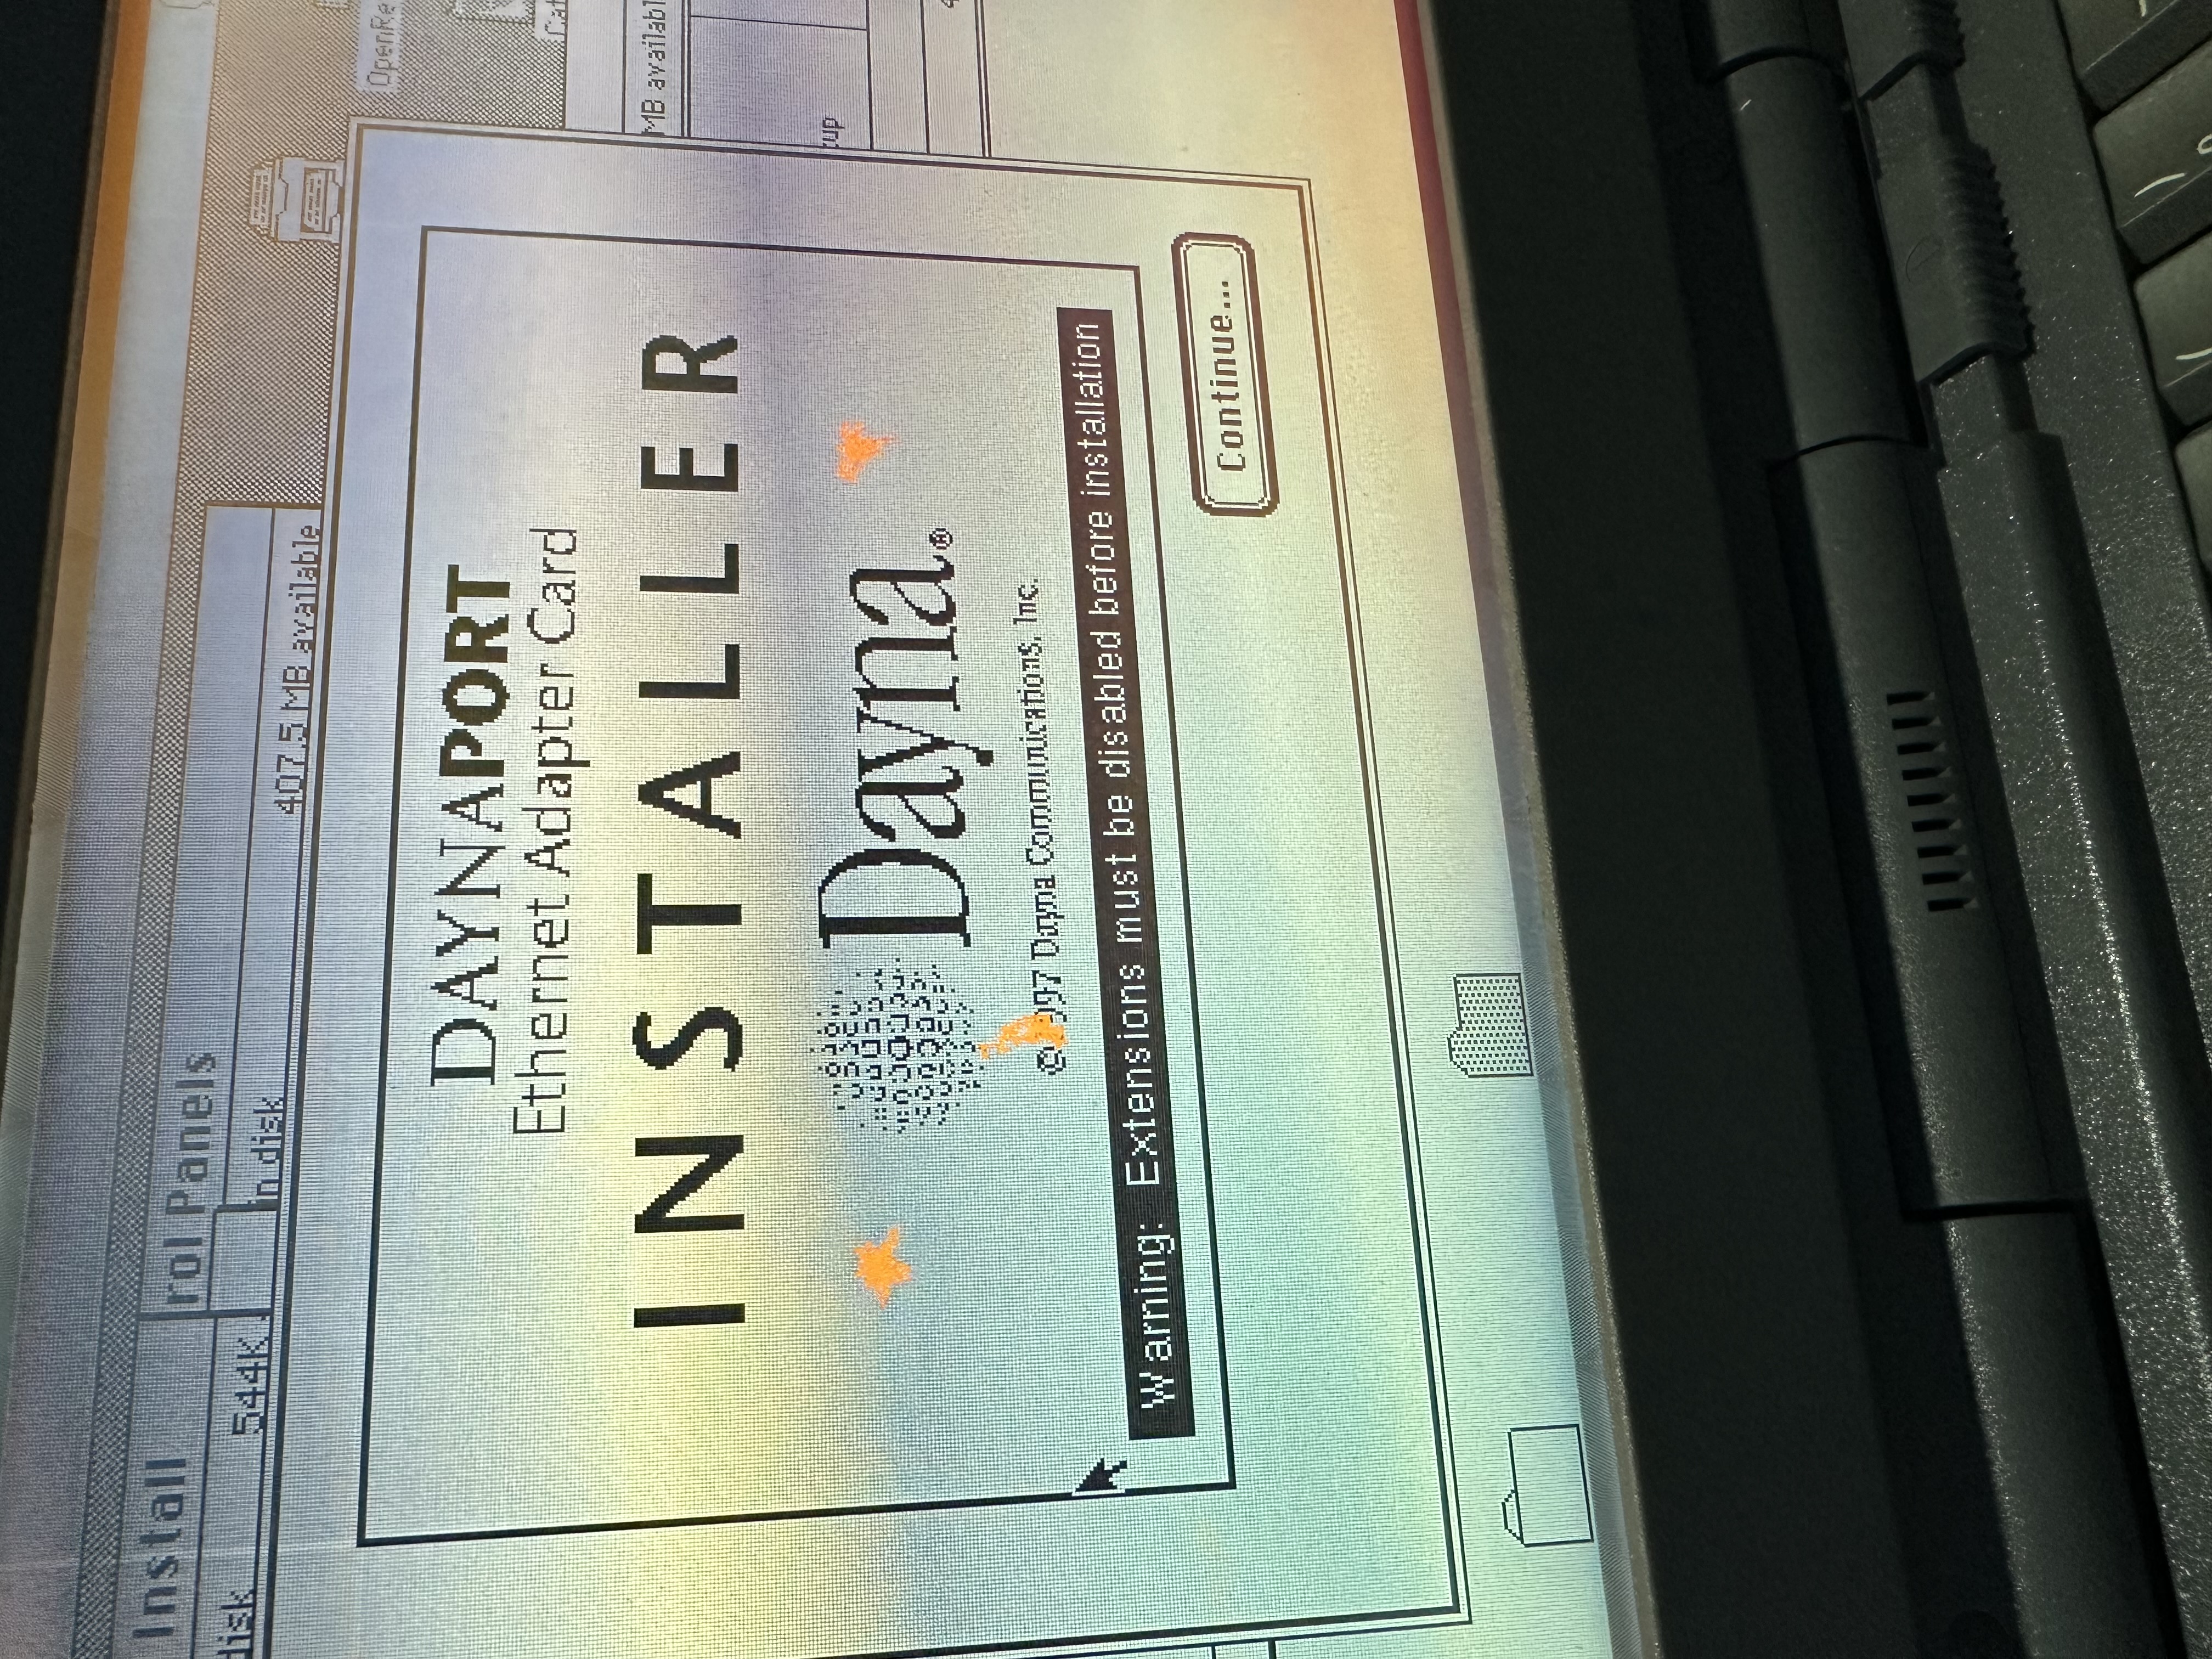
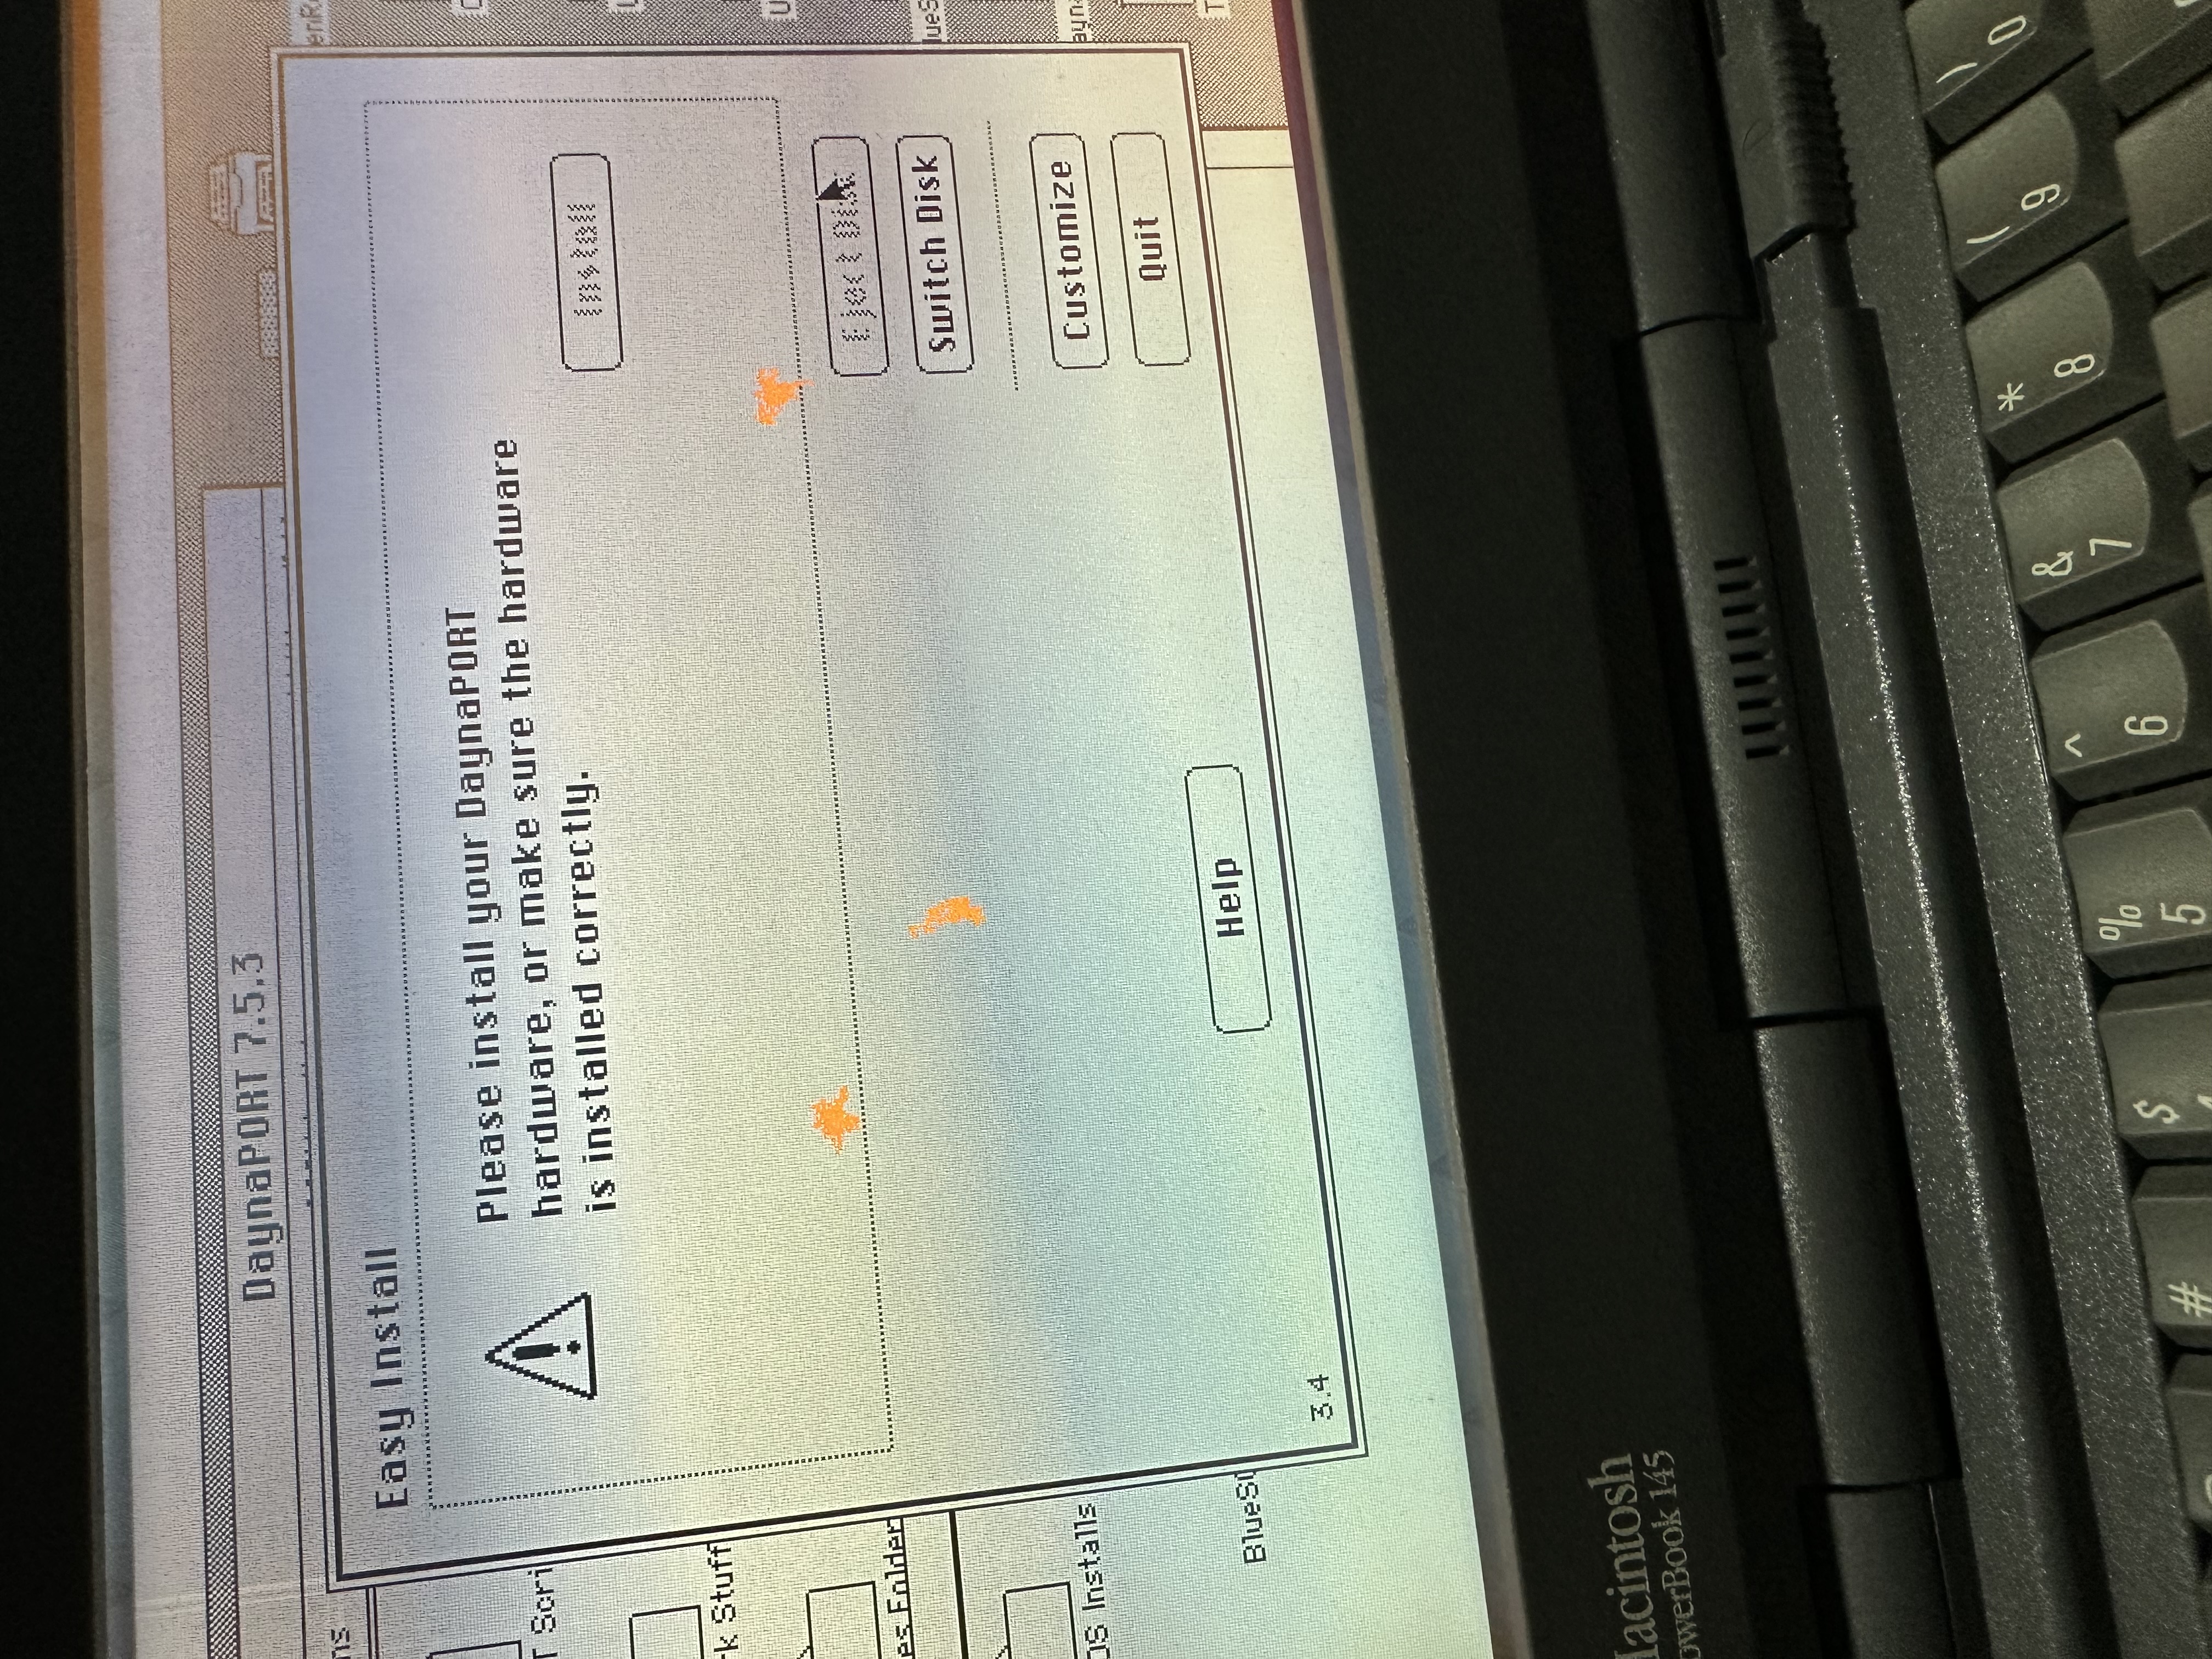
The installer still warned that extensions needed to be disabled before installation. This is one of those classic Mac details that matters: the storage replacement can work, the SD card can boot, and the networking installer can still require the system to be in the right startup state.
The BlueSCSI Wi-Fi desk accessory was a separate piece of the setup. It was not the DaynaPORT driver itself. It gave me a classic Mac-side way to work with the BlueSCSI Wi-Fi device instead of only trusting the SD card configuration.
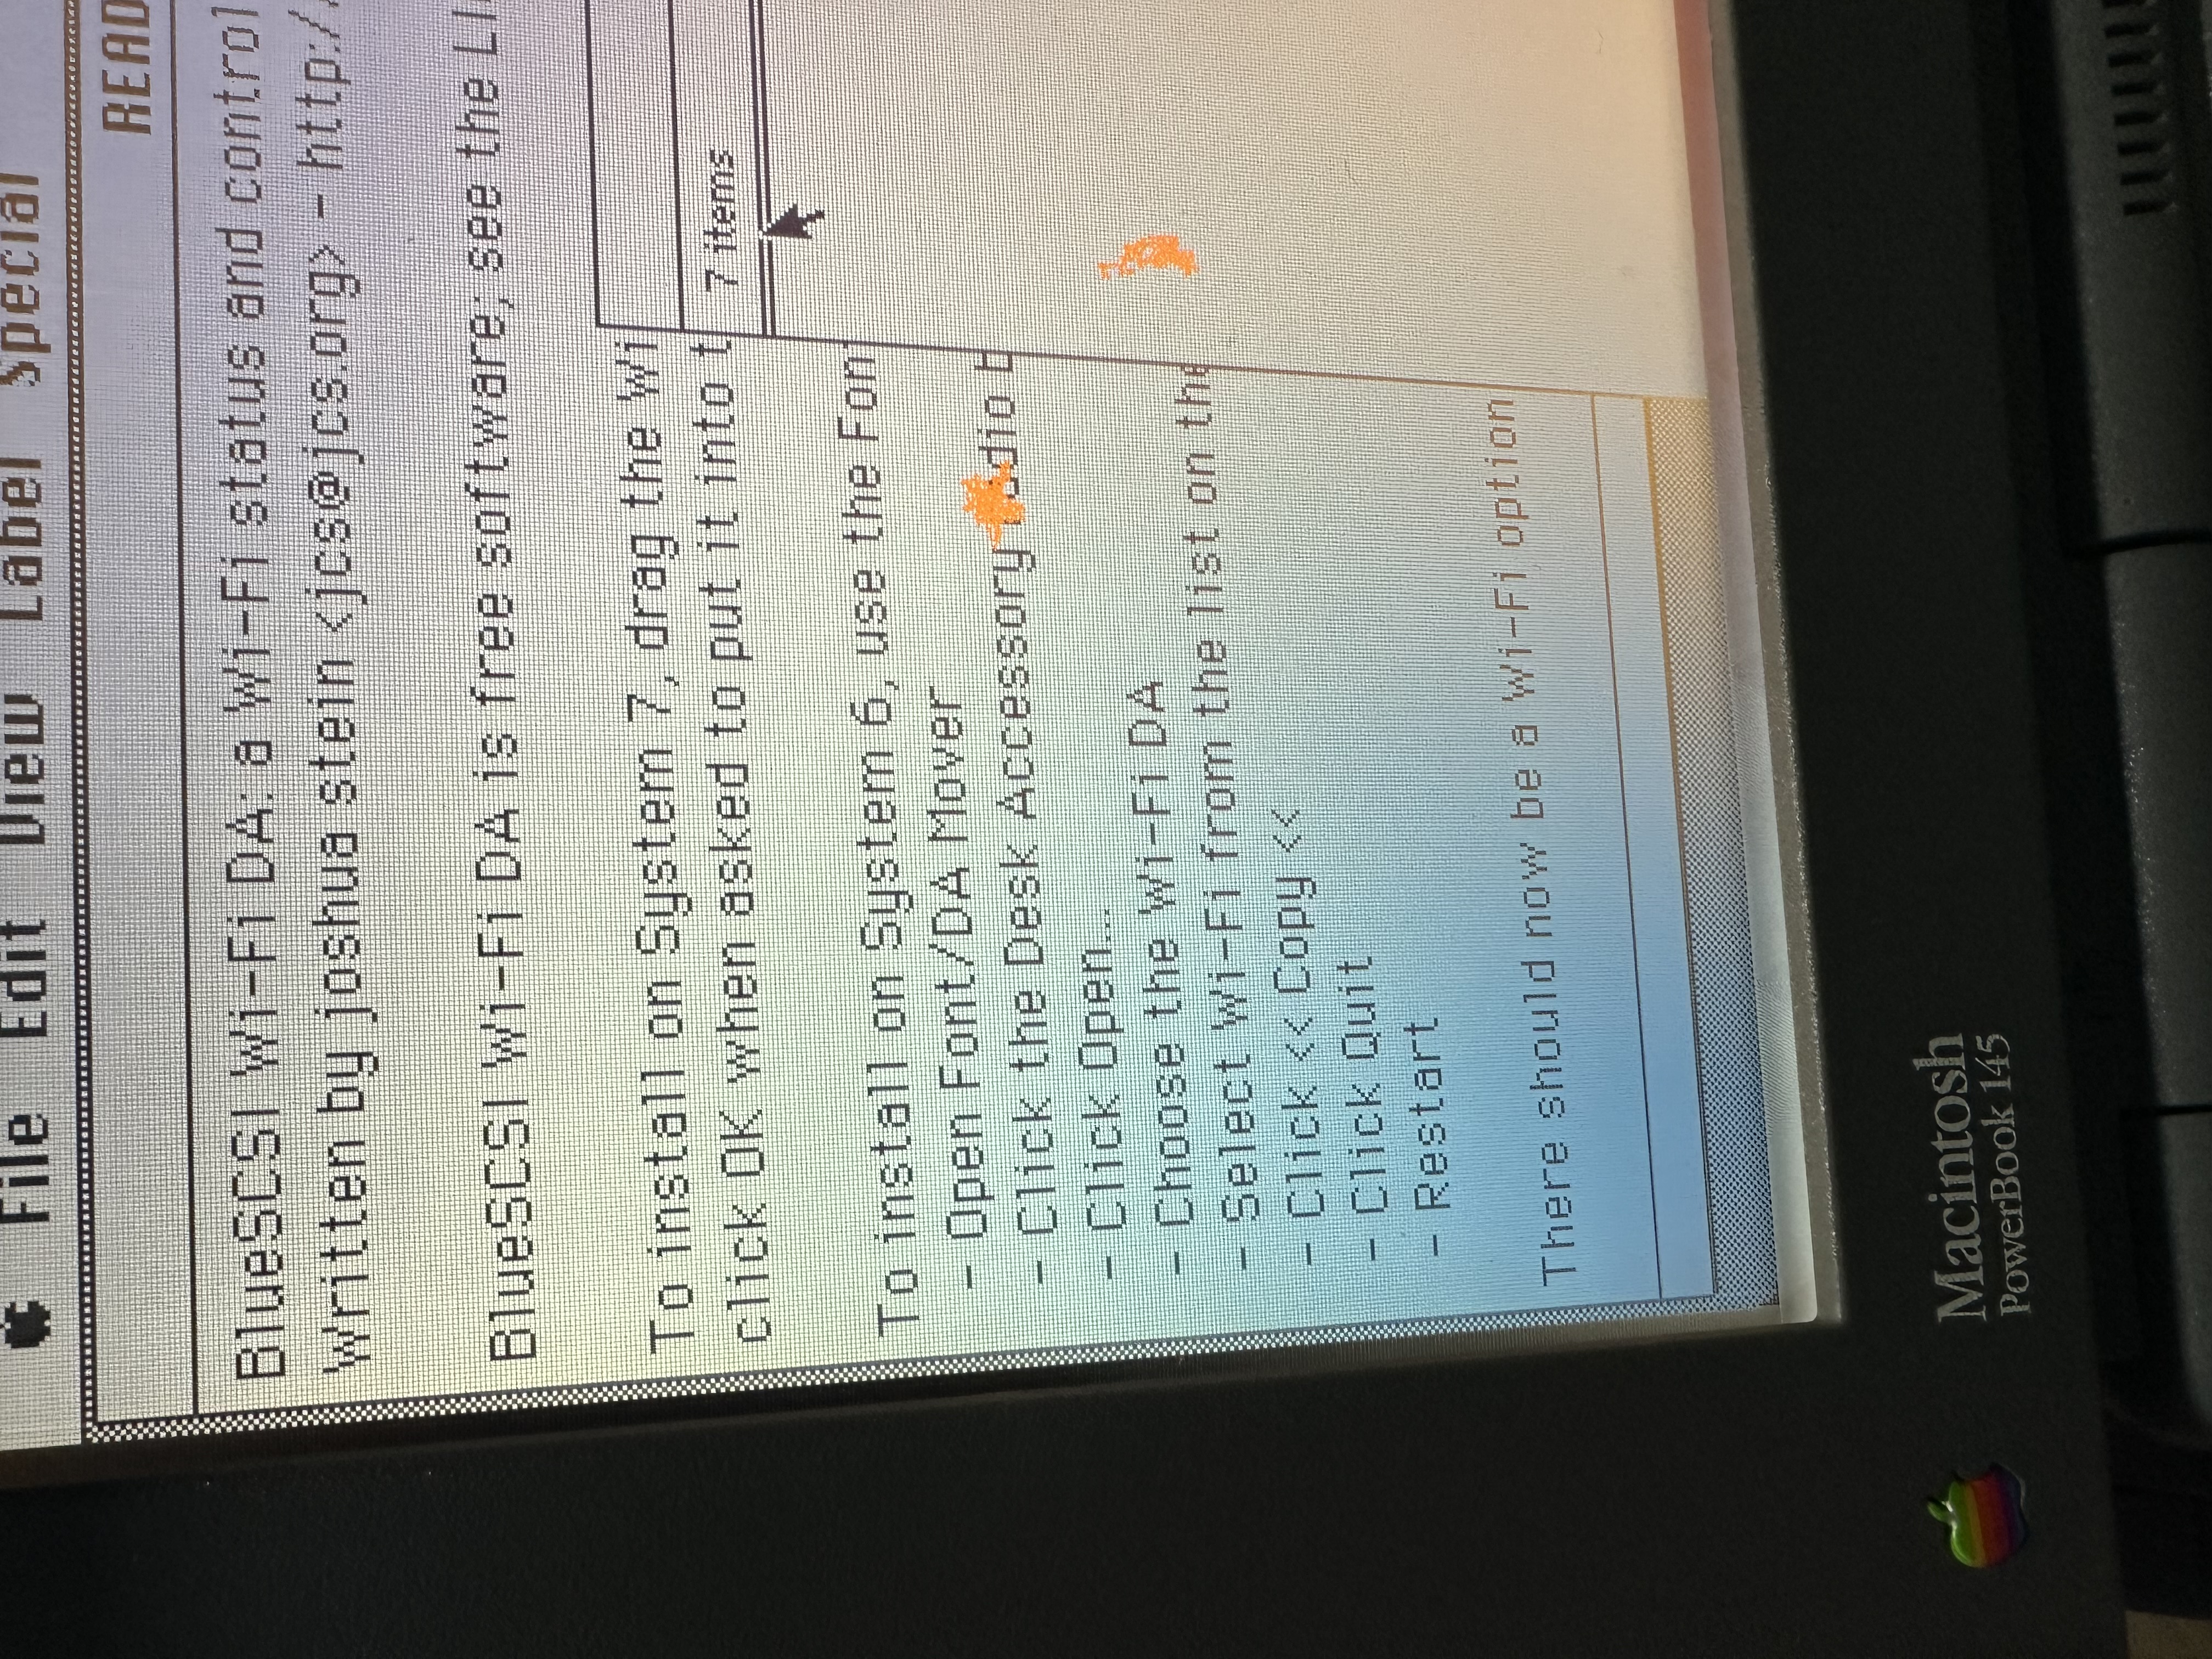
To install that, I had to use the old DA Mover workflow. On System 7, getting a desk accessory into the system is its own operation, not just dropping an app somewhere convenient.
The next step was selecting the BlueSCSI Wi-Fi DA for installation. This is the software hook that later lets the PowerBook see the Wi-Fi side from the Apple menu.
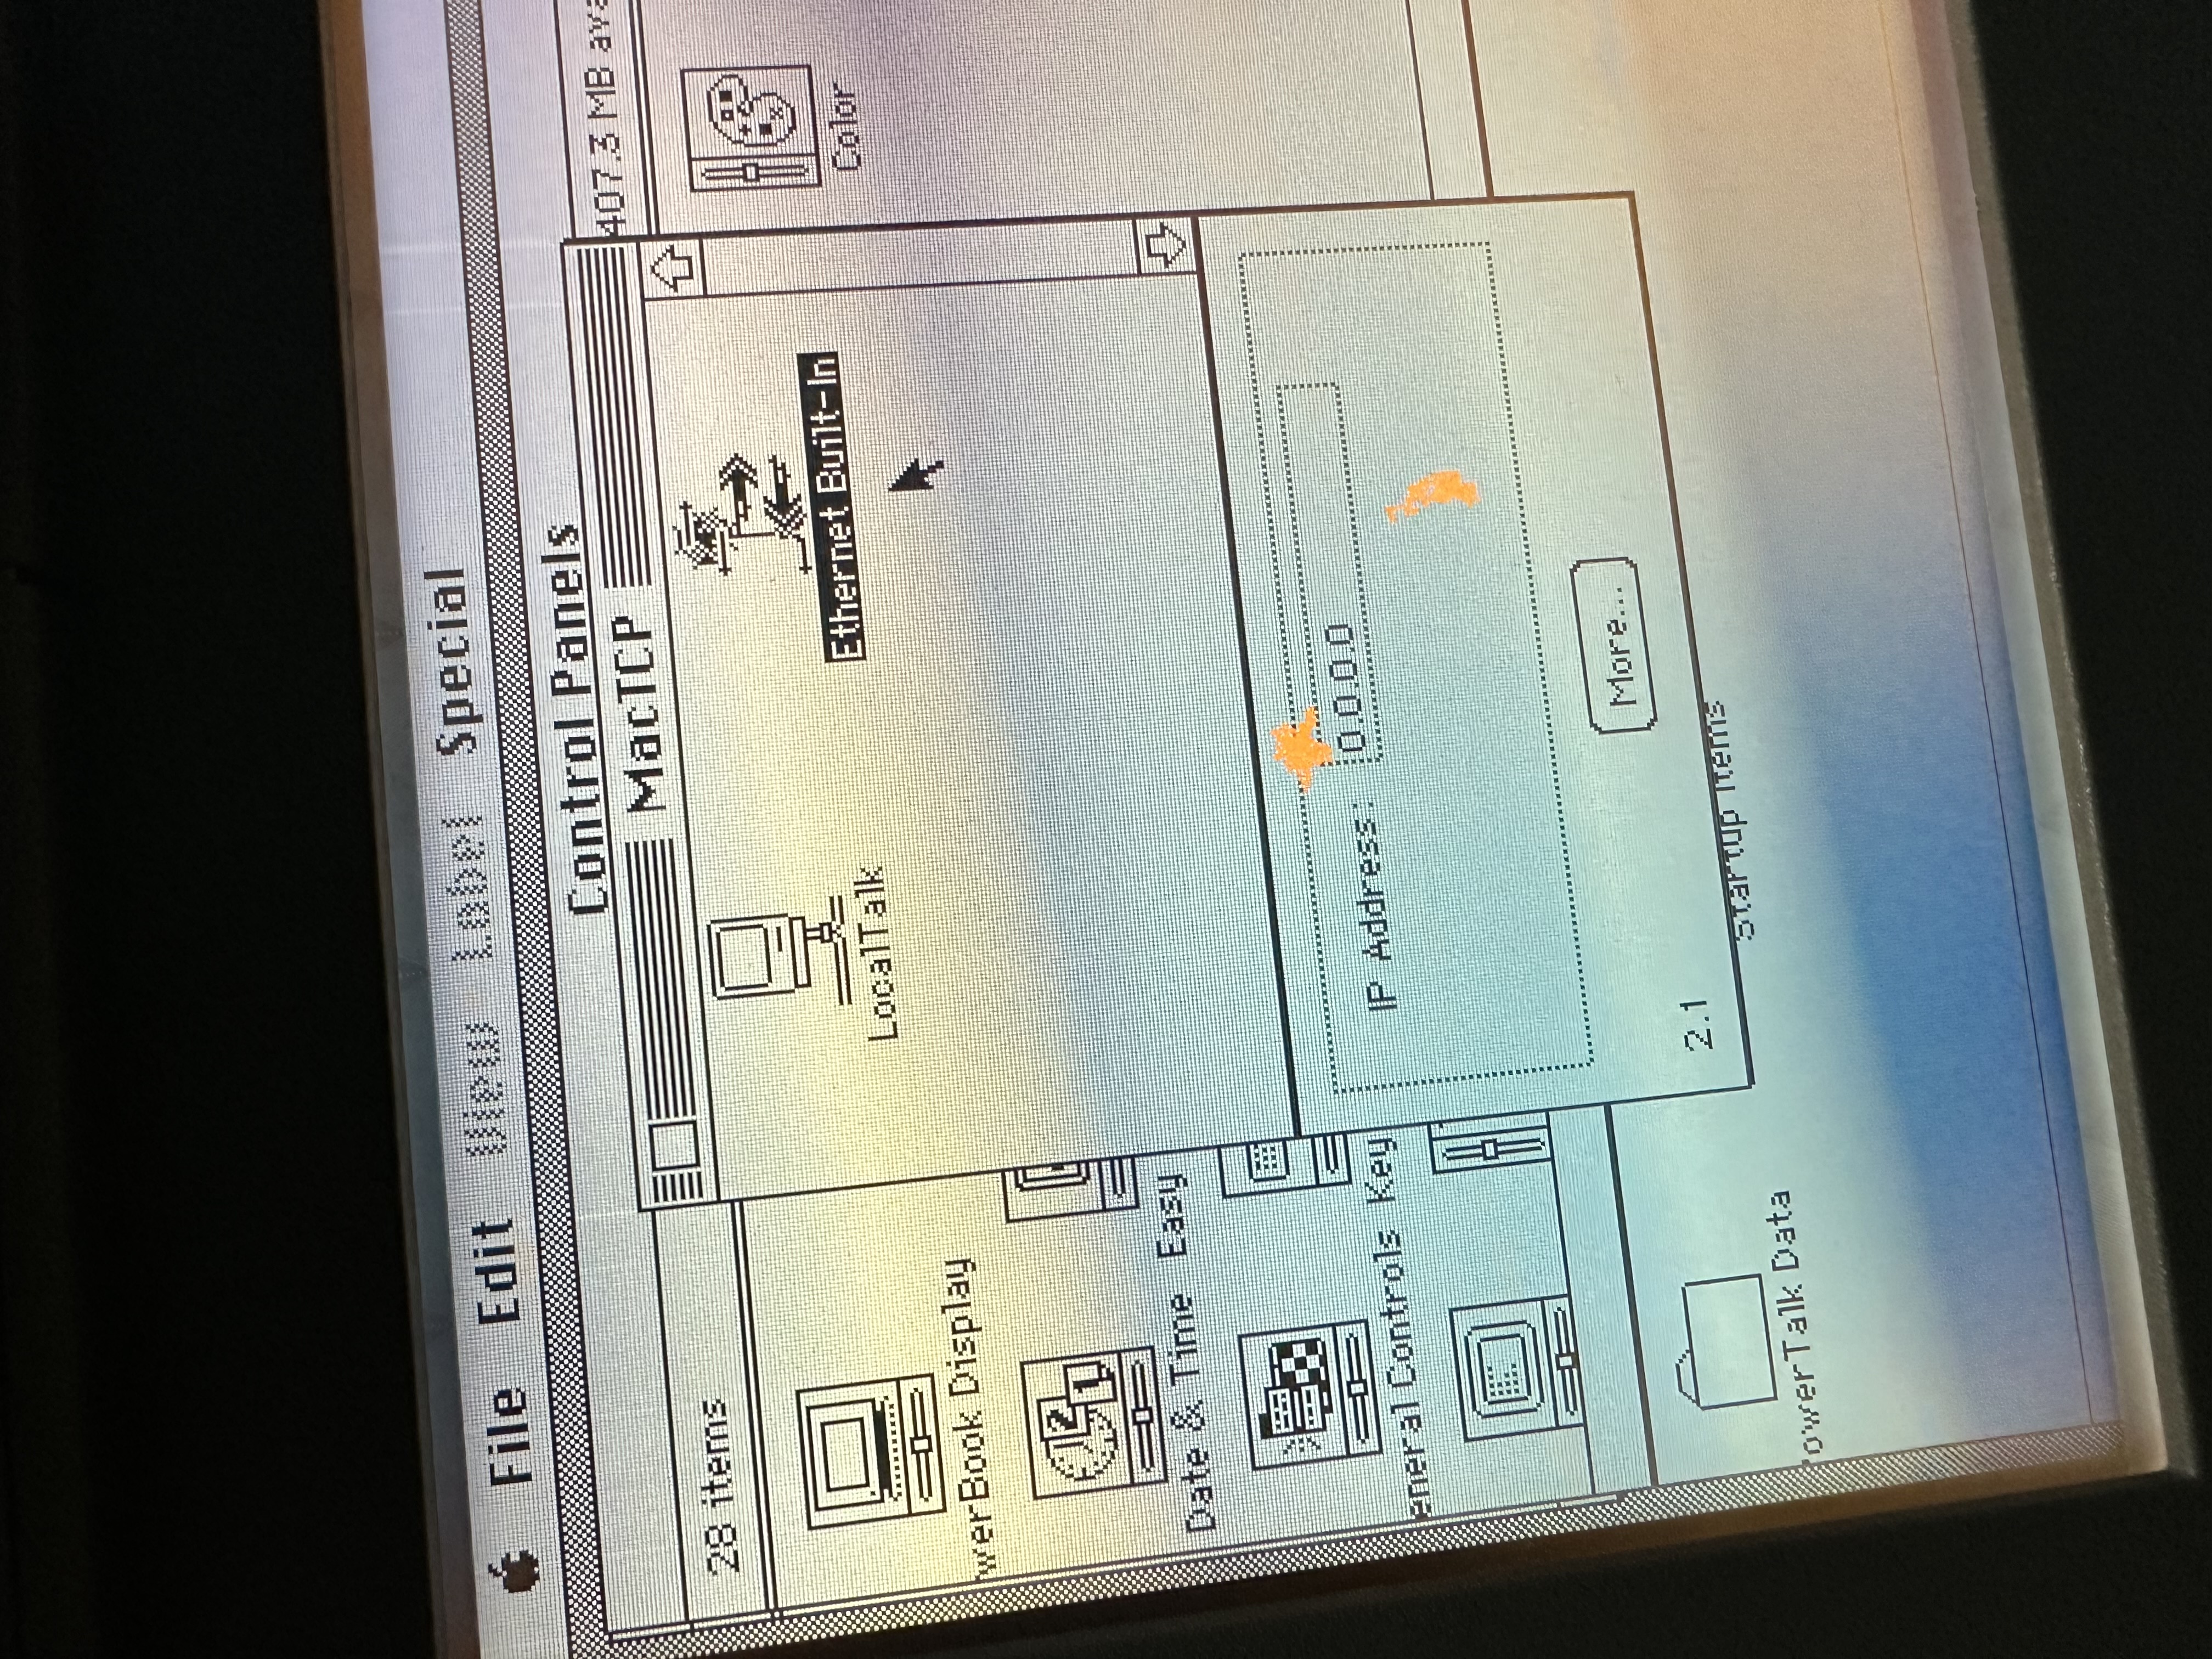
After the install work, I moved into MacTCP. This is where the network itself starts to show up. The Mac could see an Ethernet-style path, but the address was still 0.0.0.0, which meant the interface was present but not useful yet.
The reason it still was not working was not just MacTCP. I had a disk image sitting in SCSI ID 4 on the BlueSCSI card, and ID 4 is the slot DaynaPORT needed. I had installed the software, but the BlueSCSI card was still presenting a normal disk where the network device was supposed to be. That conflict had to be fixed on the card layout before the networking work could go anywhere.
There was also a physical media problem in the middle of this. Disk Copy asked for a double-sided floppy, and I had to put tape over the hole in the floppy so the PowerBook would treat the disk the way the installer image expected. That was the difference between fighting the prompt and actually making usable install media.
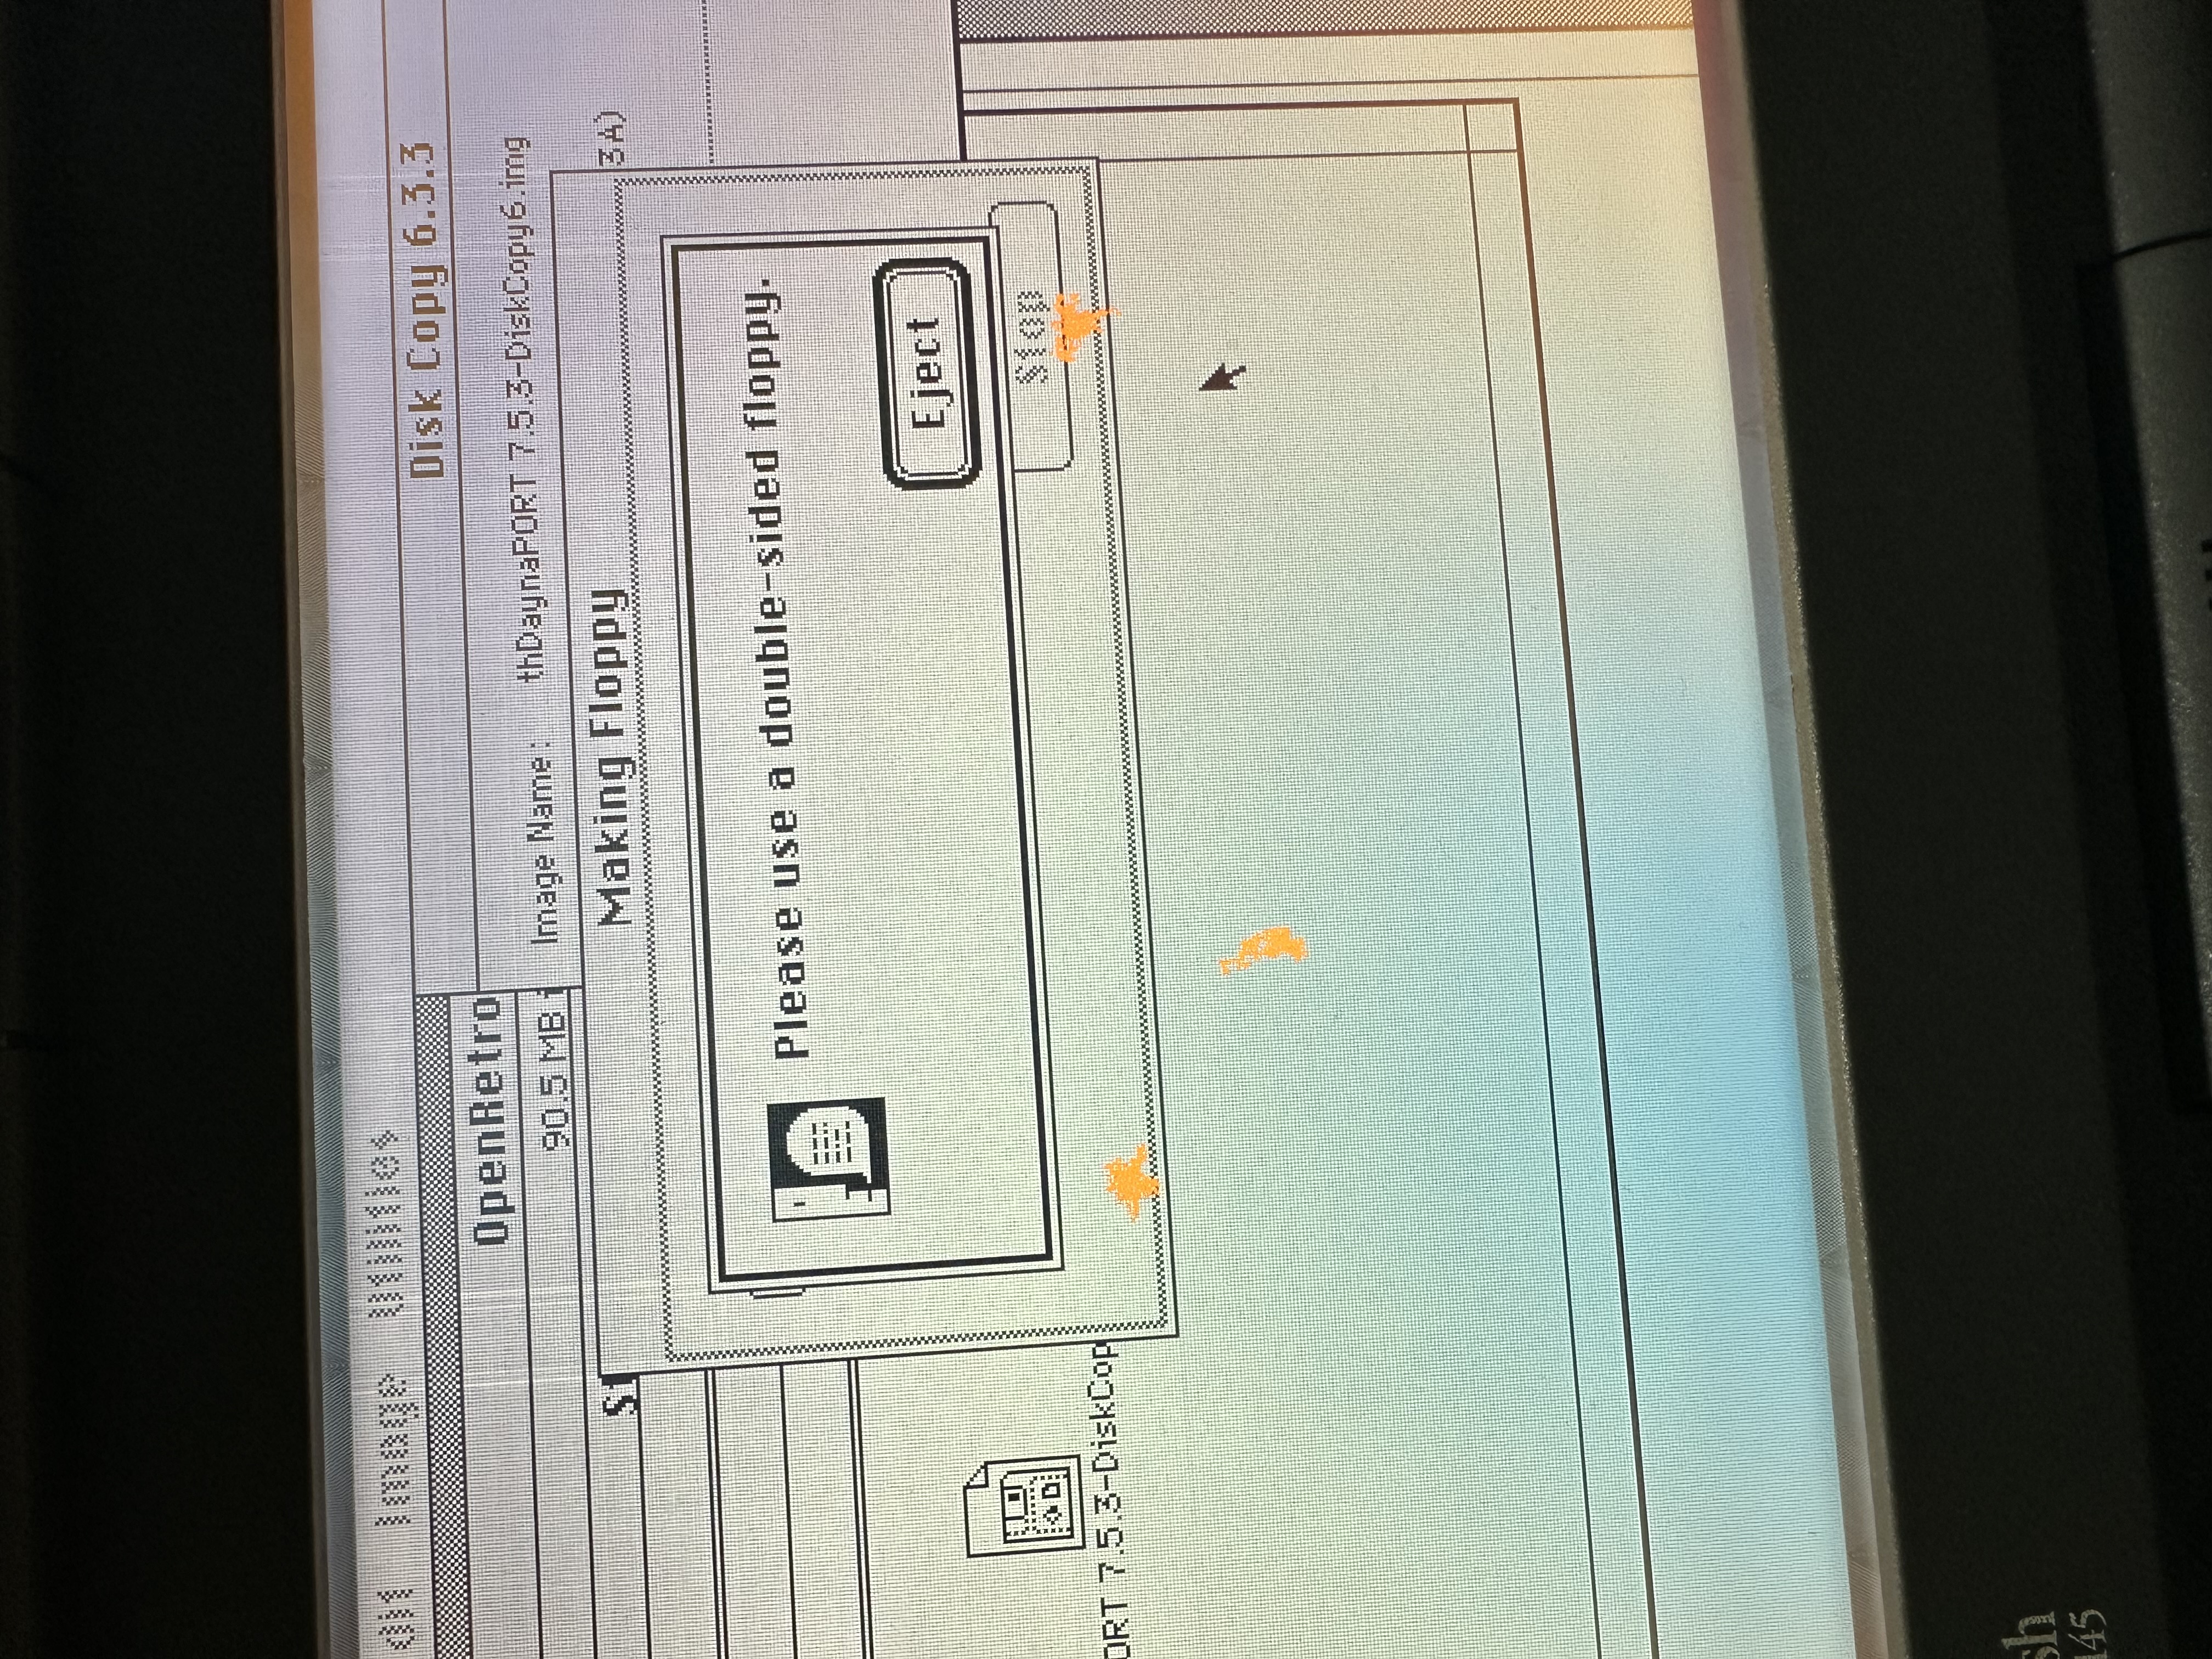
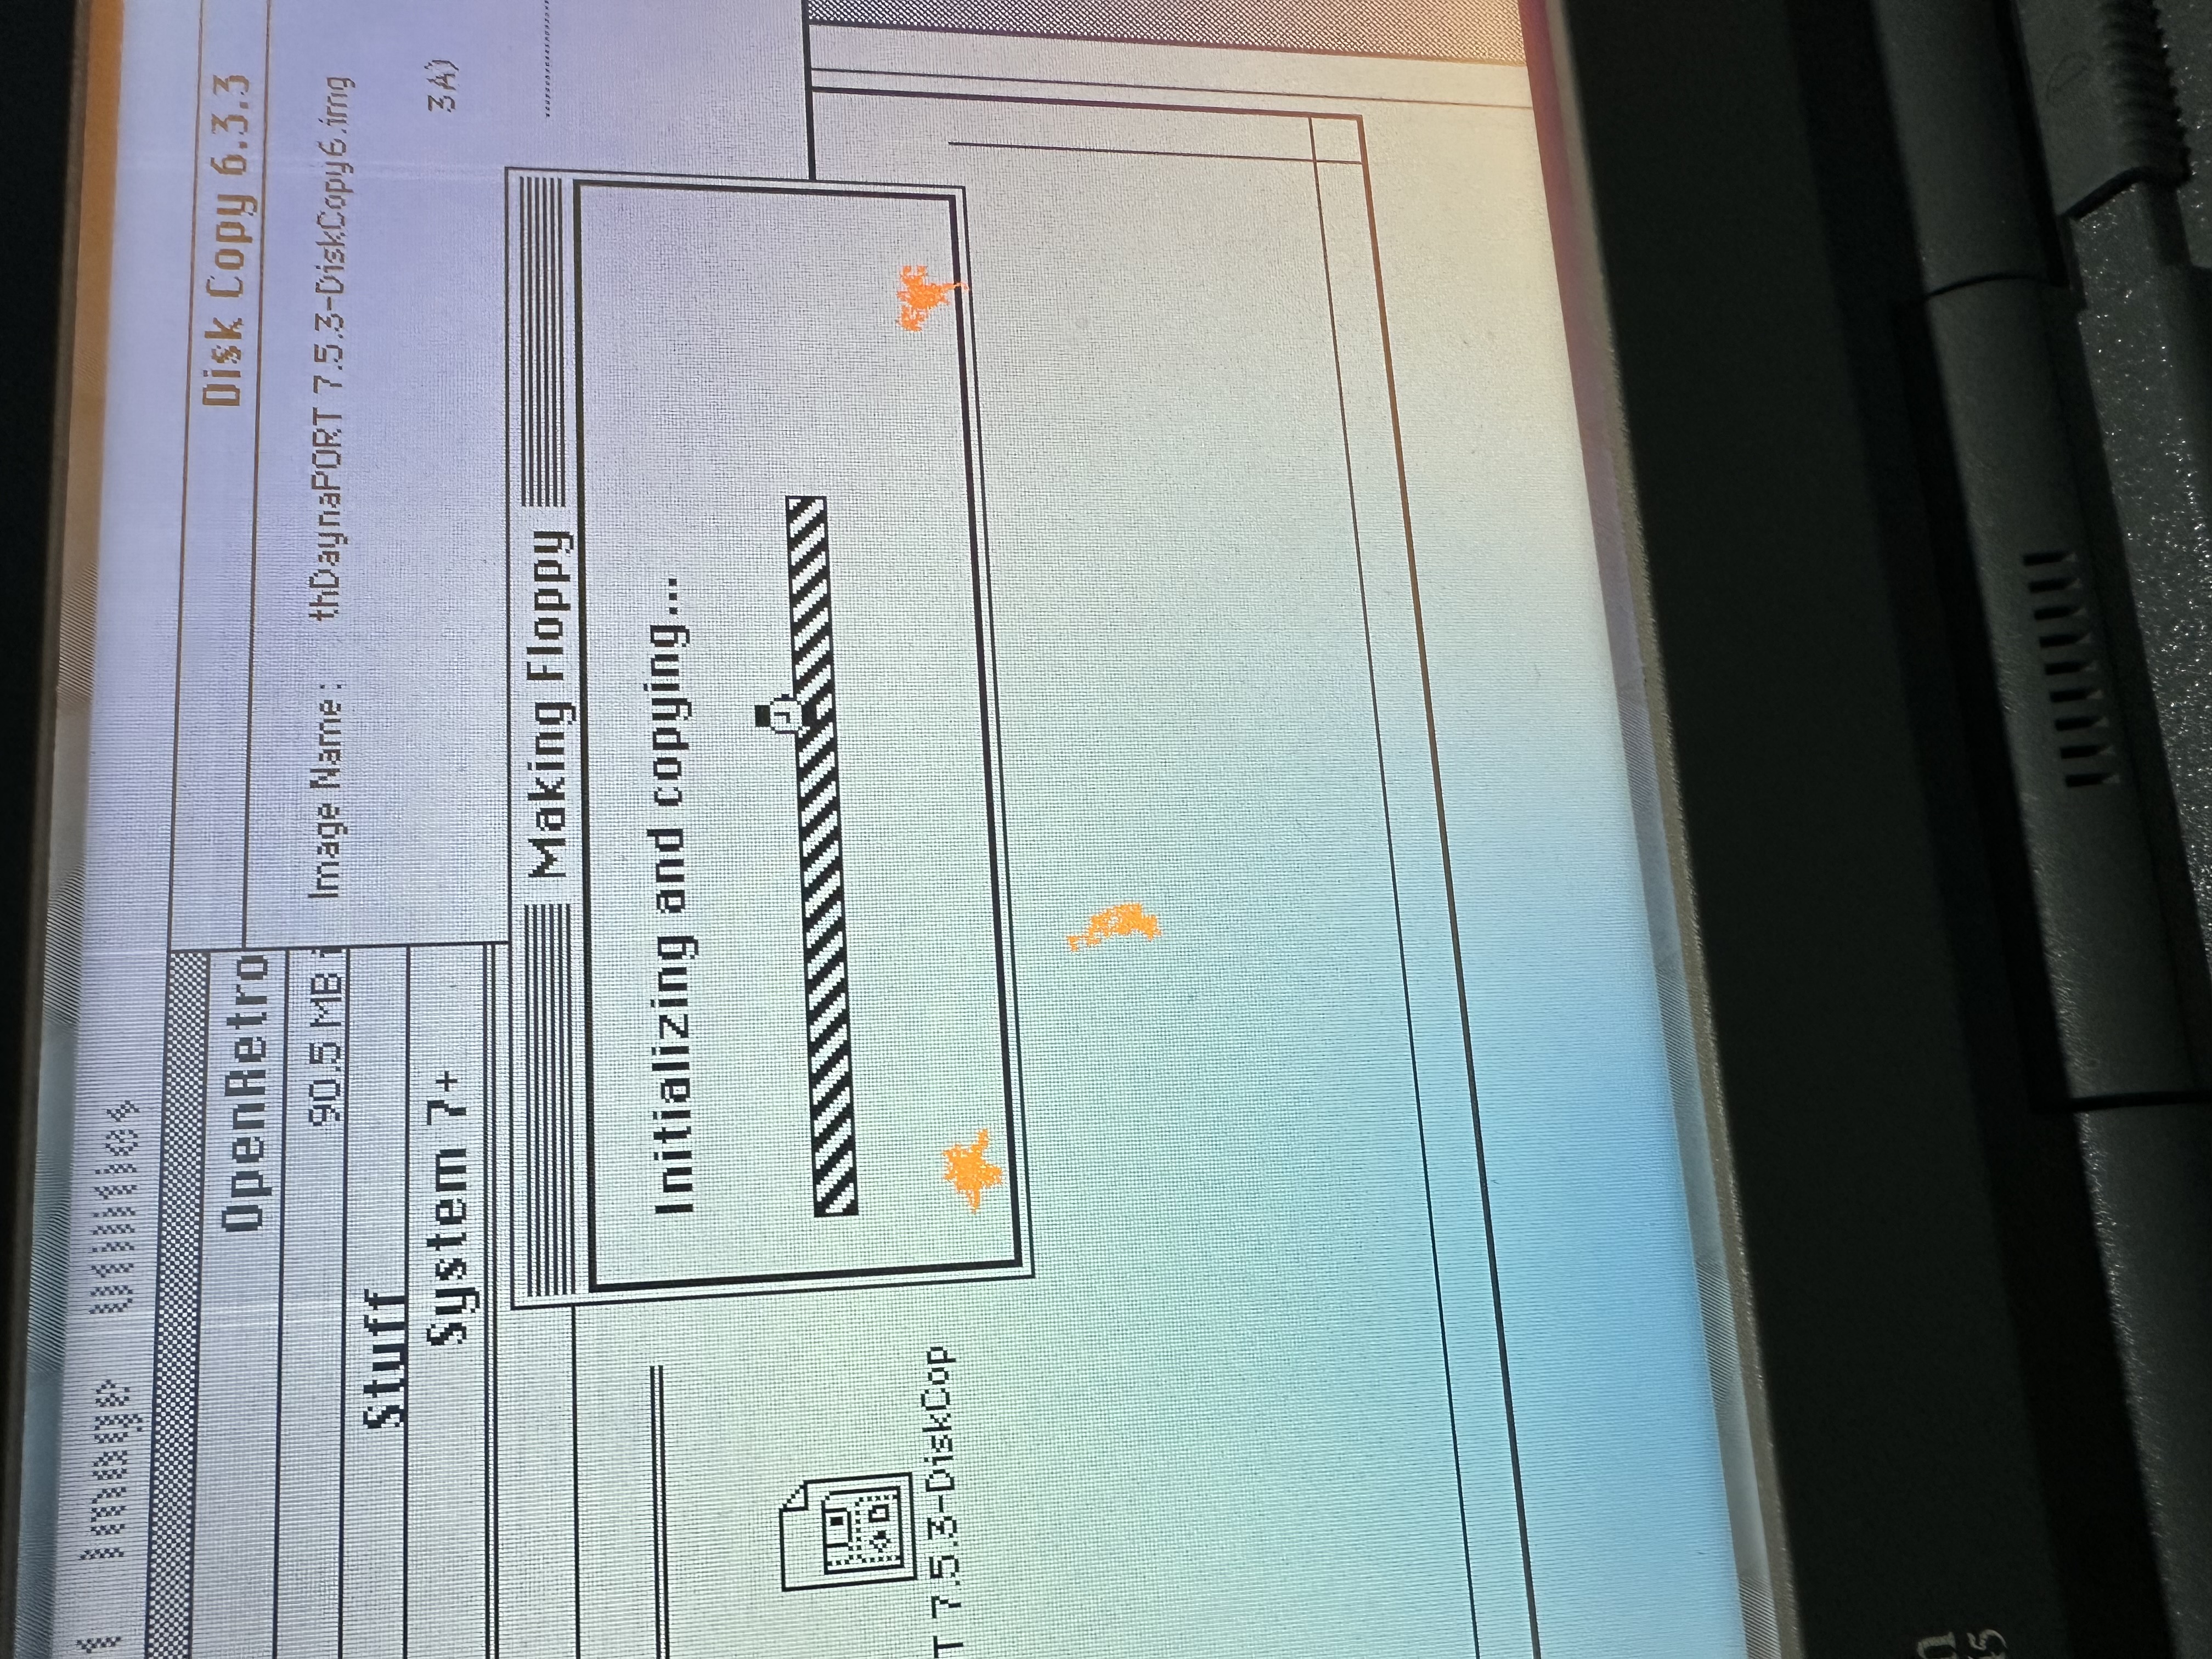
With the floppy accepted, Disk Copy could initialize and copy the image. The taped disk was not a side detail; it was part of getting the installer into the physical shape the PowerBook expected.
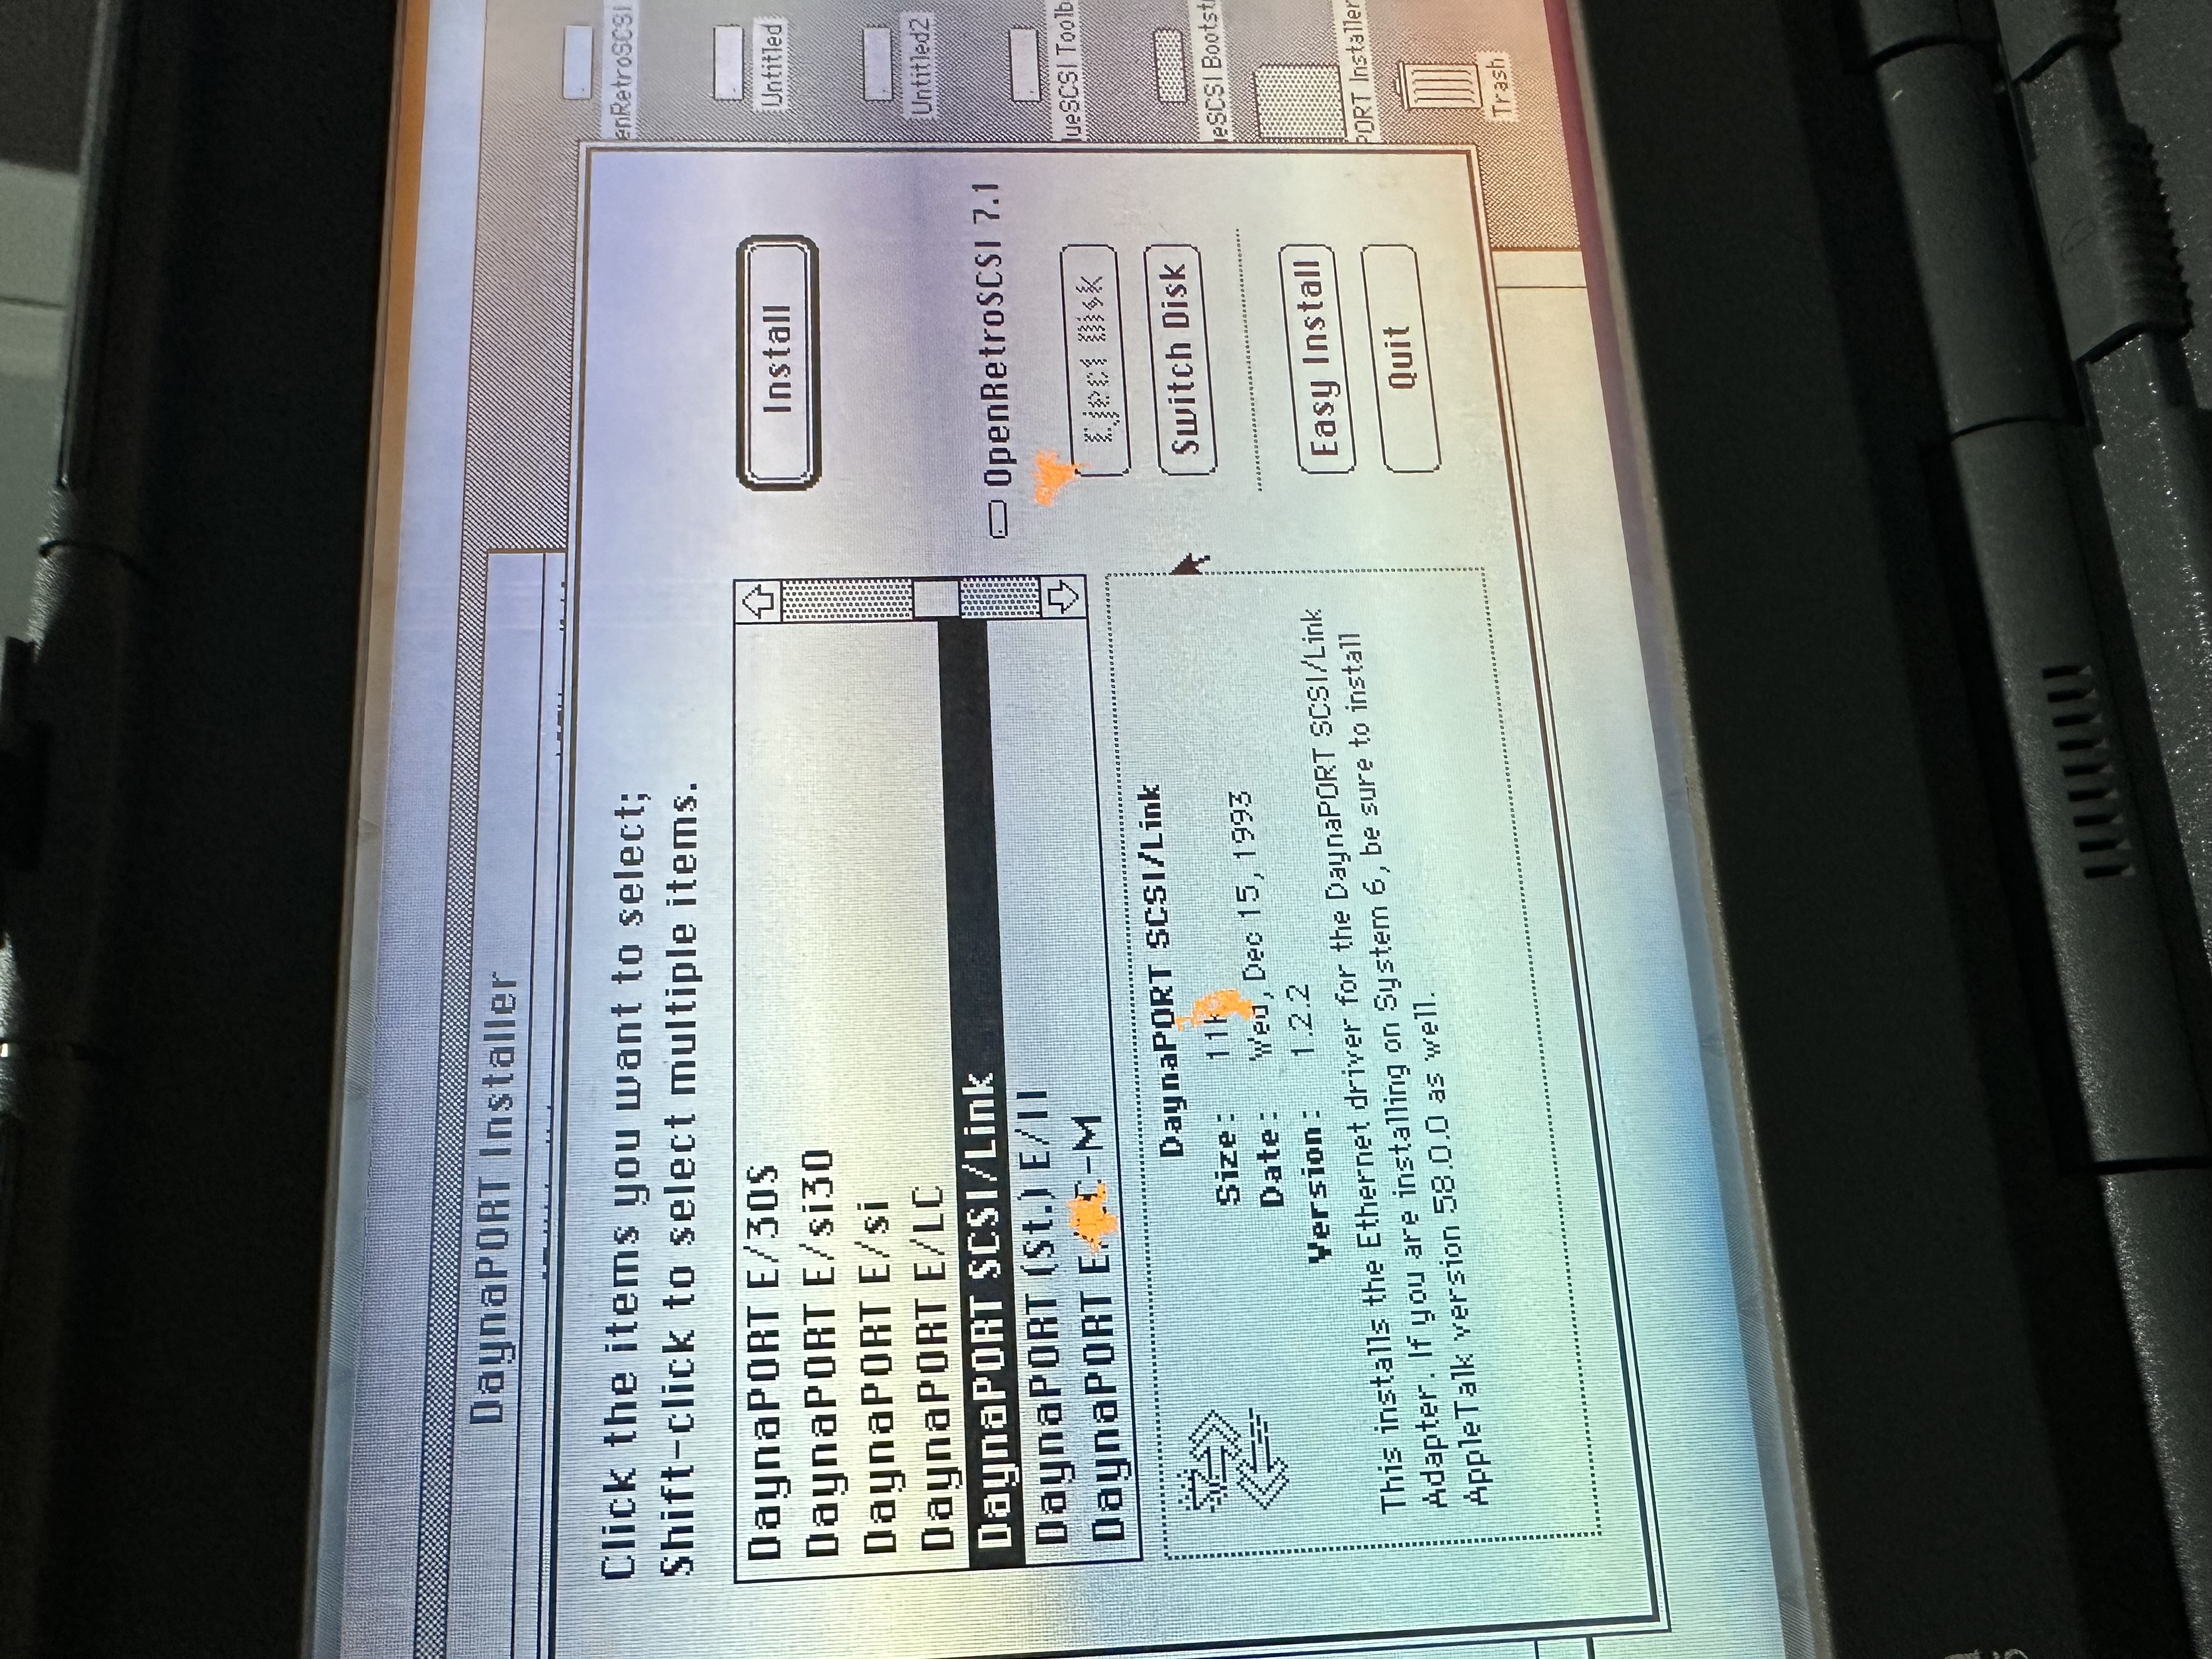
Once the installer could run from the physical disk, it started modifying the System 7.1 boot disk. Here it is removing older pieces before laying down the DaynaPORT components.
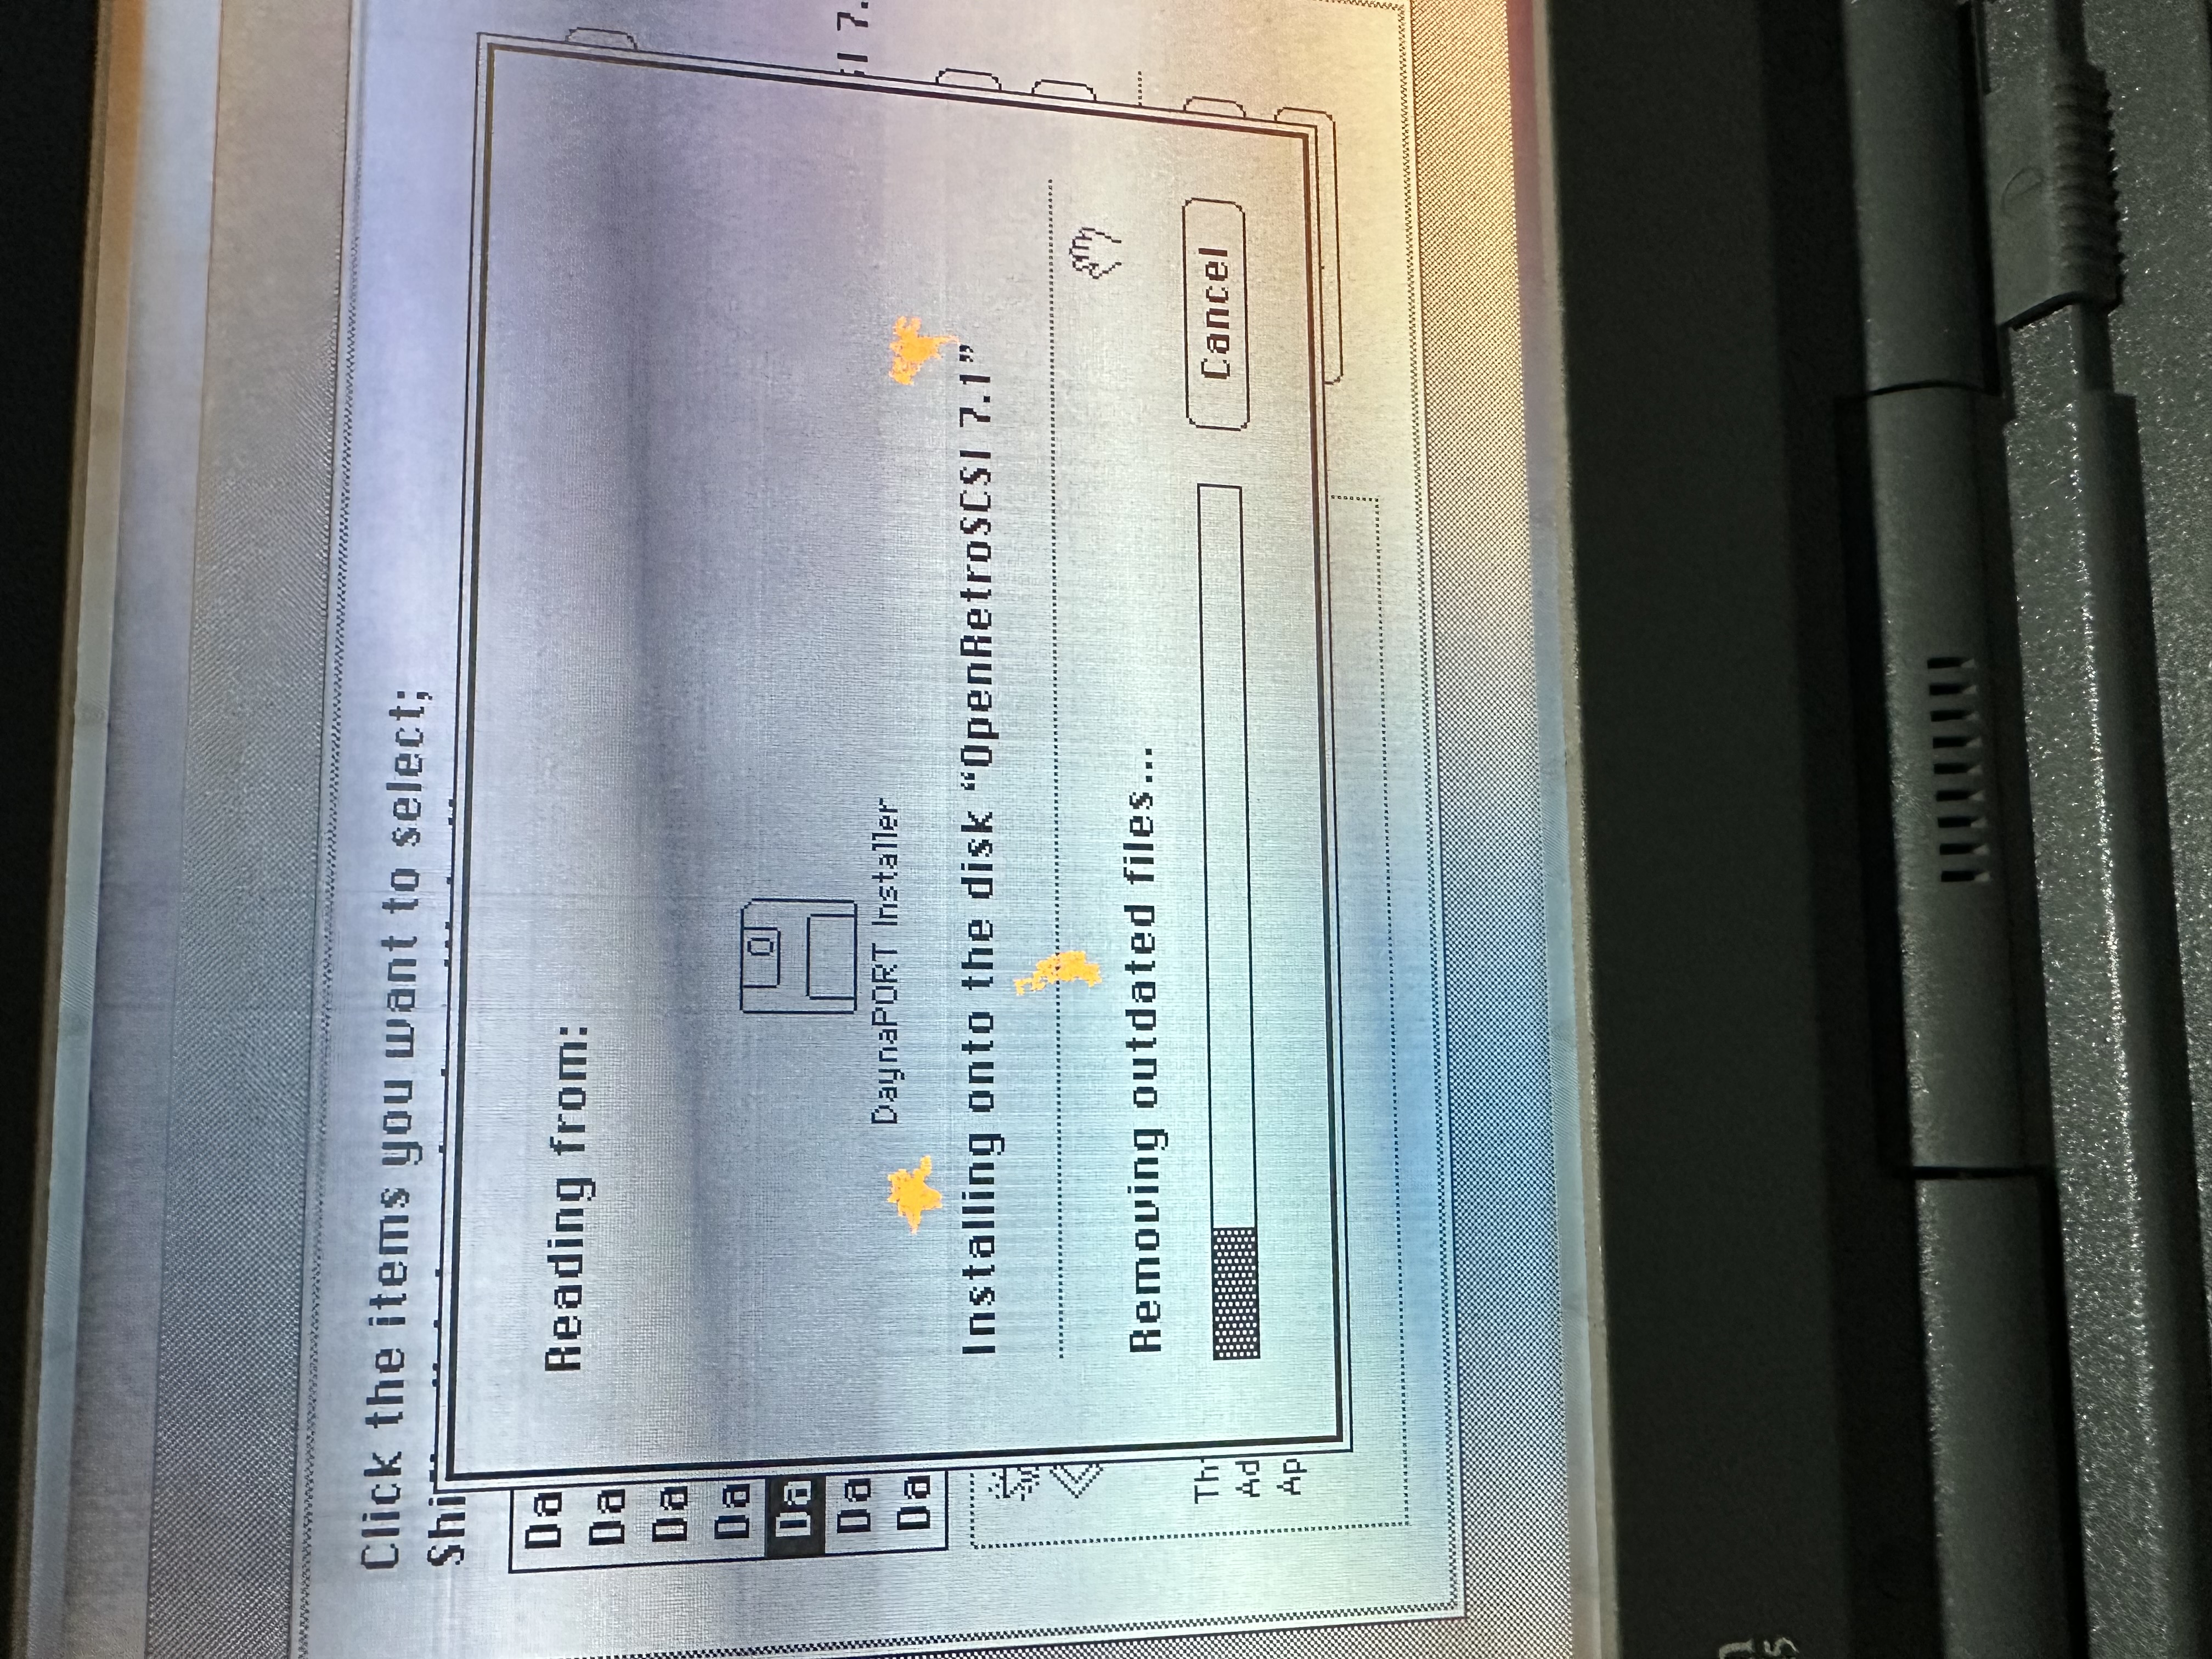
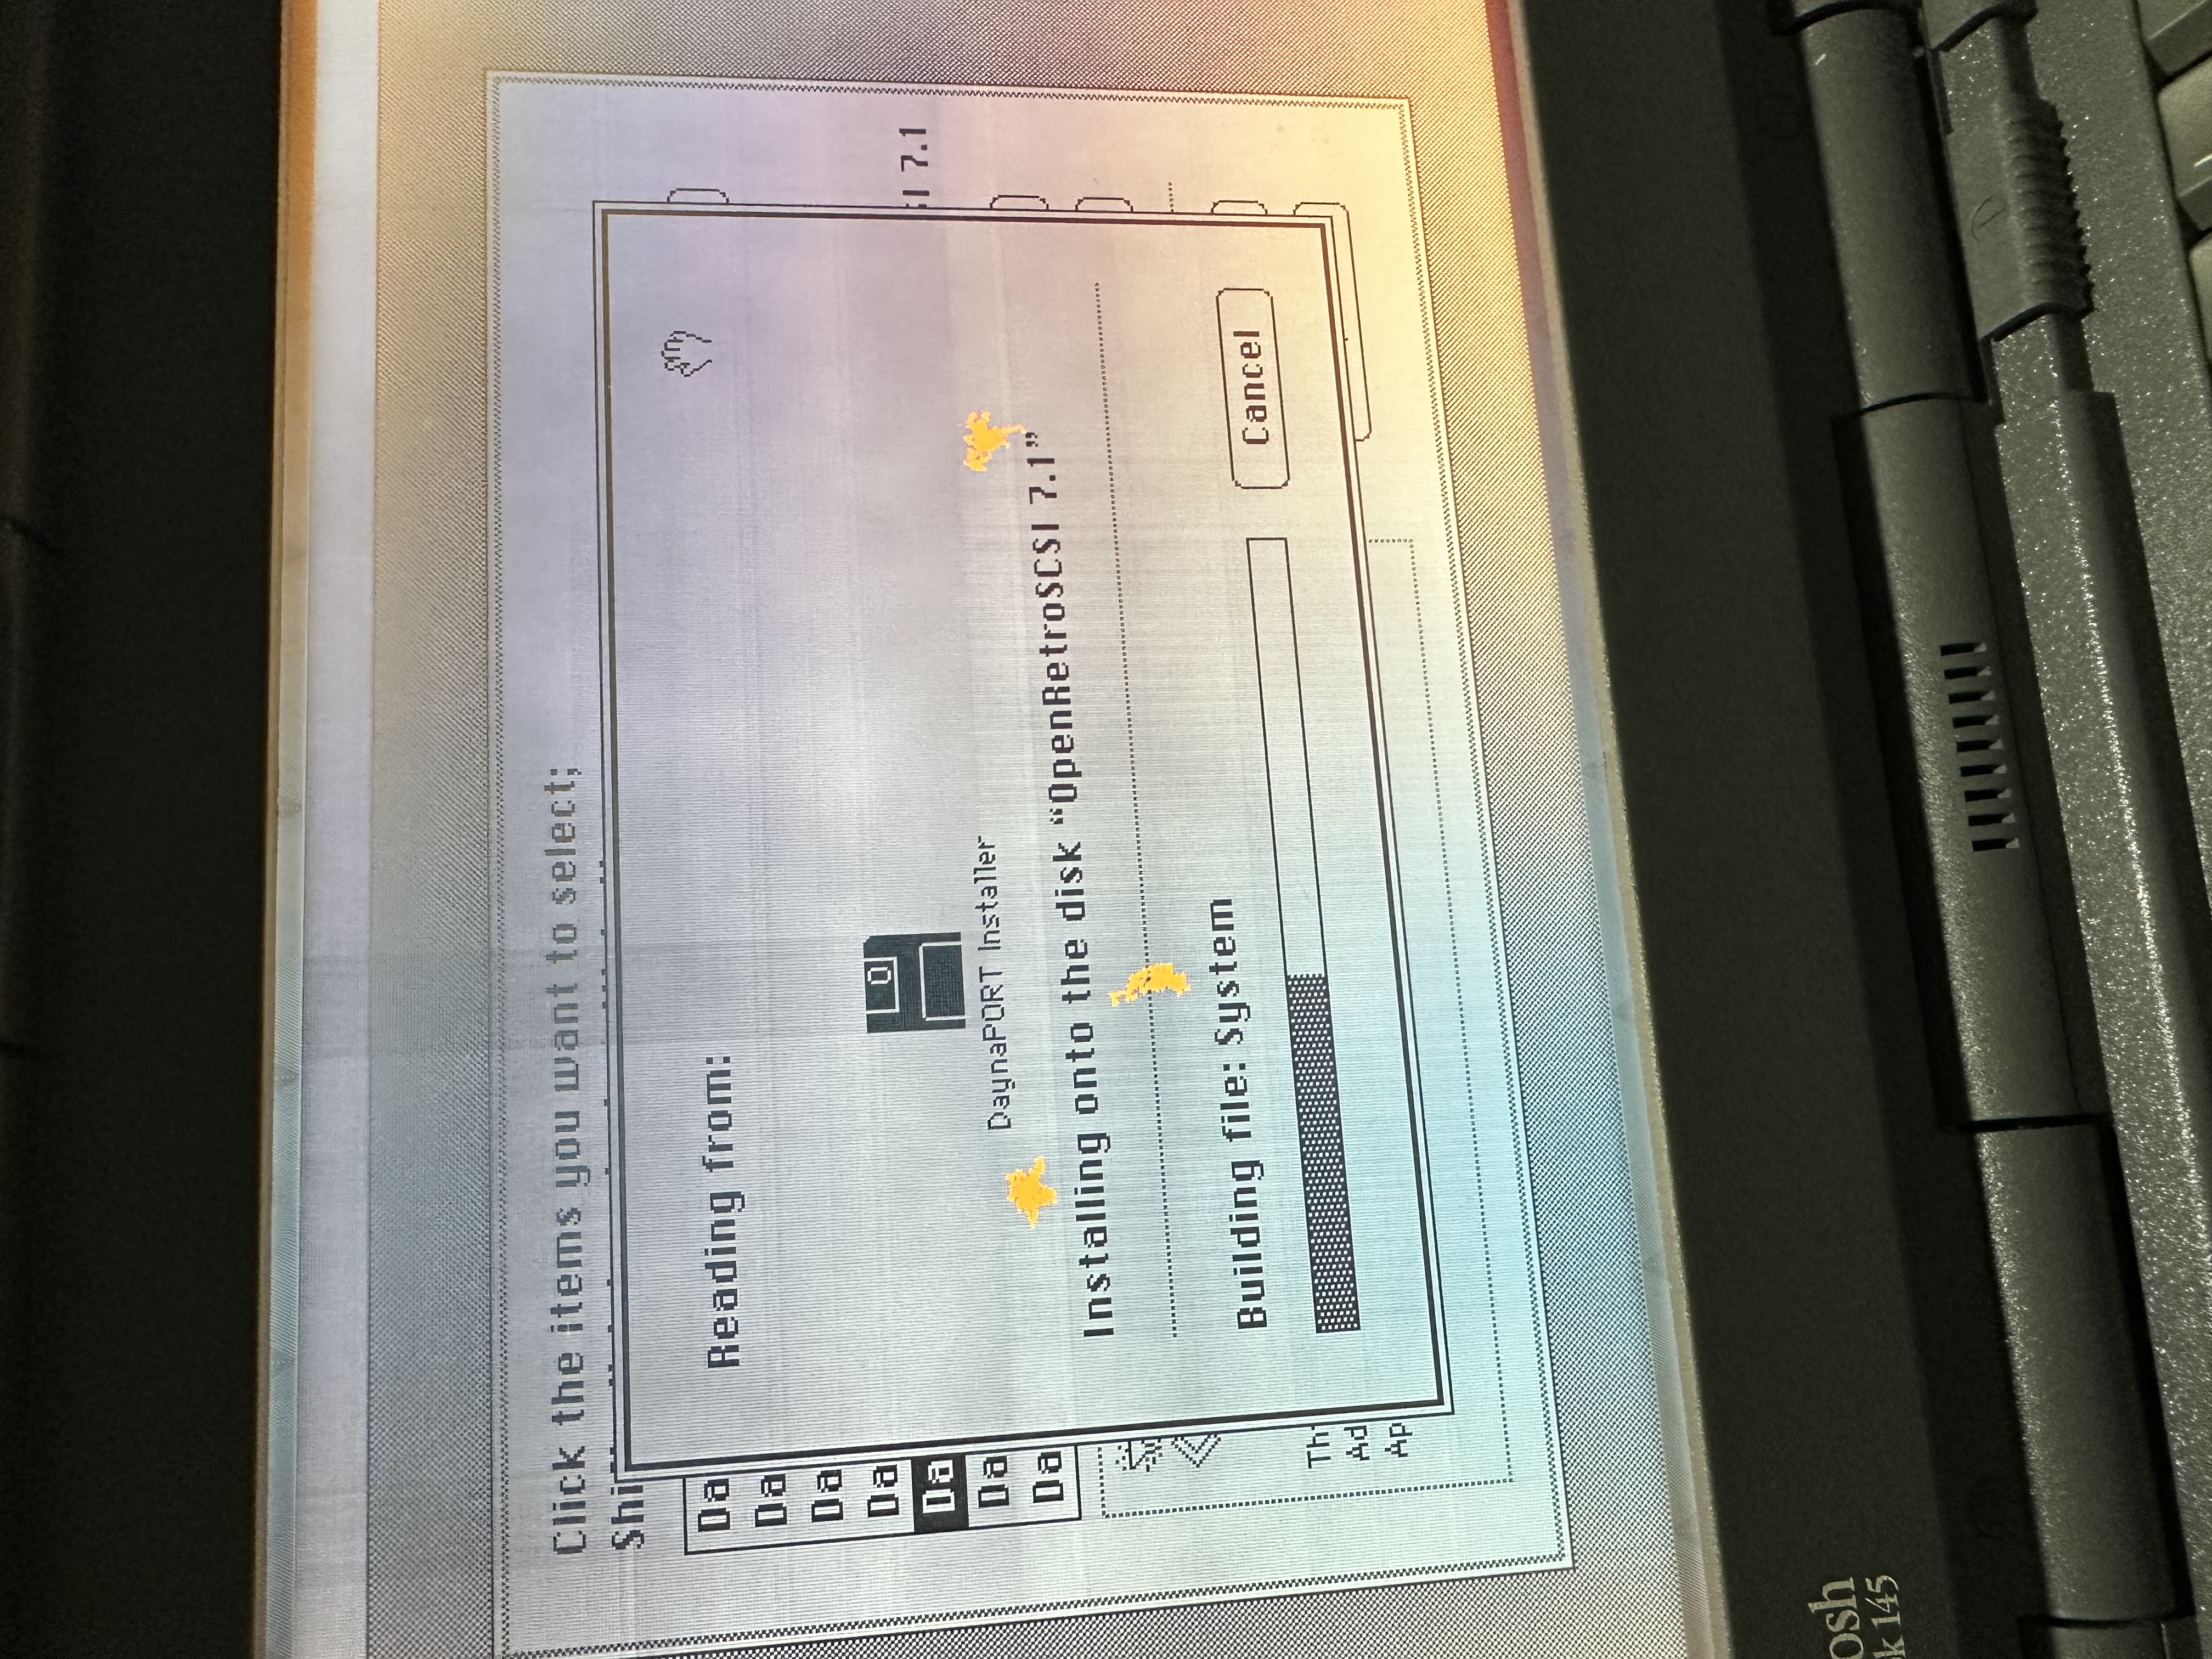
The installer was now reading from the real DaynaPORT installer disk. This was the point where the physical floppy stopped being a workaround and became the correct installer source.
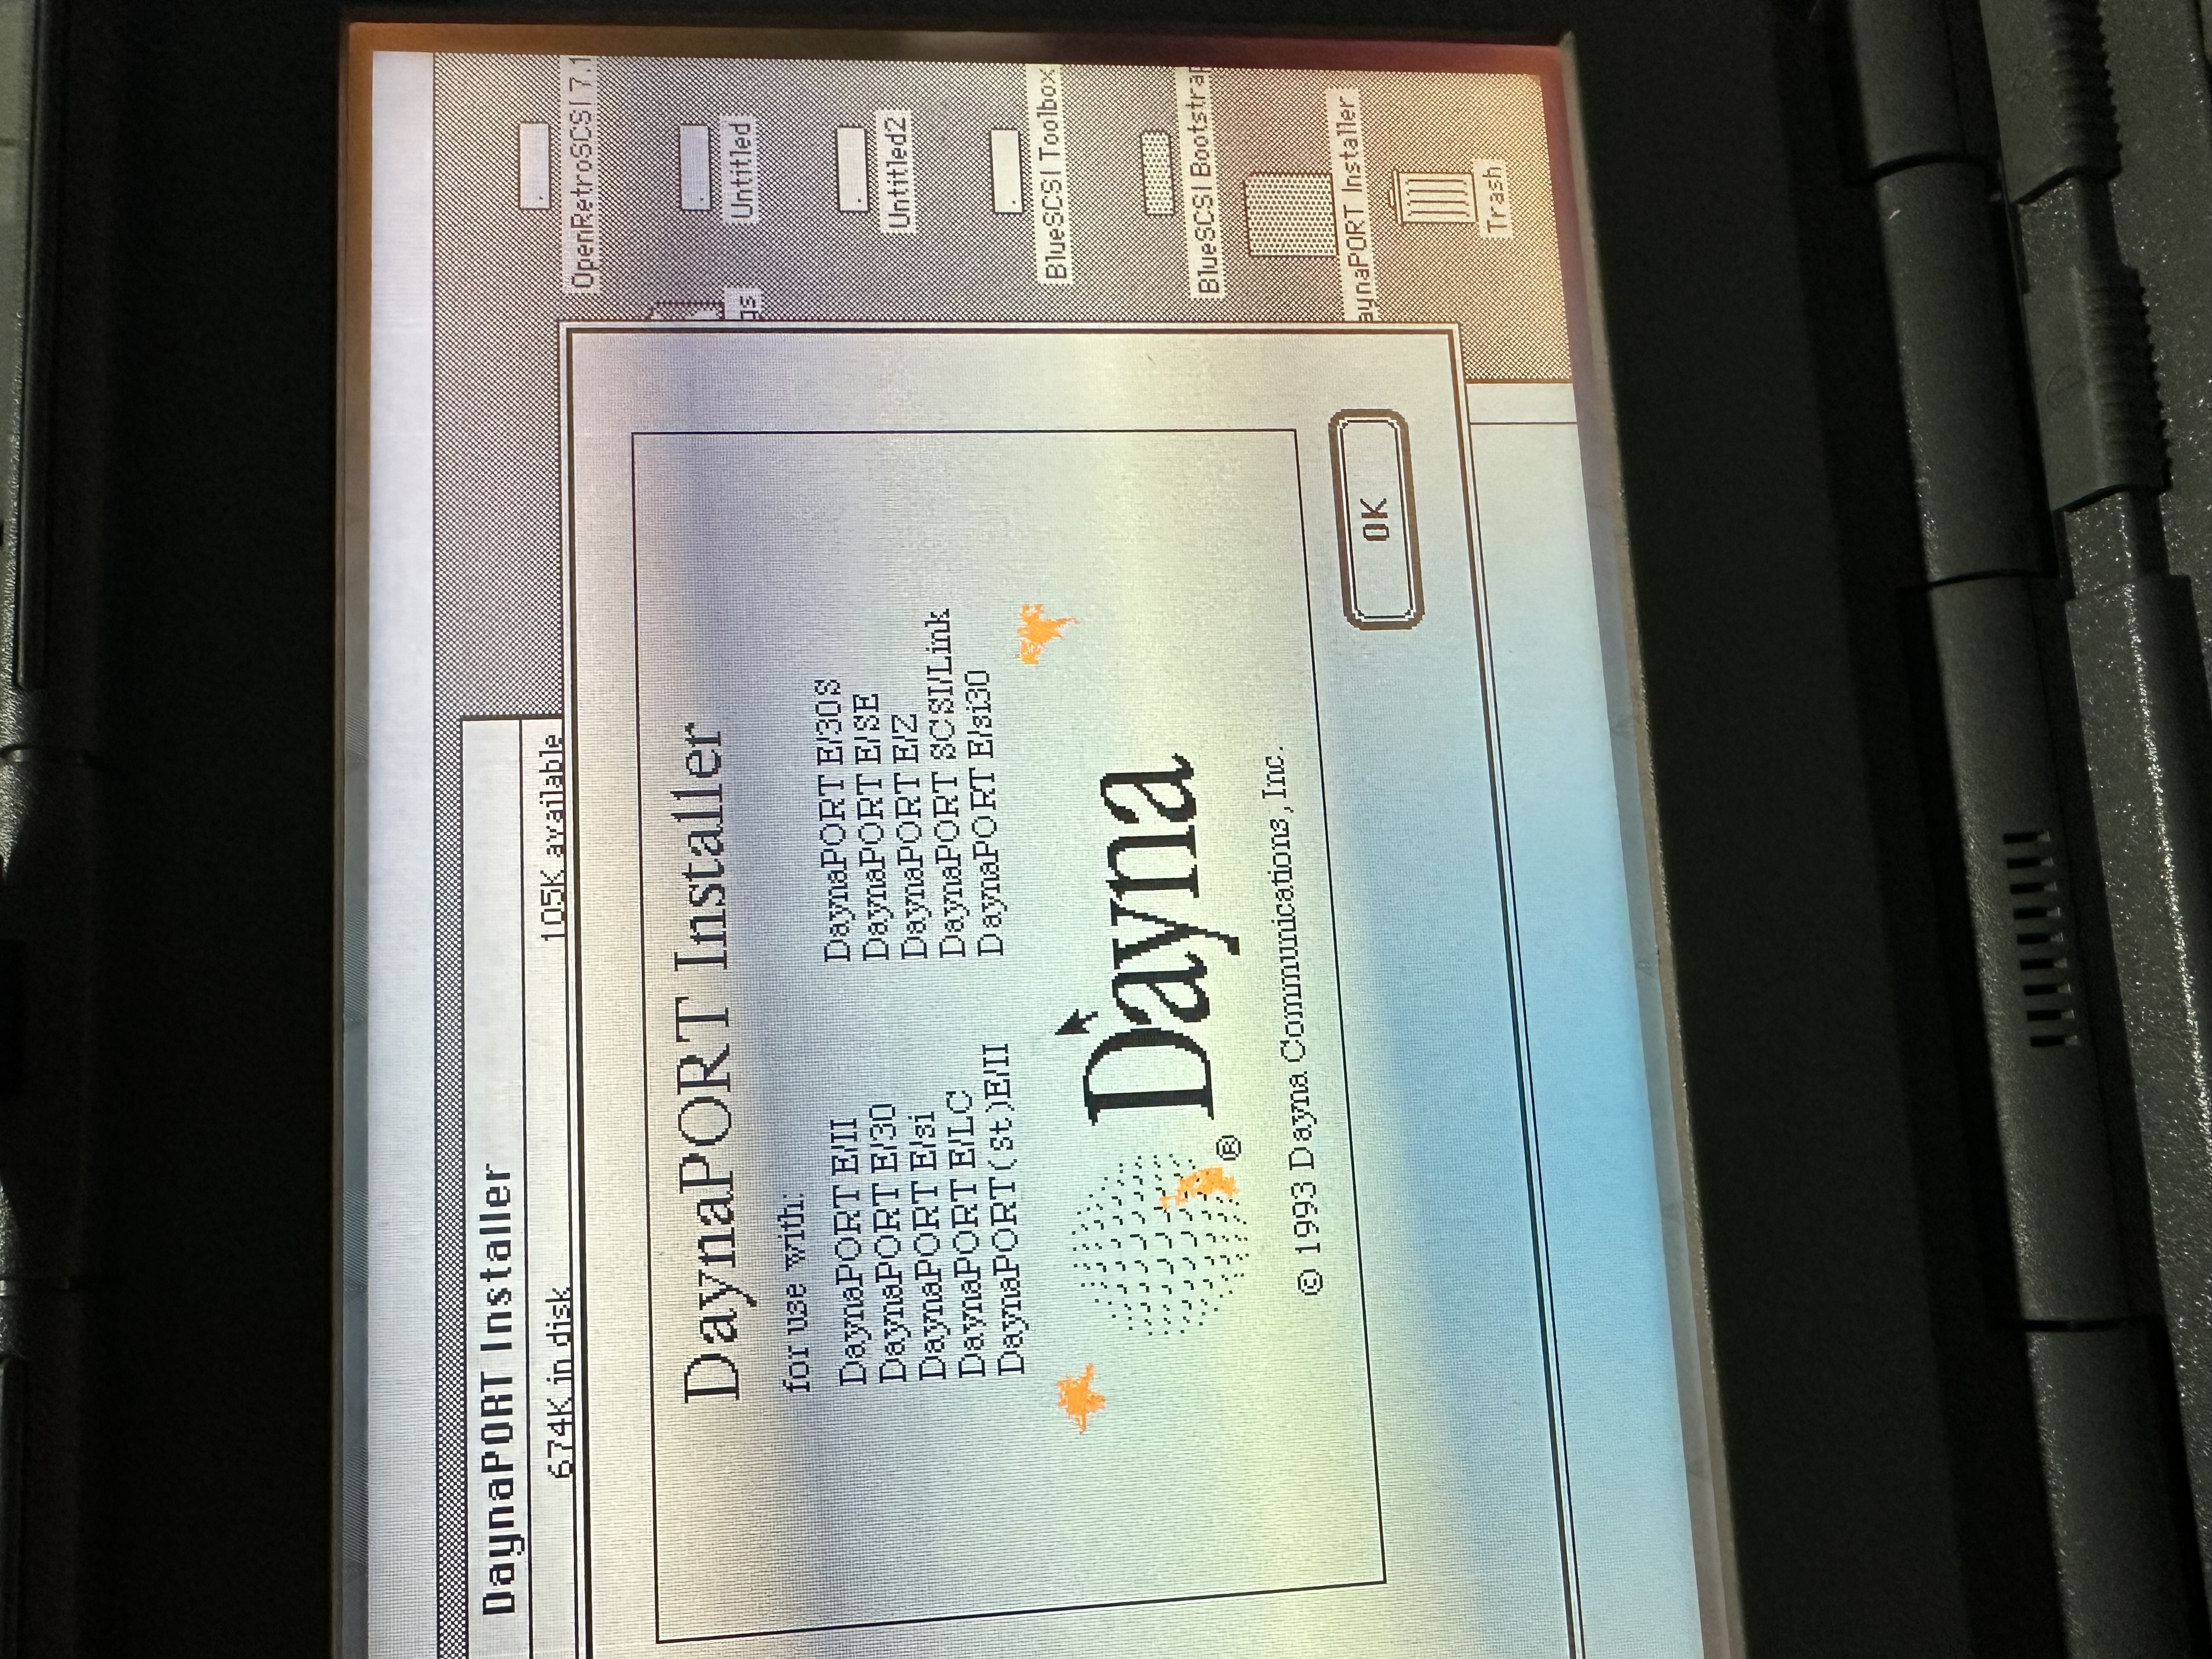
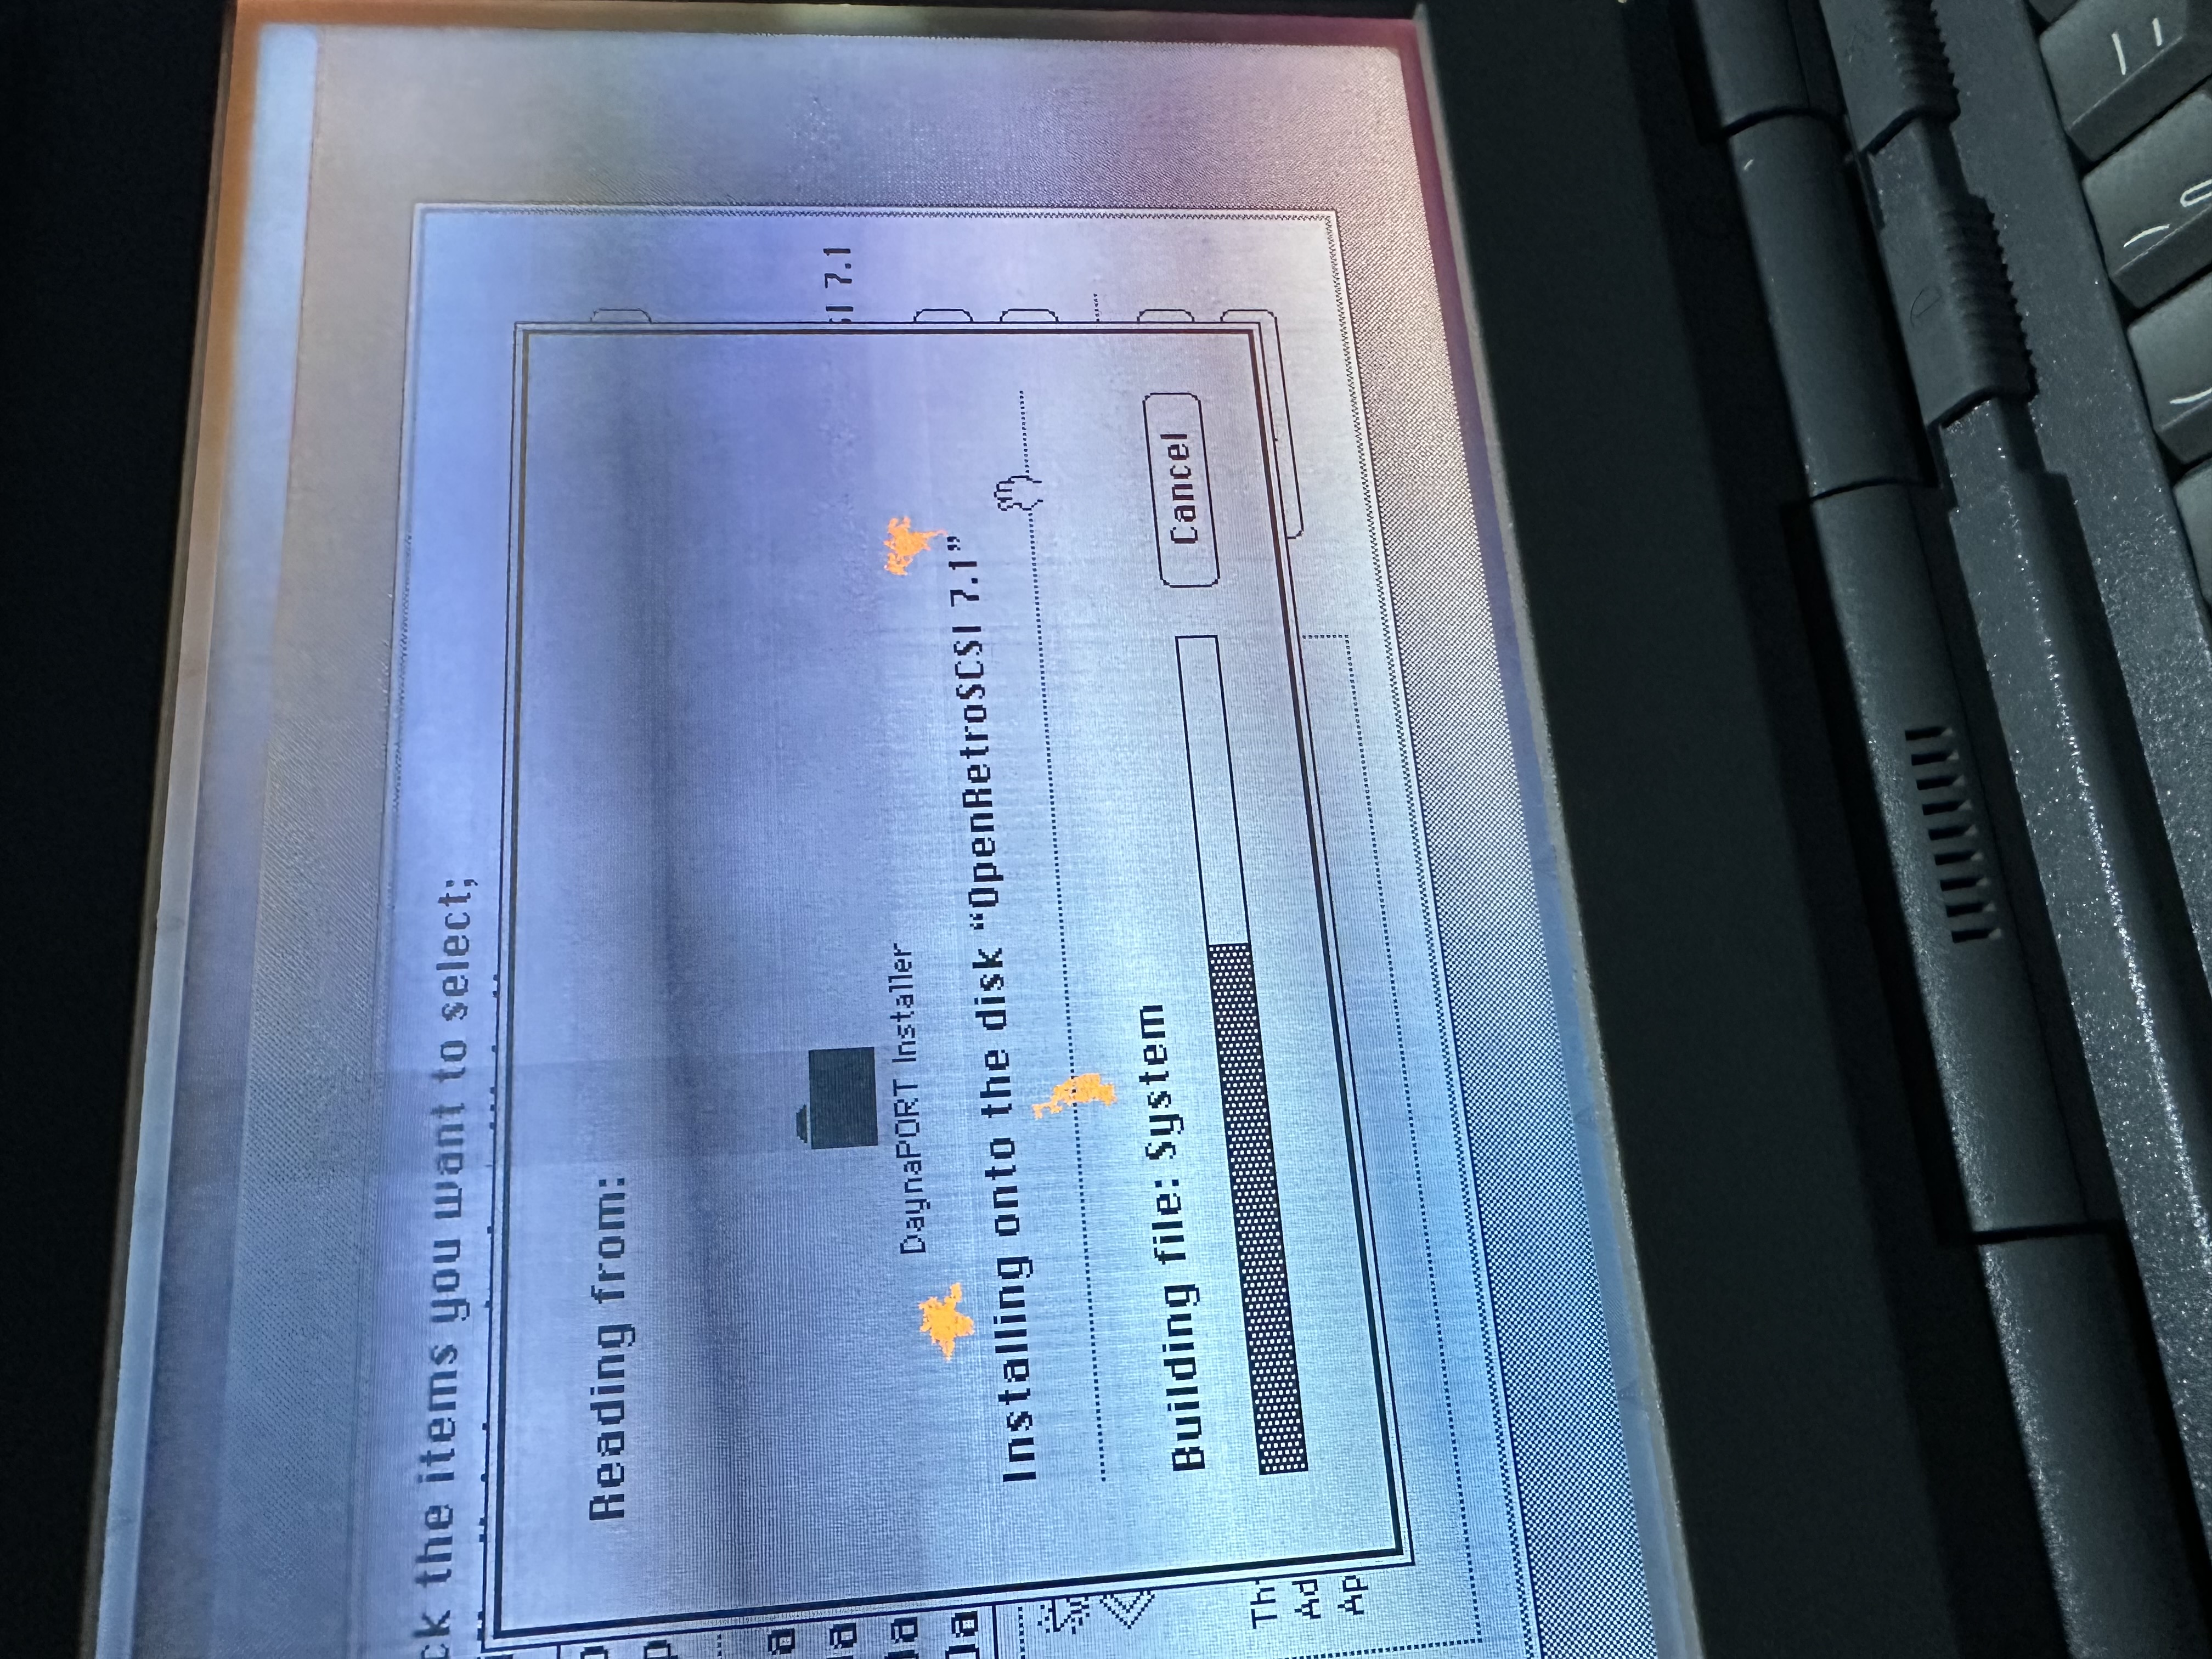
The files were copied onto the OpenRetroSCSI 7.1 disk, which is the disk the PowerBook was actually booting from. That target mattered. Installing to the wrong mounted volume would have looked busy and fixed nothing.
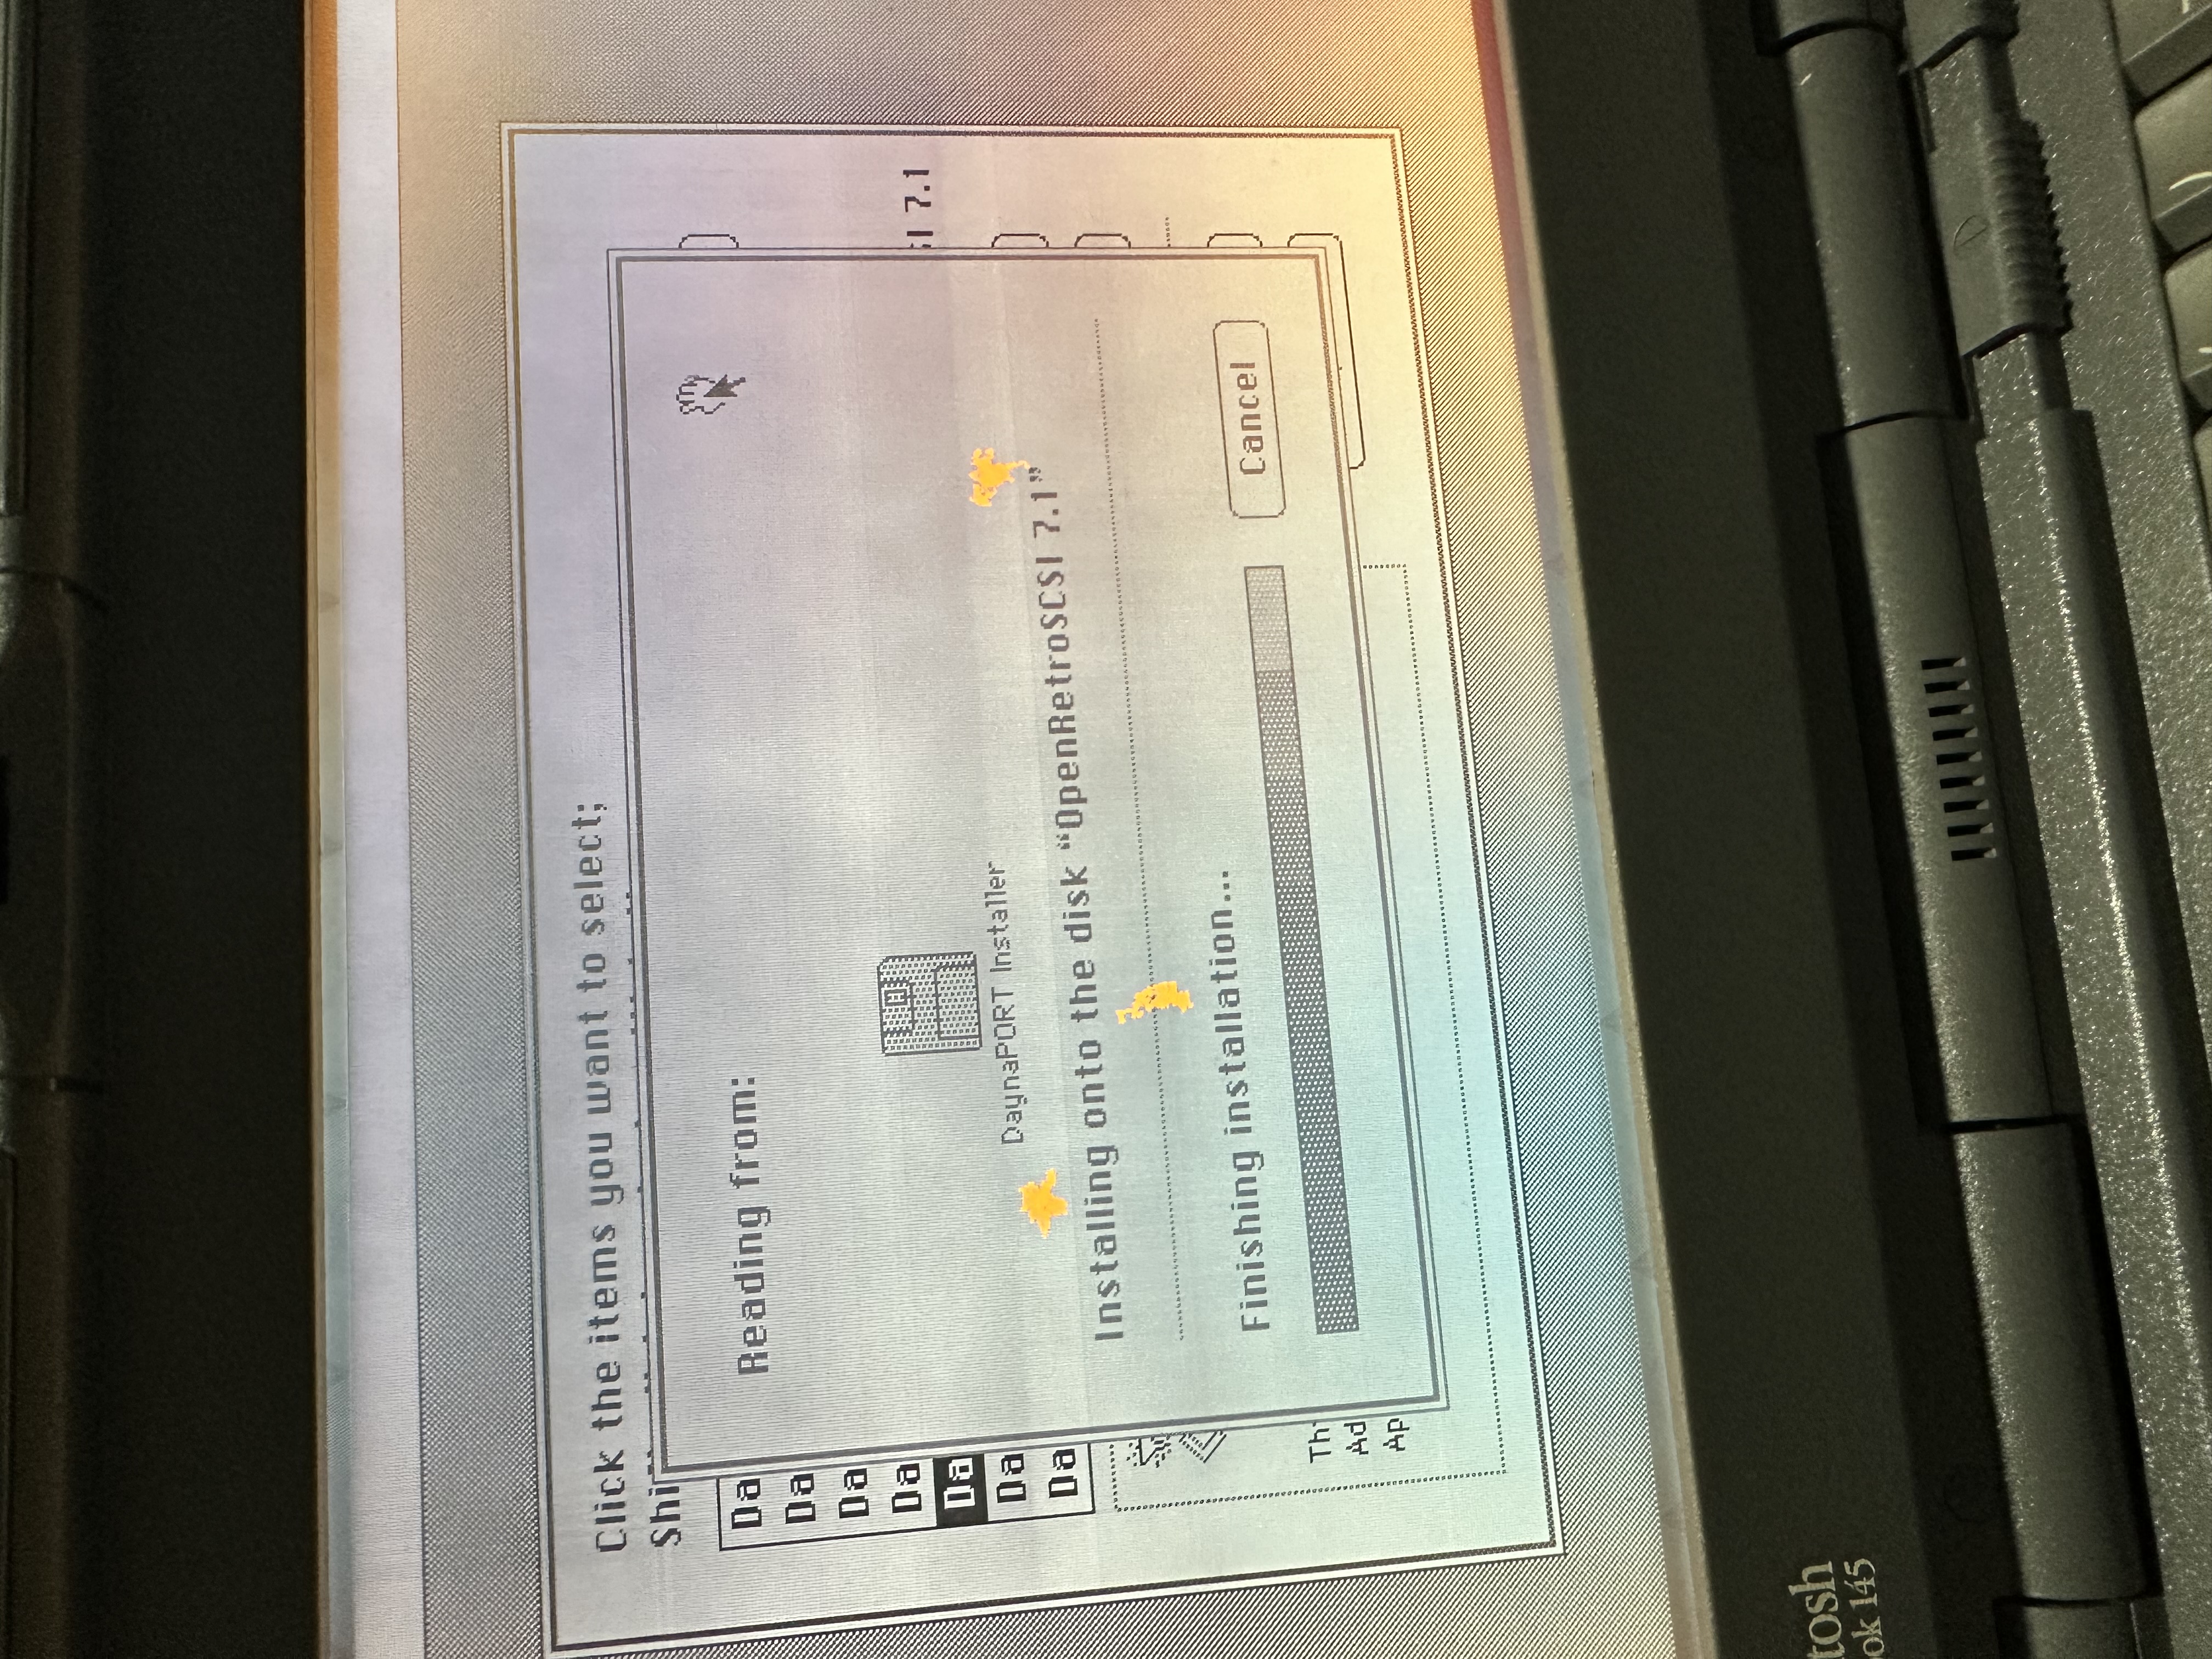
The install then rebuilt system files. That was the part I cared about because DaynaPORT needed to become part of the actual System 7 networking stack, not just another folder of files on the disk.
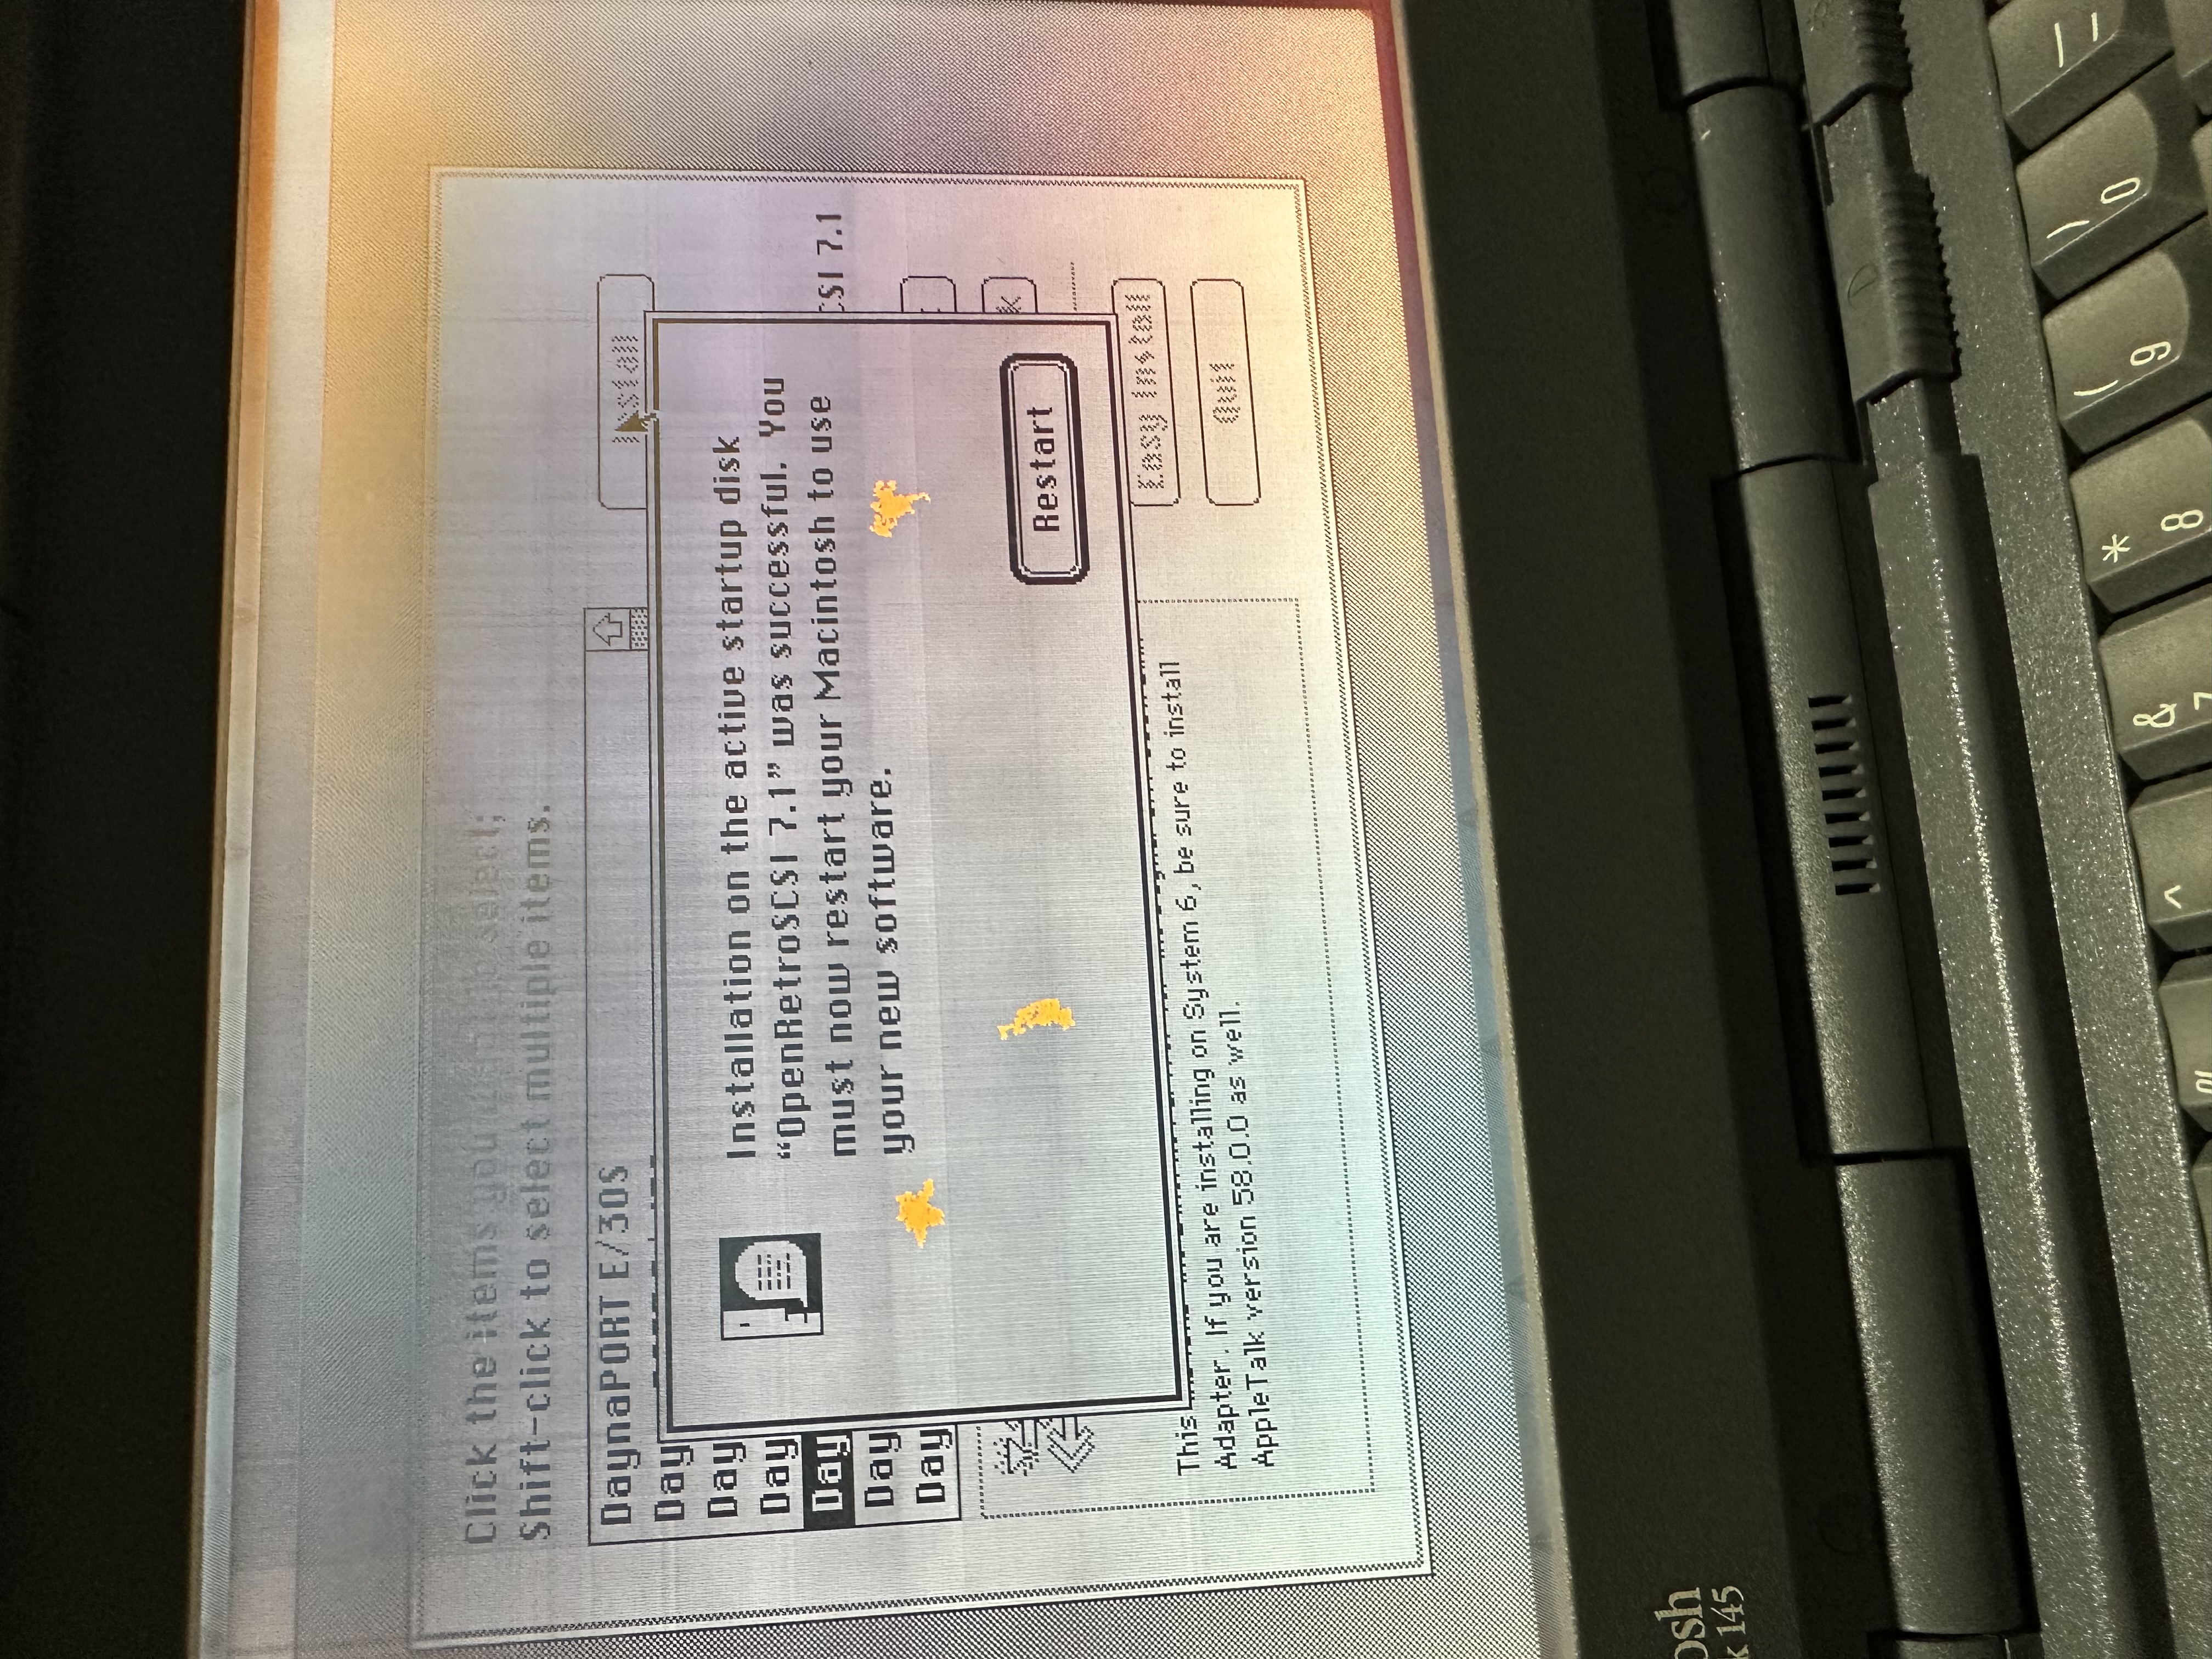
The installer finished successfully and required a restart. That restart mattered because the networking pieces had to load at startup before MacTCP, AppleTalk, and the test tools would see the new path correctly.
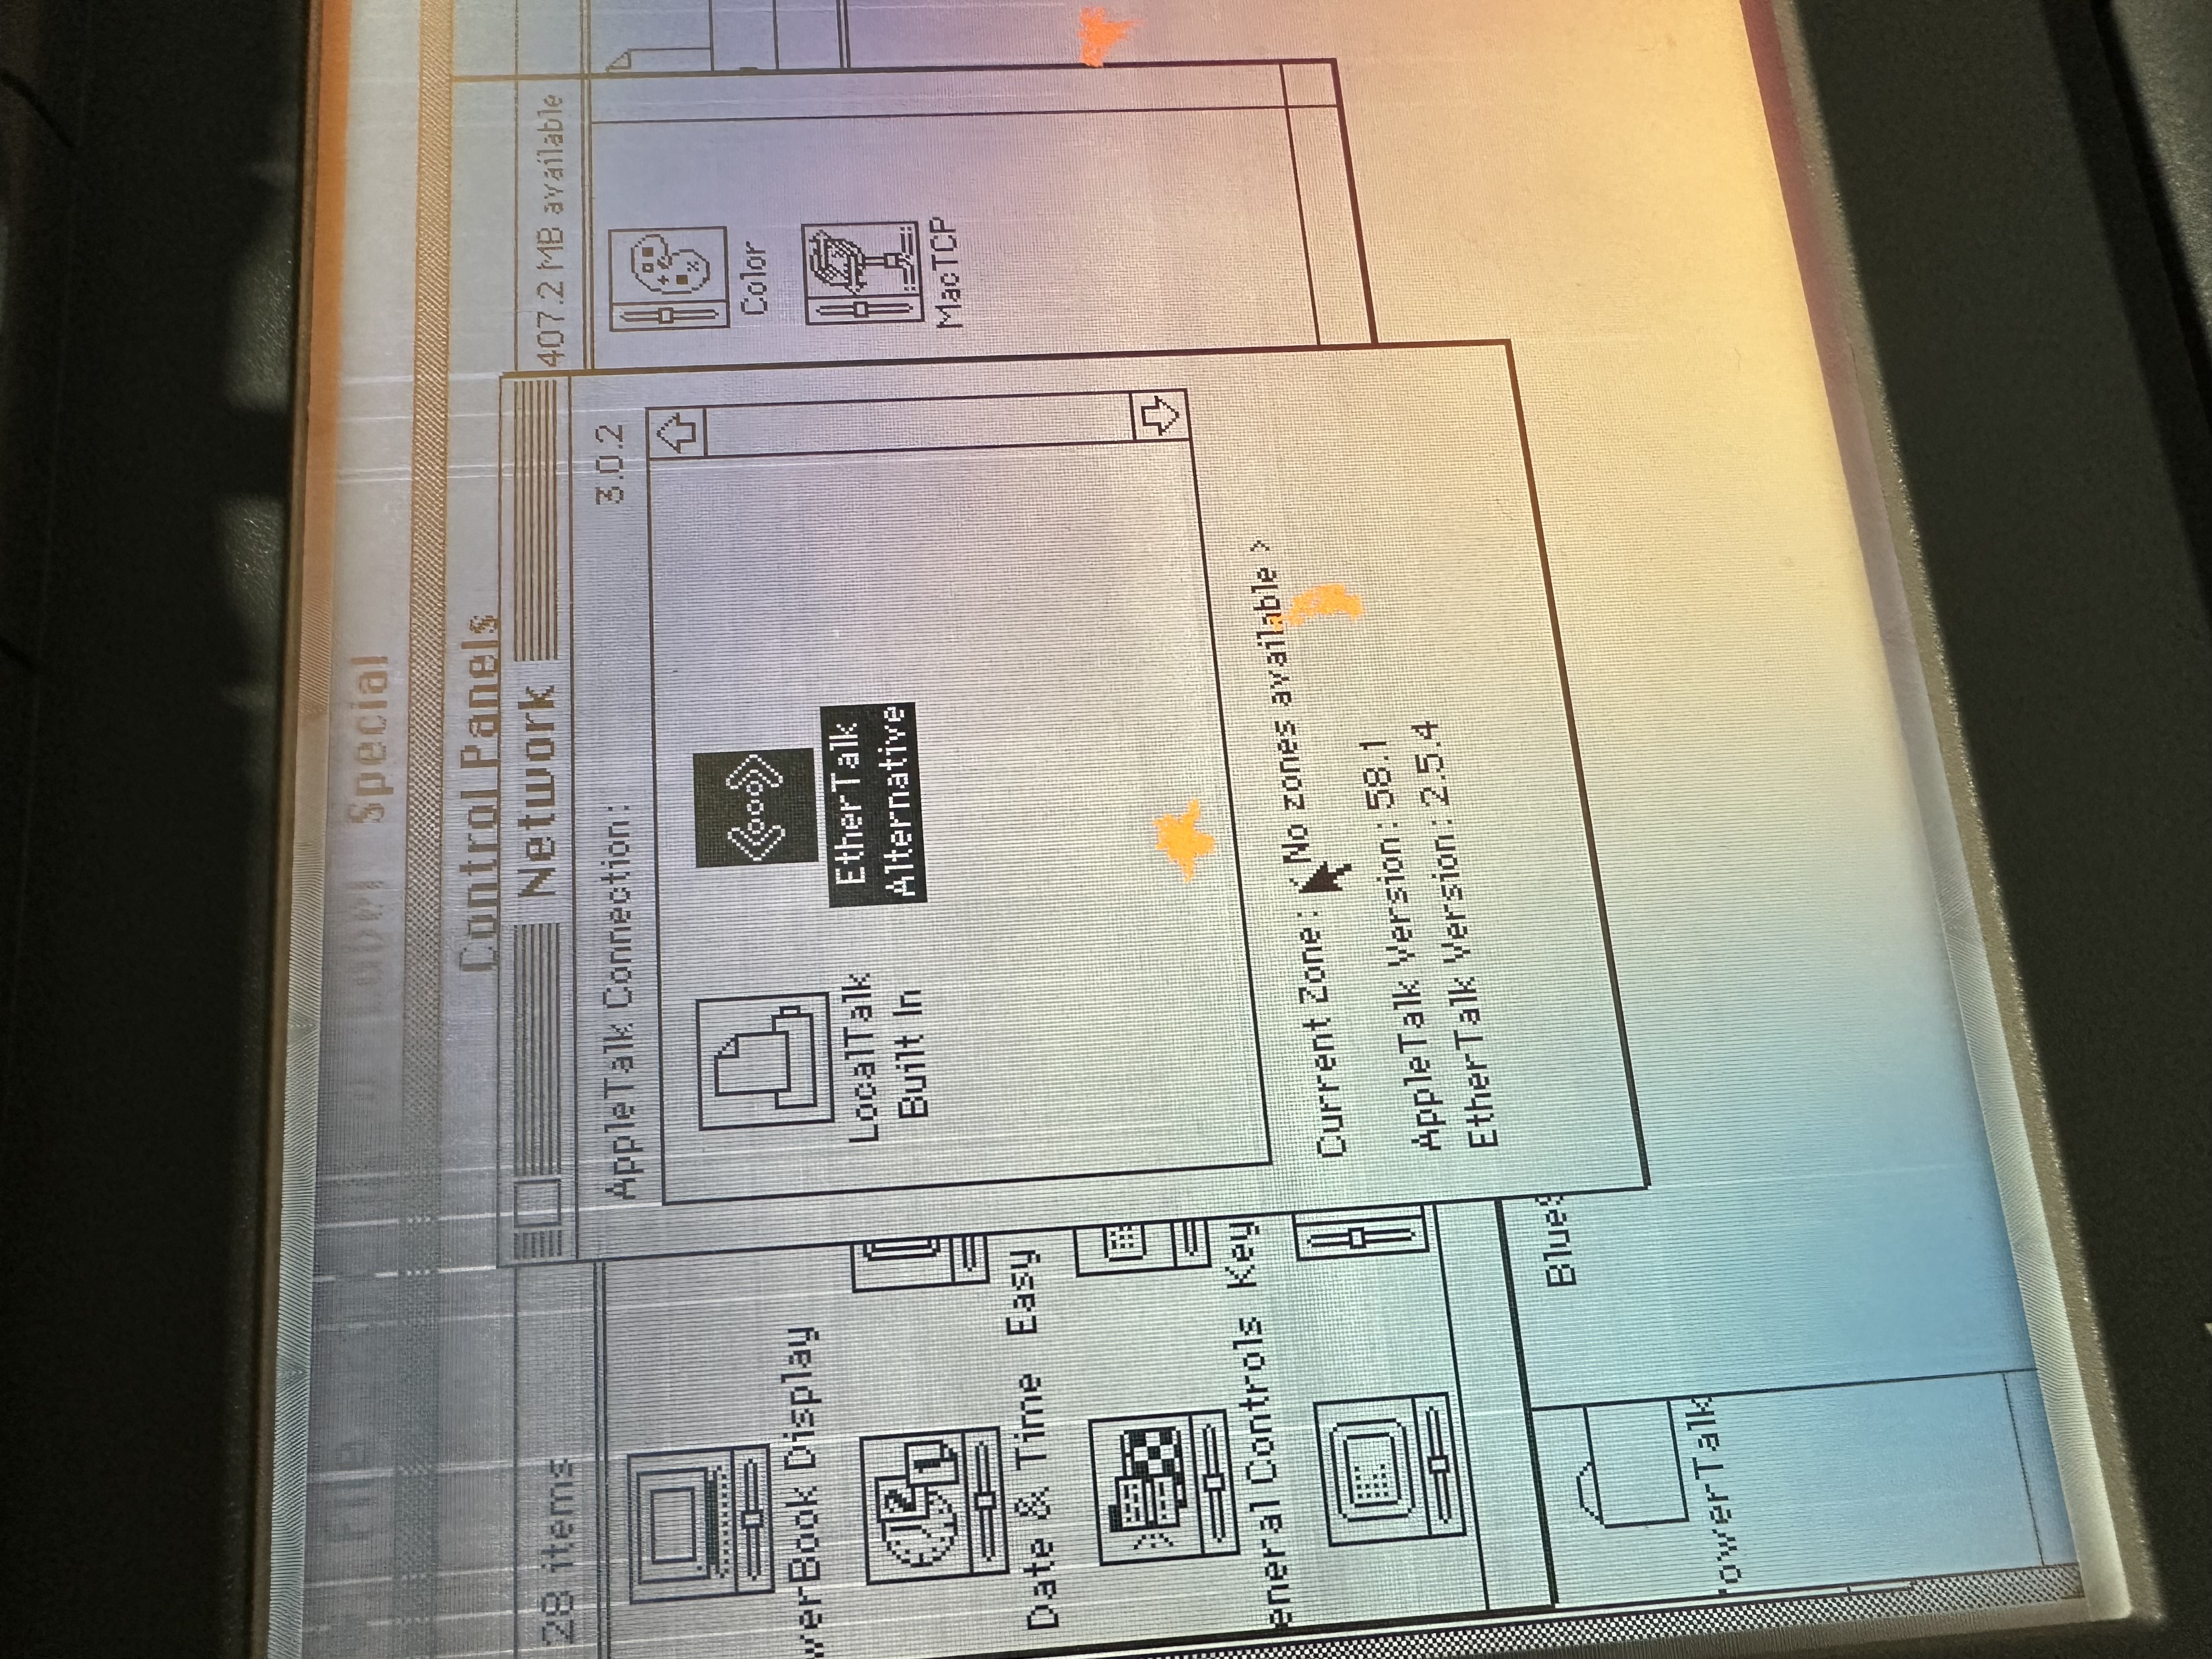
After restart, the Network control panel showed EtherTalk Alternative. That was the sign the DaynaPORT driver was now visible to System 7. It still did not mean the Internet worked. It meant the Mac could finally choose the Ethernet-style path instead of only LocalTalk.
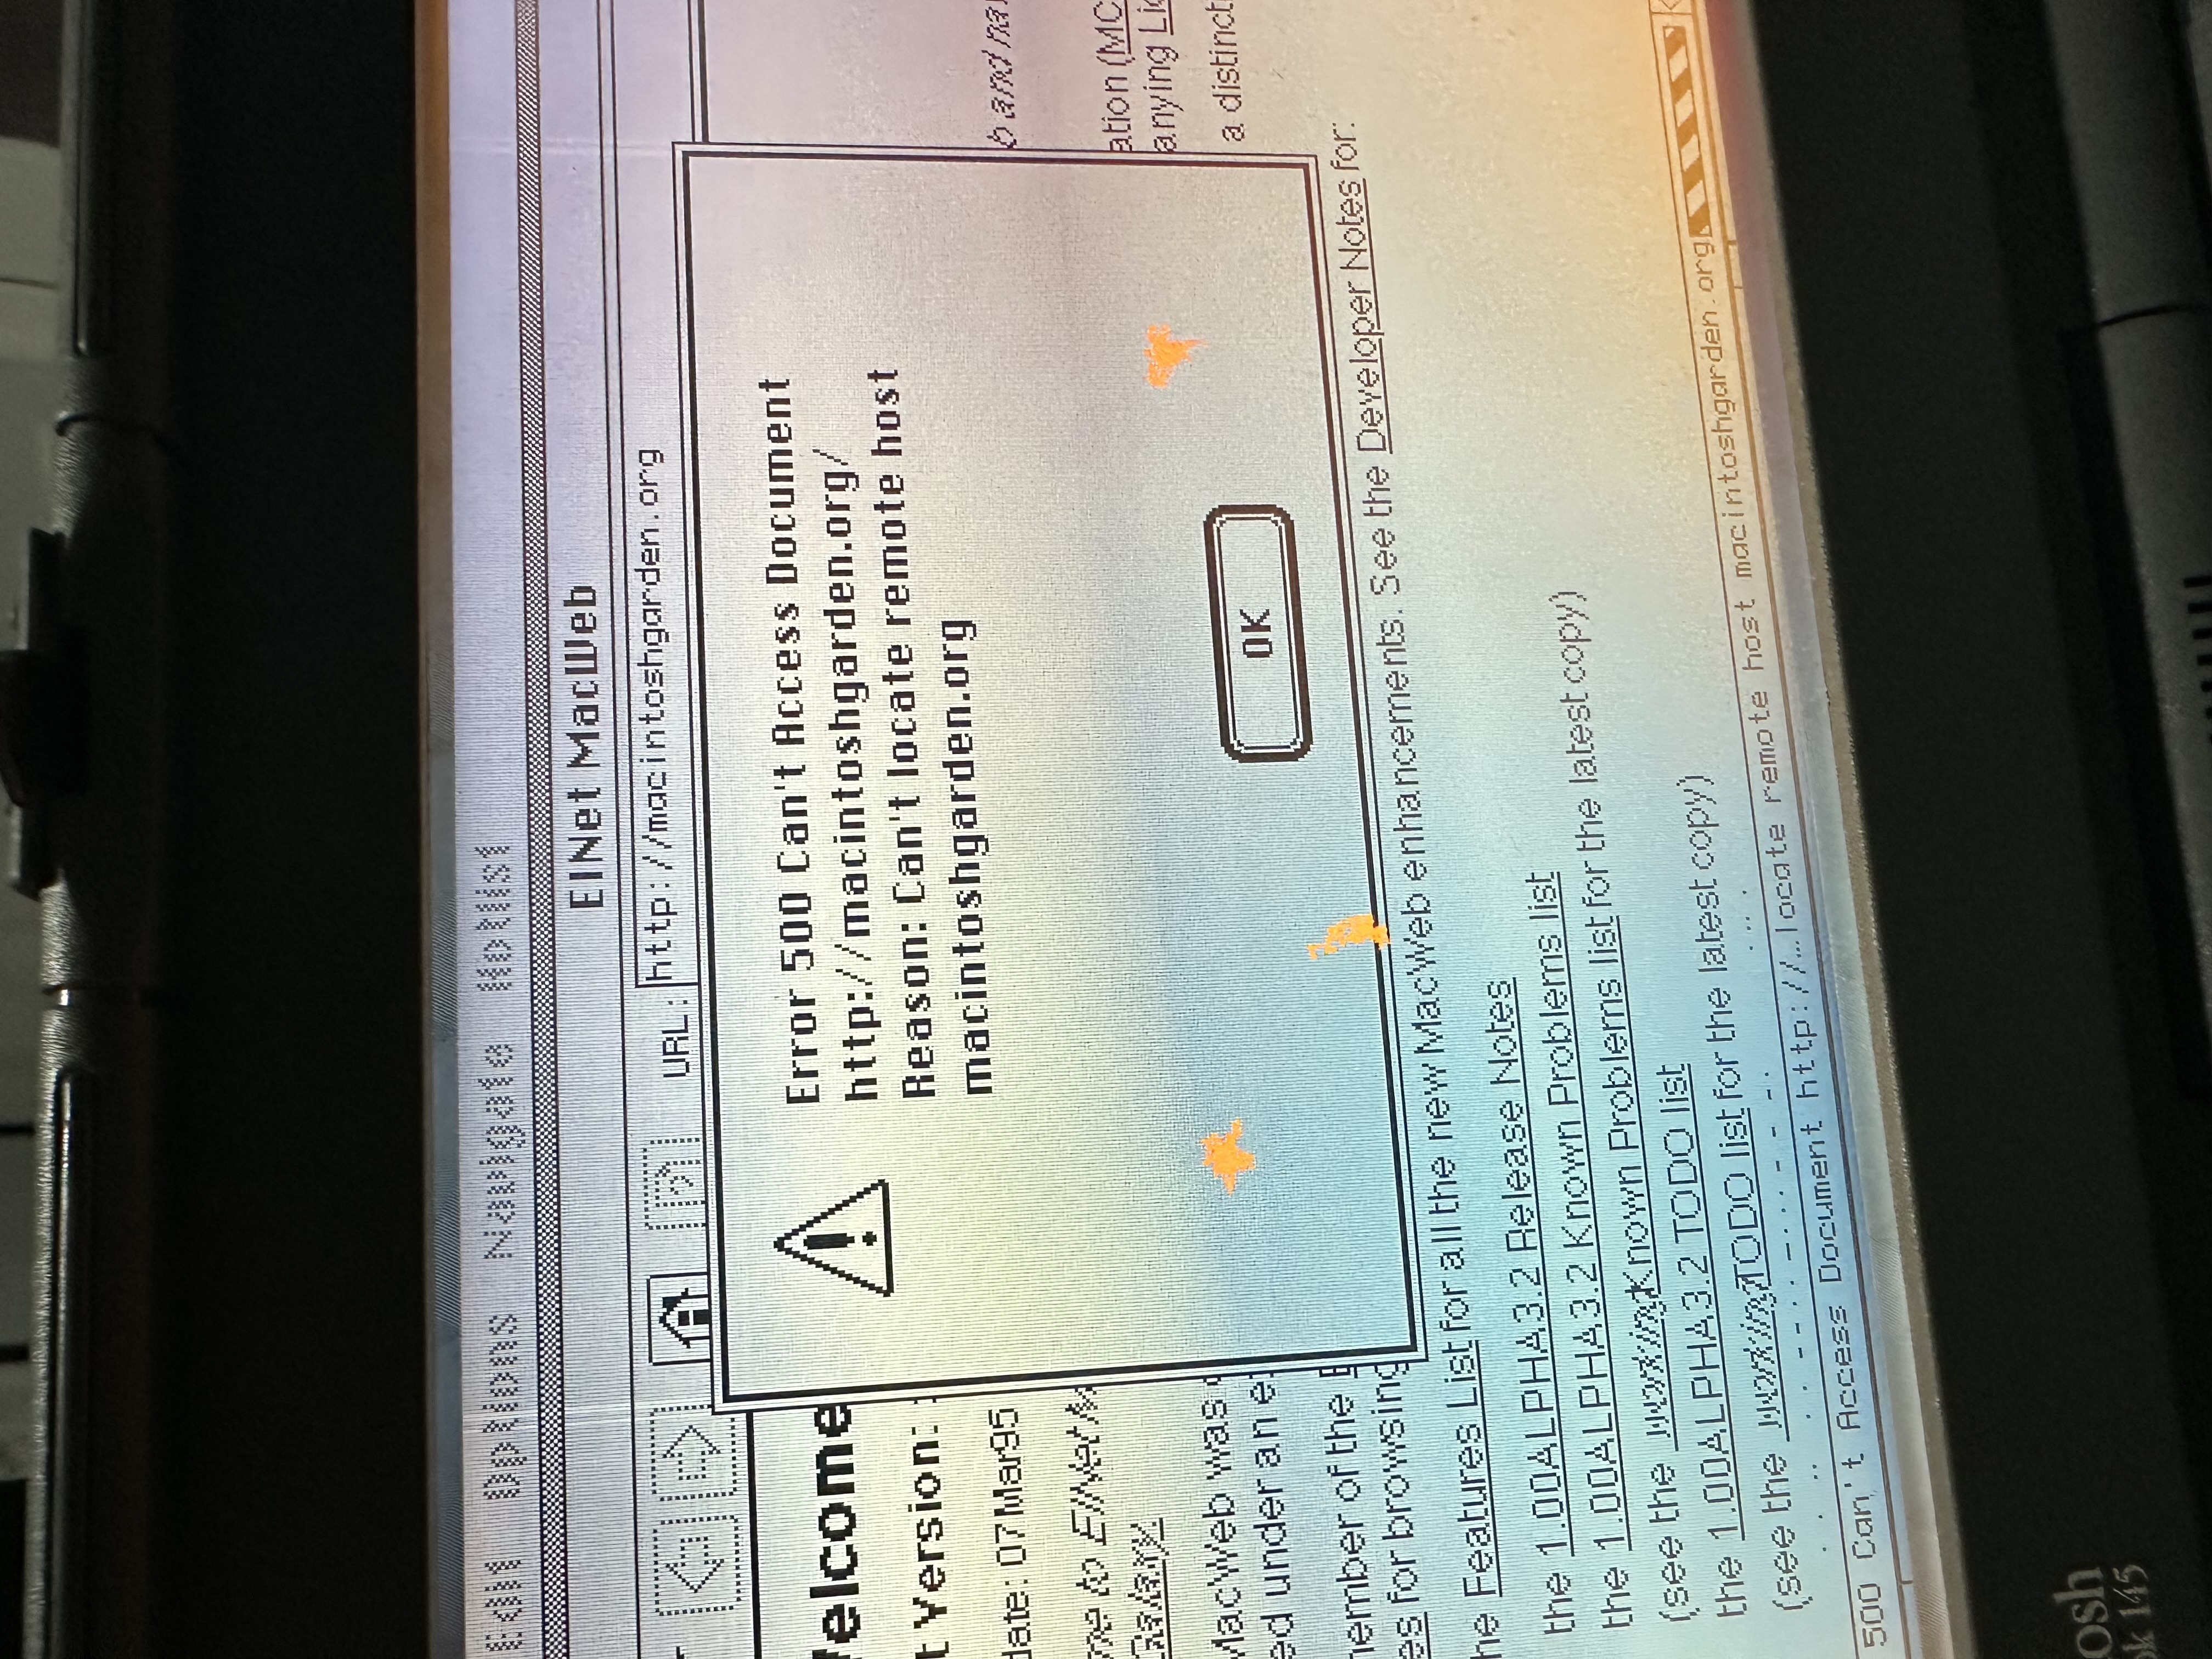
The first browser test still failed. MacWeb opened, but it could not locate macintoshgarden.org. That was the clue that the driver install alone was not the end of the story. The SCSI ID 4 conflict still had to be cleared, and then the TCP/IP settings had to be verified.
After fixing the BlueSCSI card layout so ID 4 was no longer occupied by a disk image, I went back through the Network control panel. EtherTalk Alternative needed to stay selected because that was the DaynaPORT path the Mac was supposed to use.
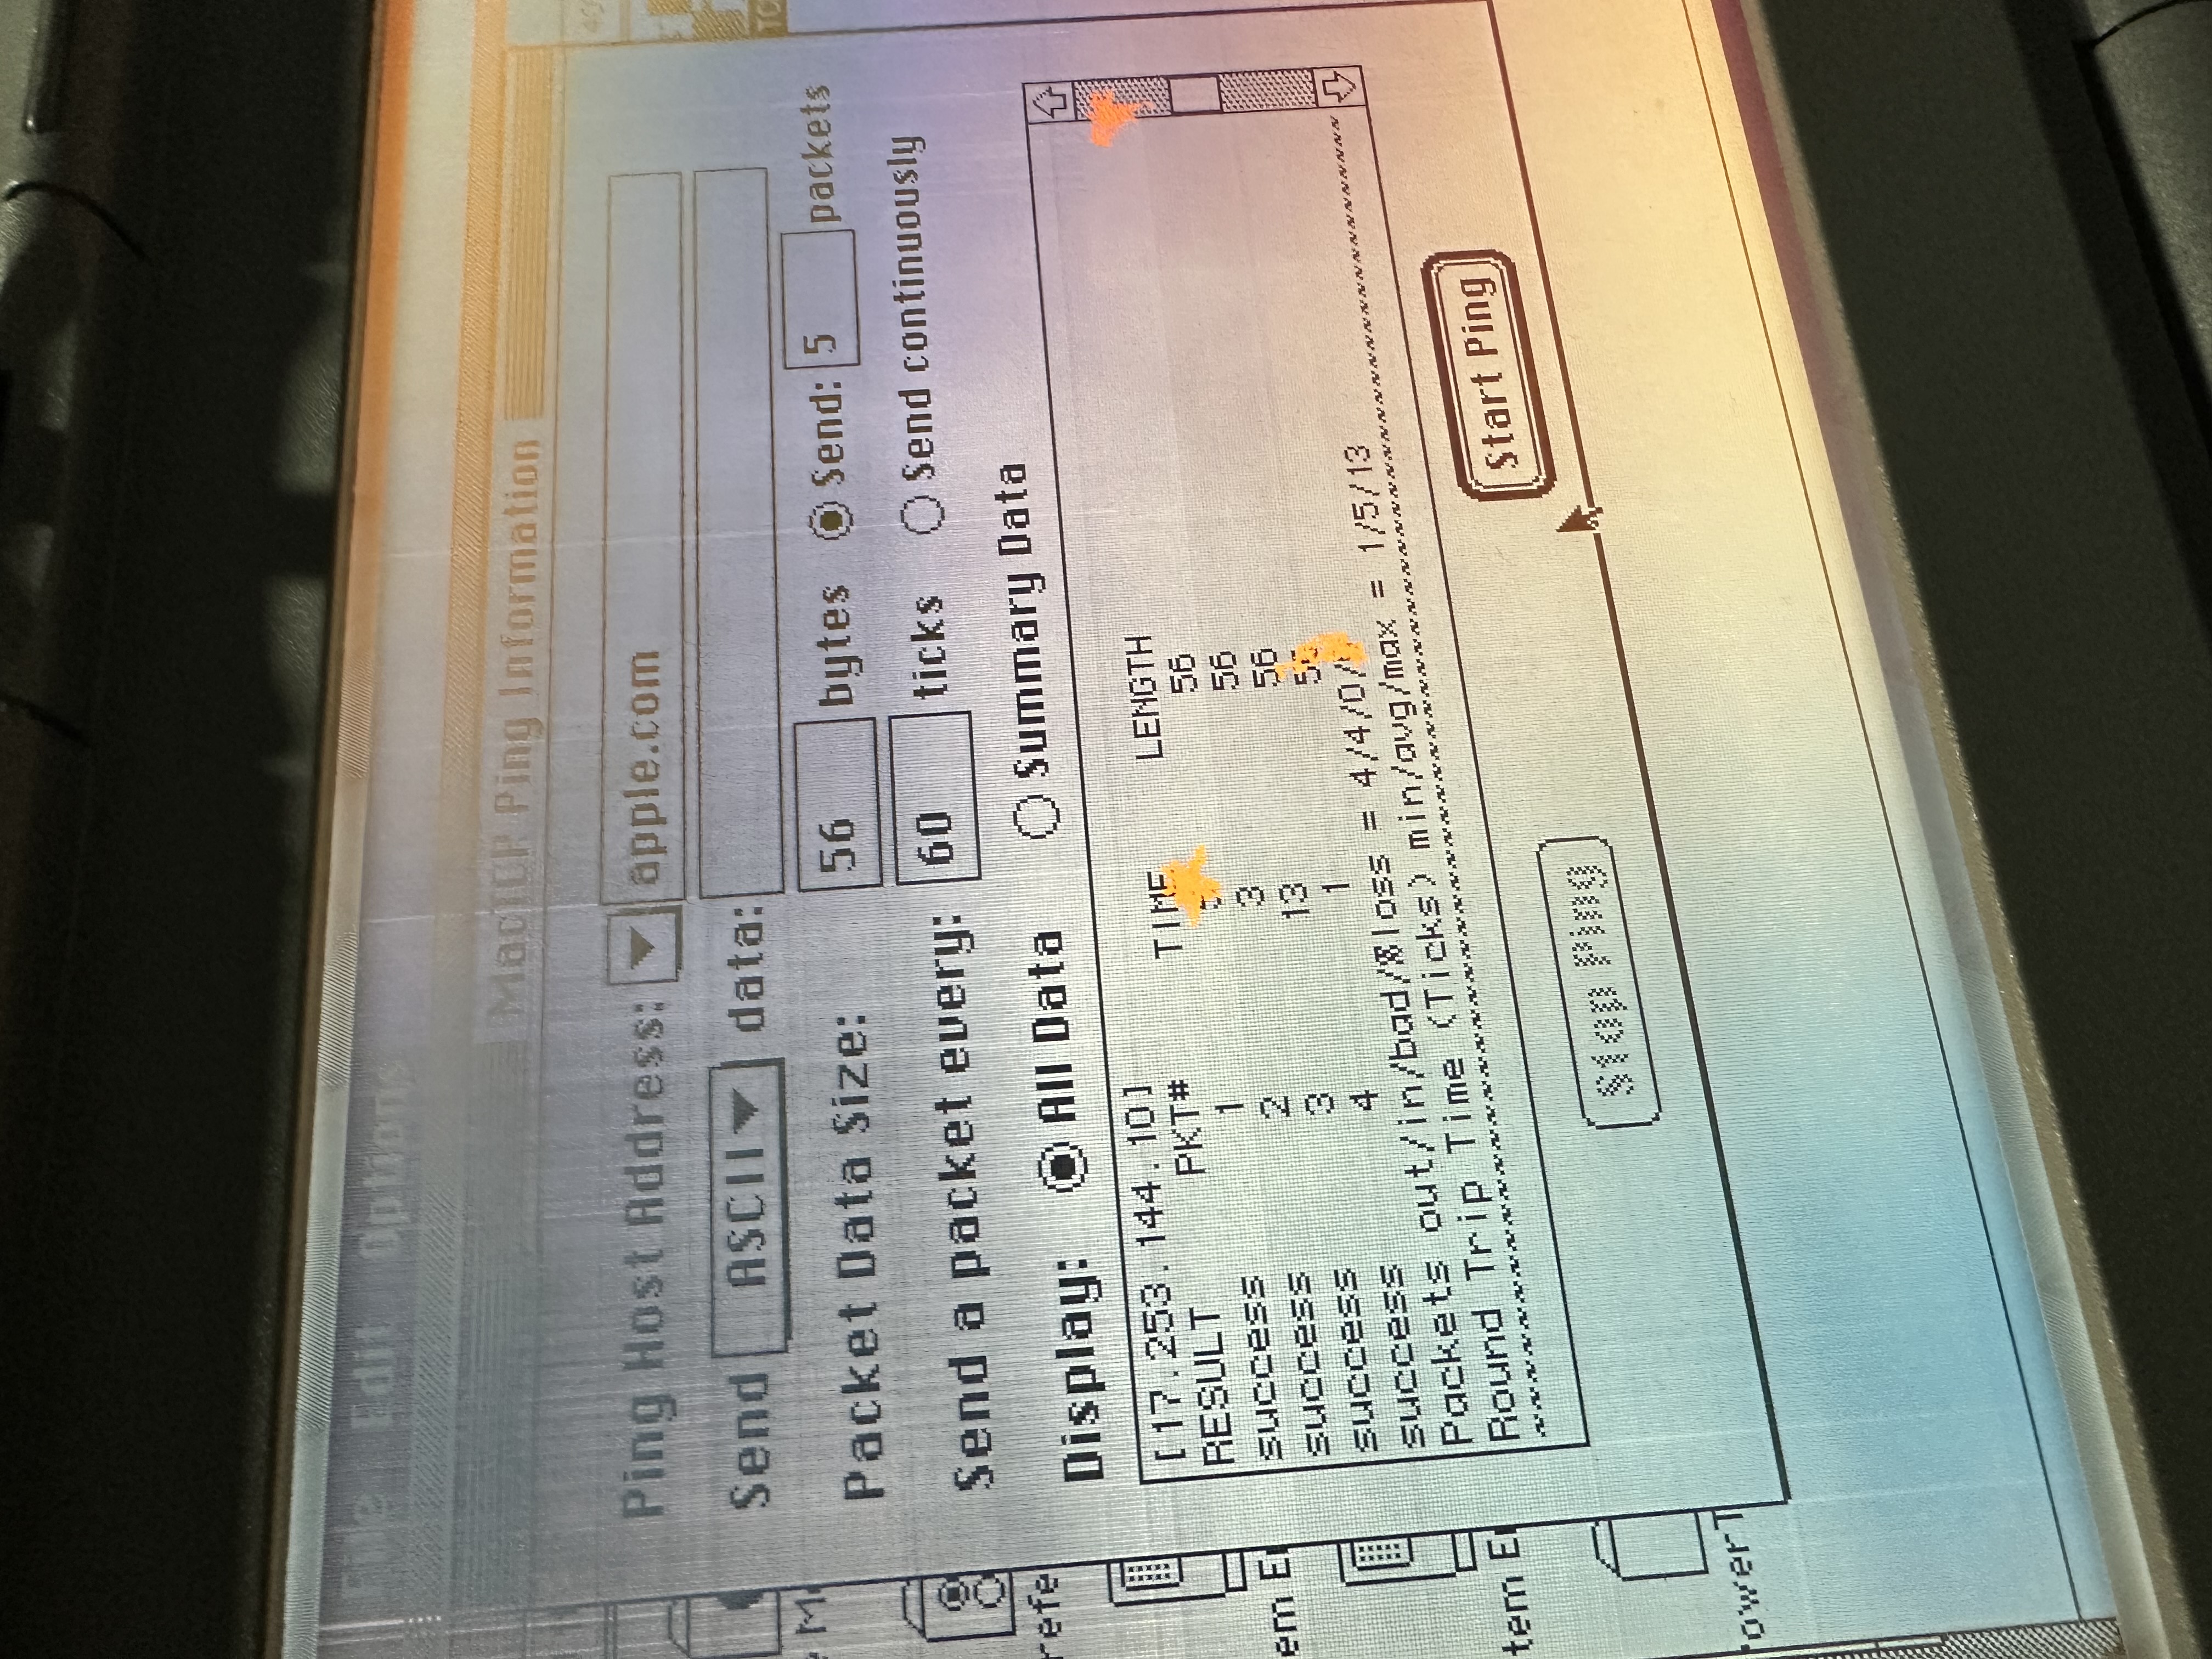
Then I used MacTCP Ping instead of guessing from the browser. A browser on a classic Mac can fail for a lot of reasons, especially with modern sites. Ping gave me a cleaner test of the network path itself.
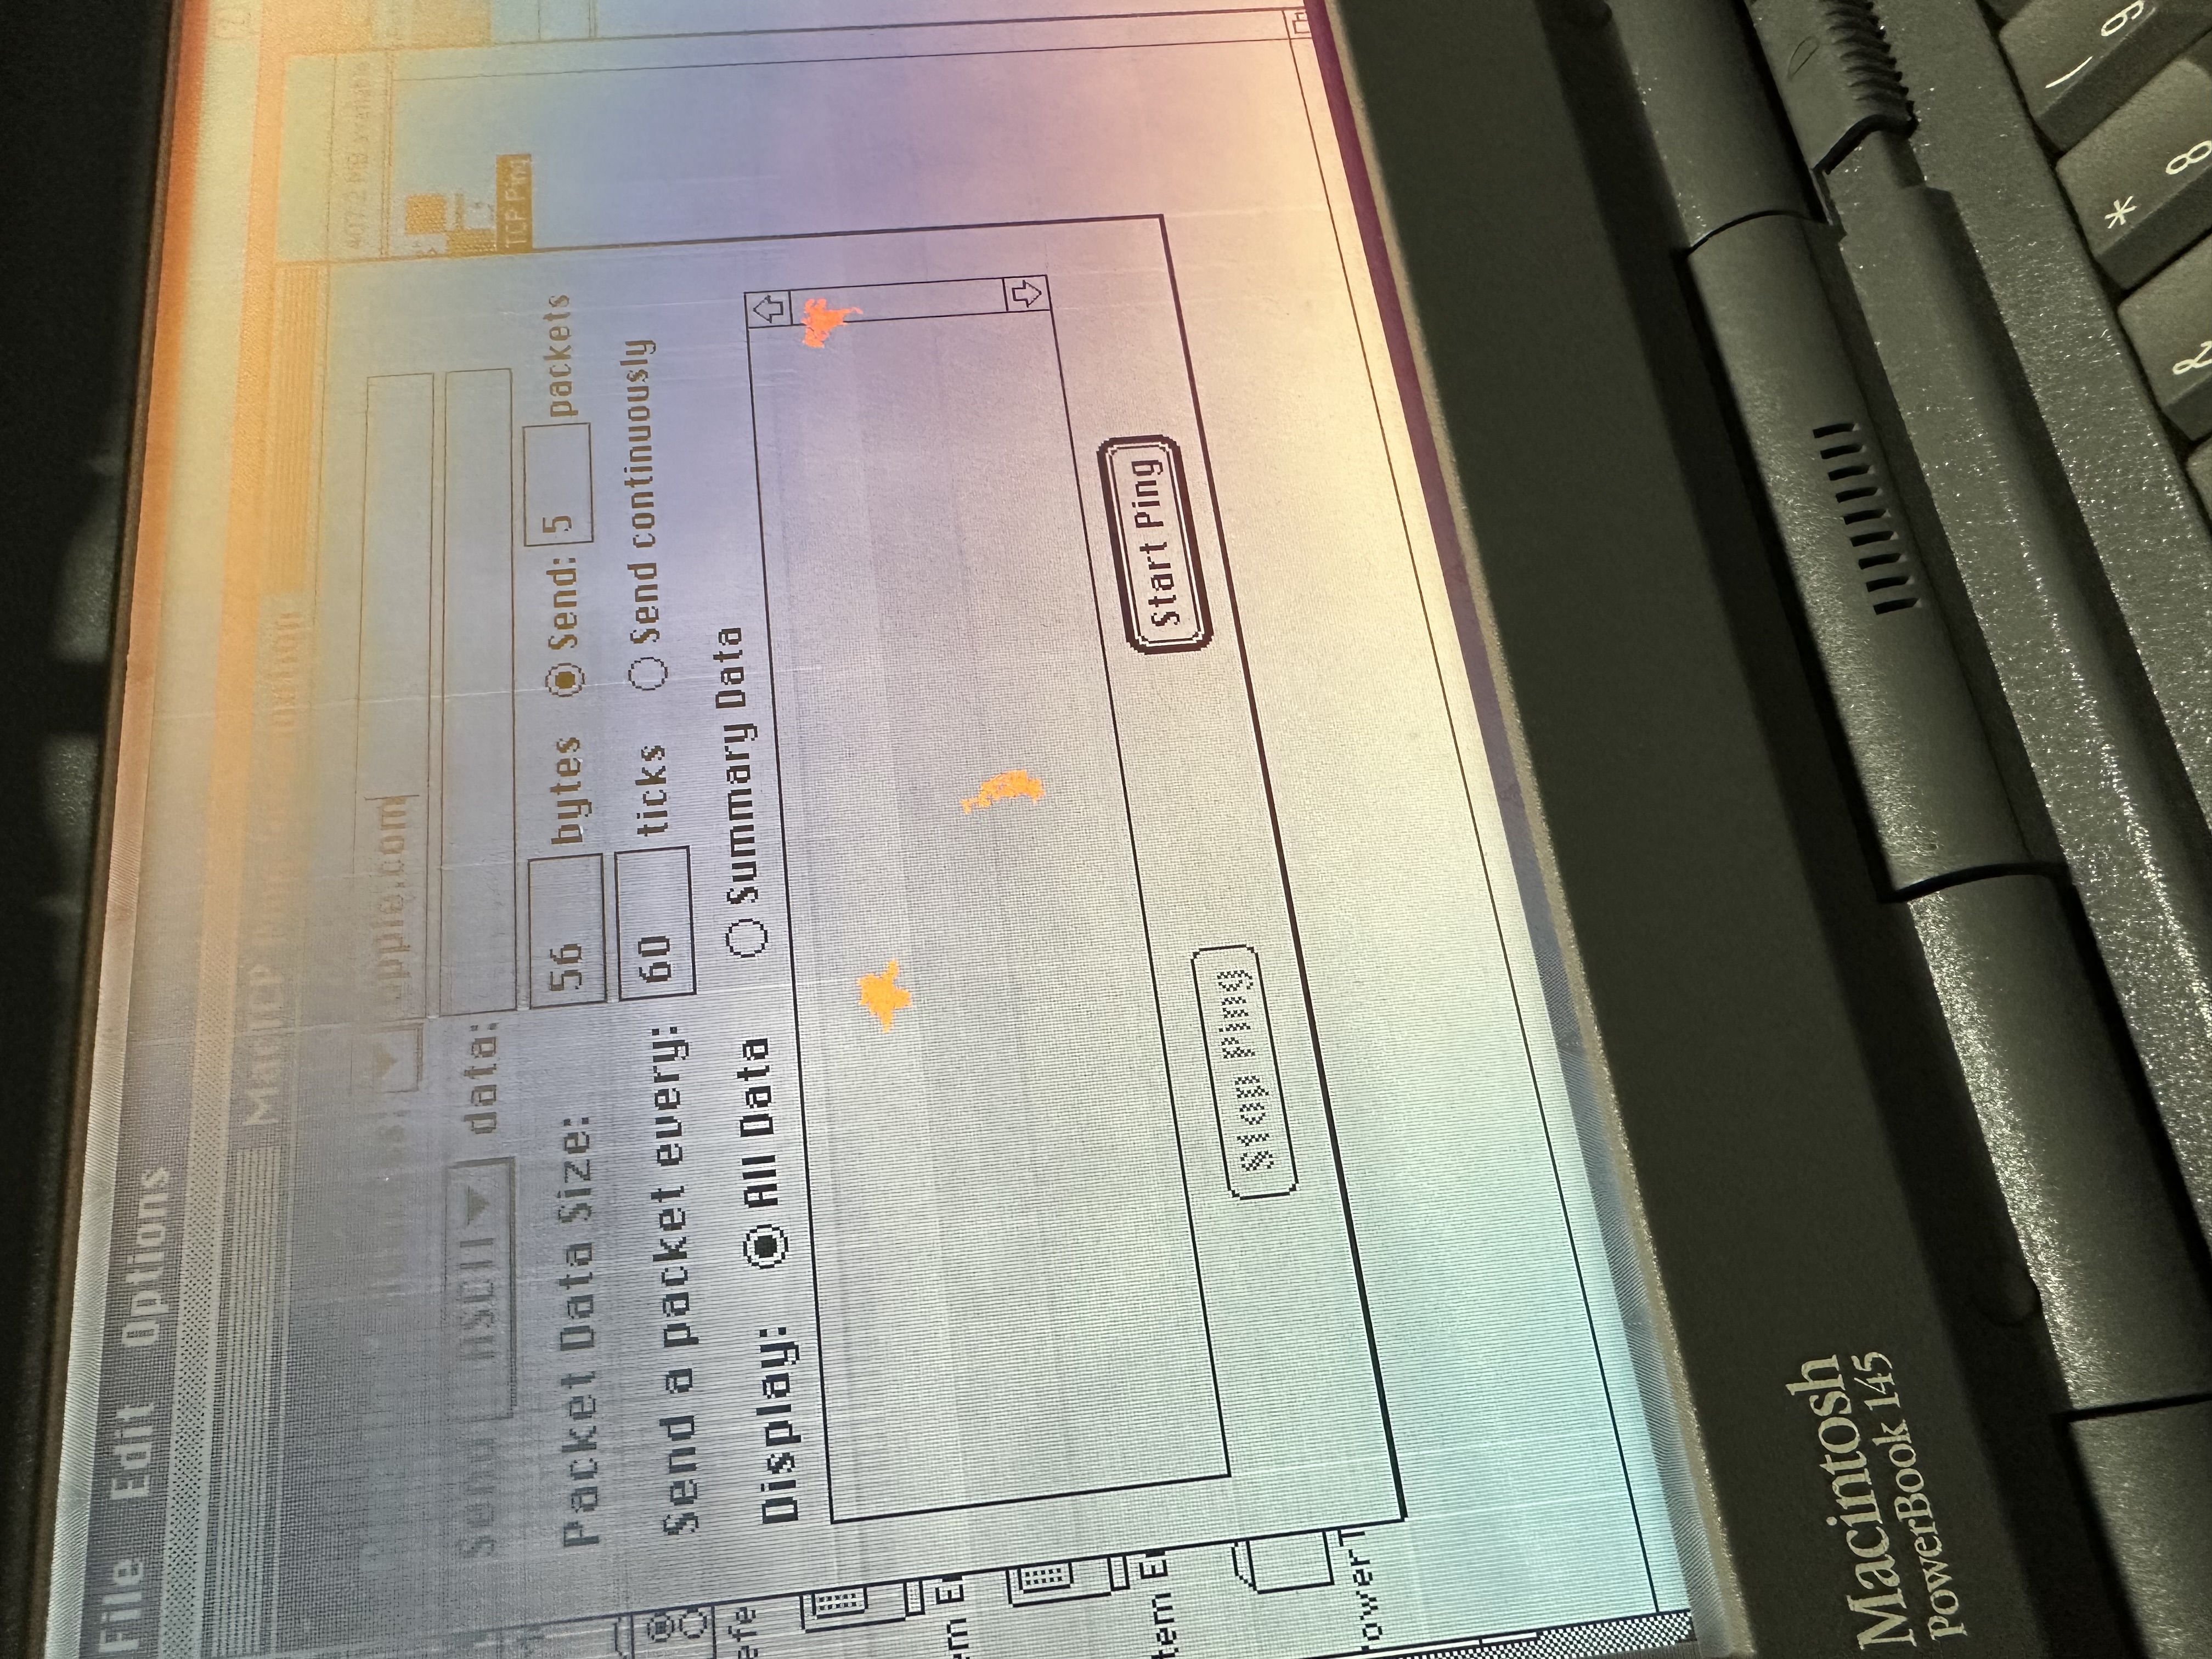
I set the ping target to apple.com and kept the packet test simple. At this point I wanted to know whether DNS and routing were working before blaming the browser.
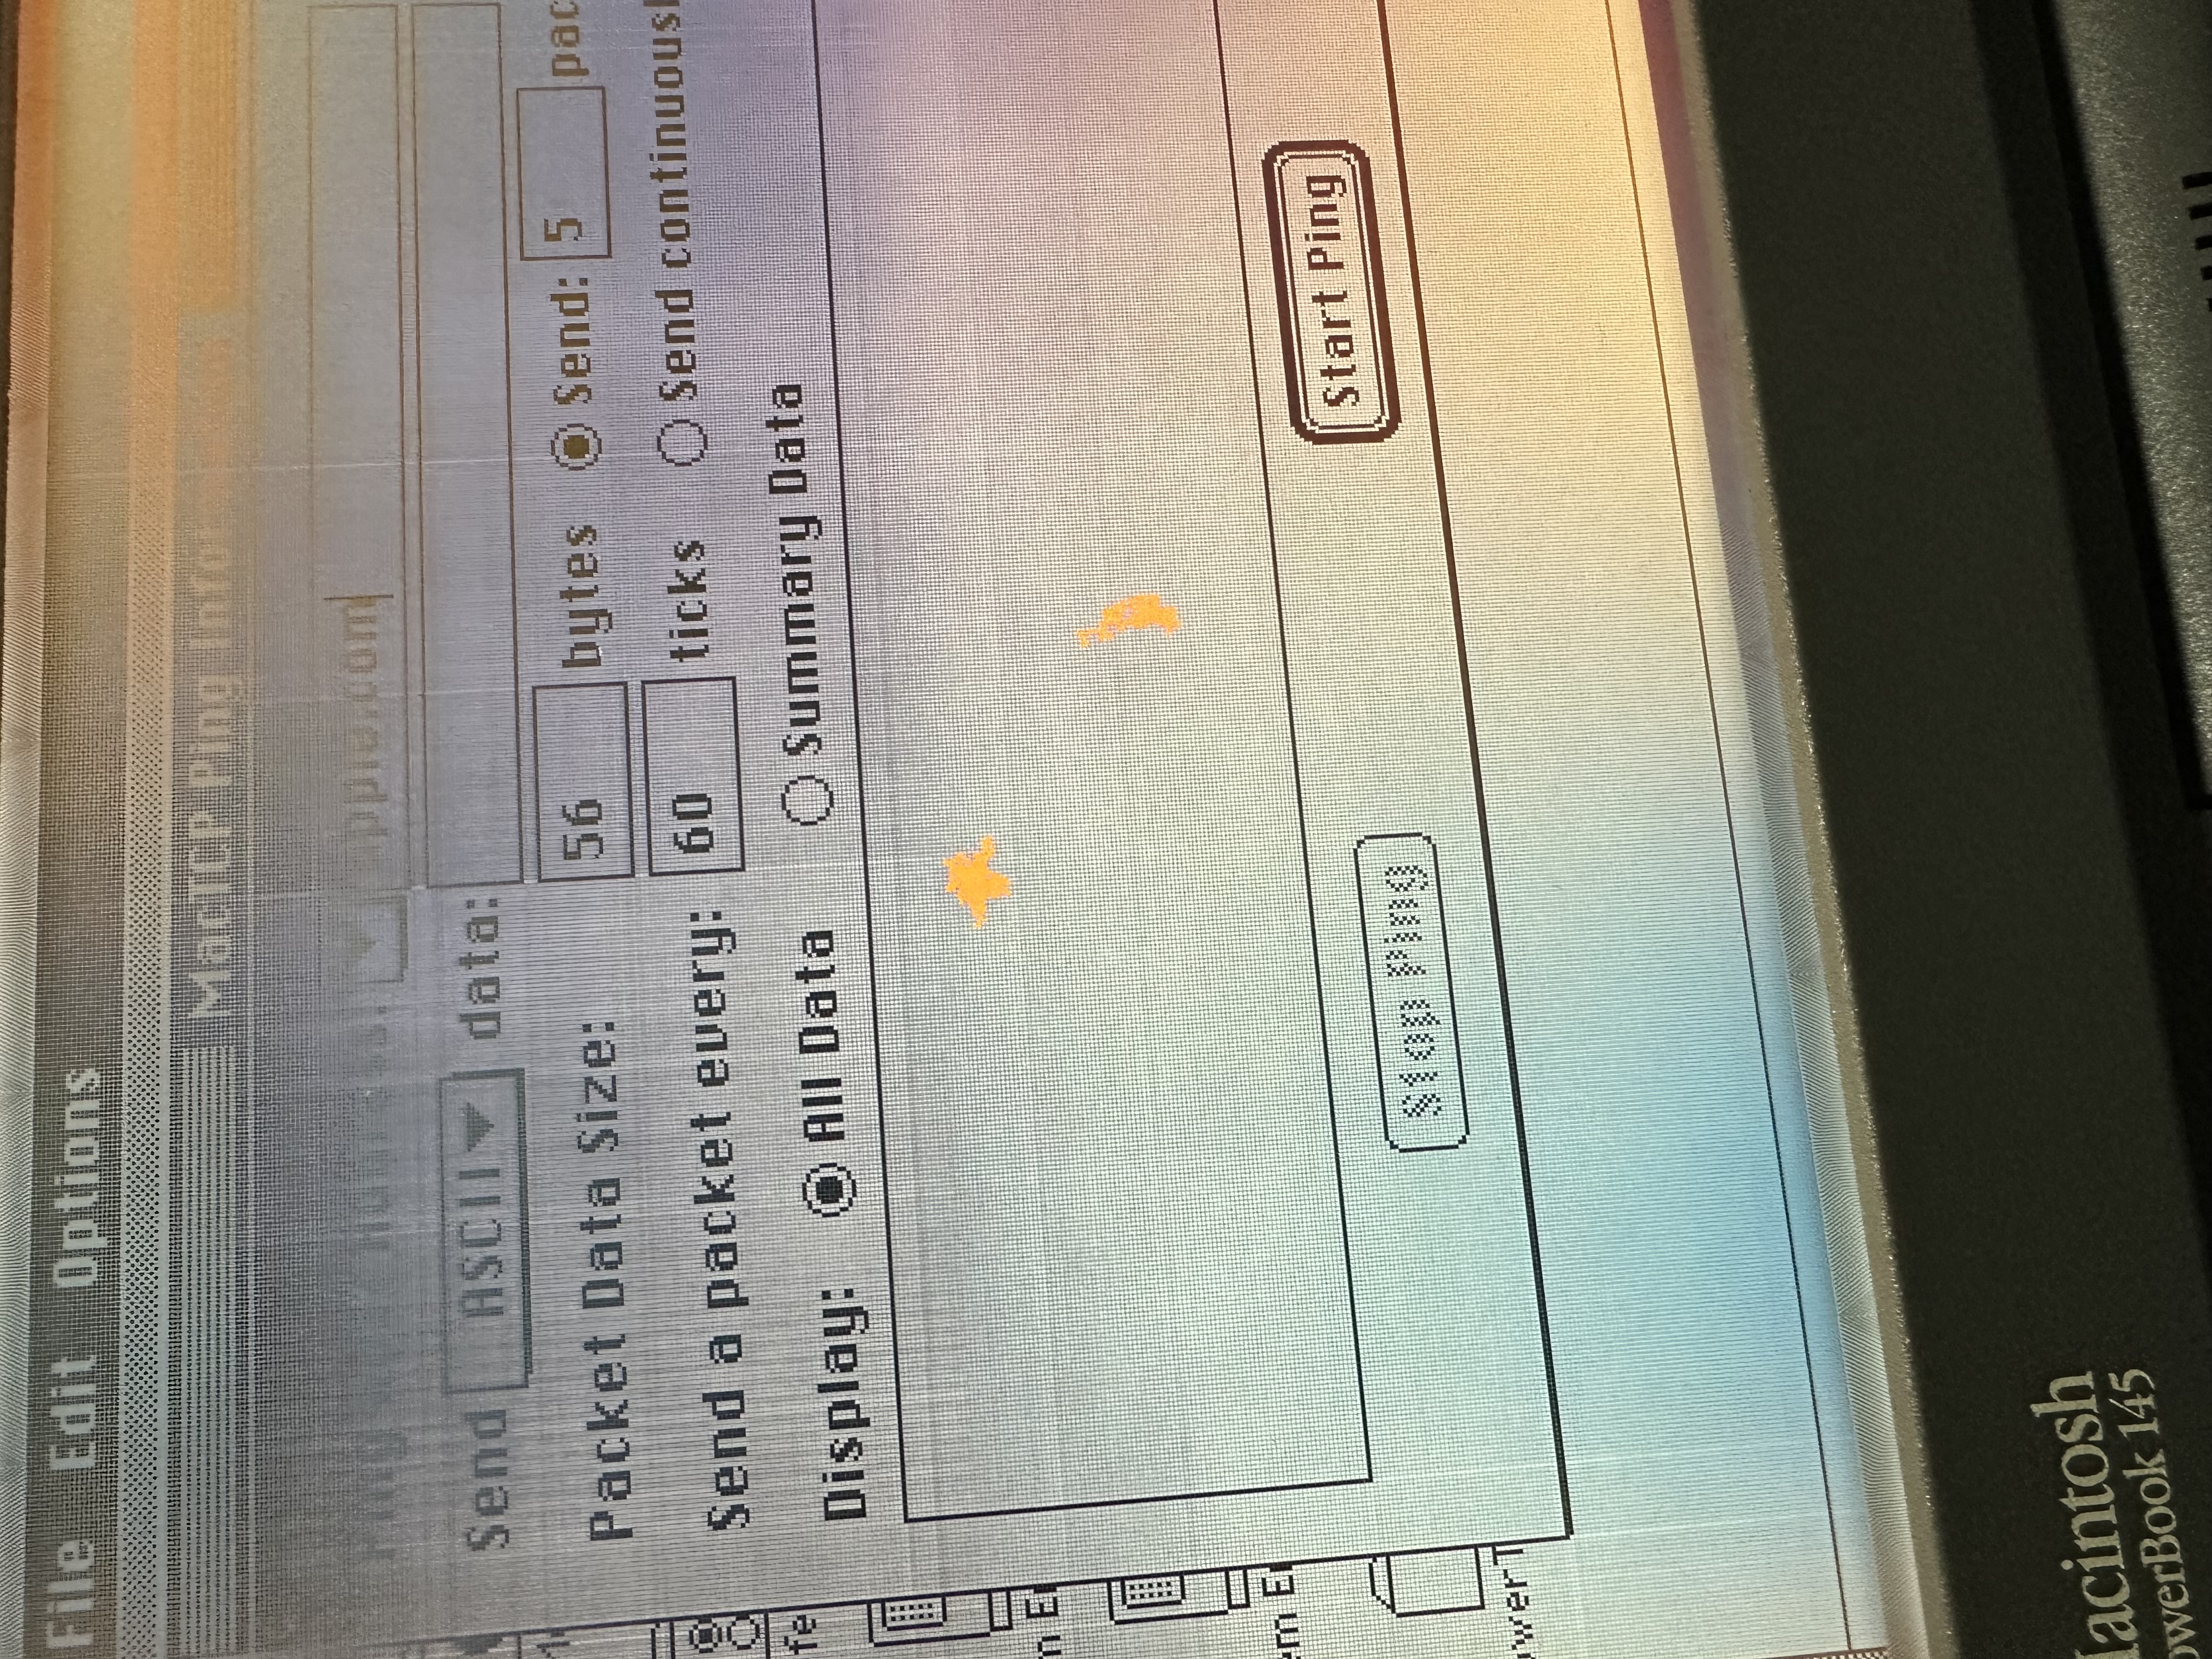
This was the point where the network finally proved itself. MacTCP Ping resolved apple.com to an IP address and returned successful packets. That meant the path was working through MacTCP, the DaynaPORT driver, the BlueSCSI Wi-Fi bridge, and the local network.
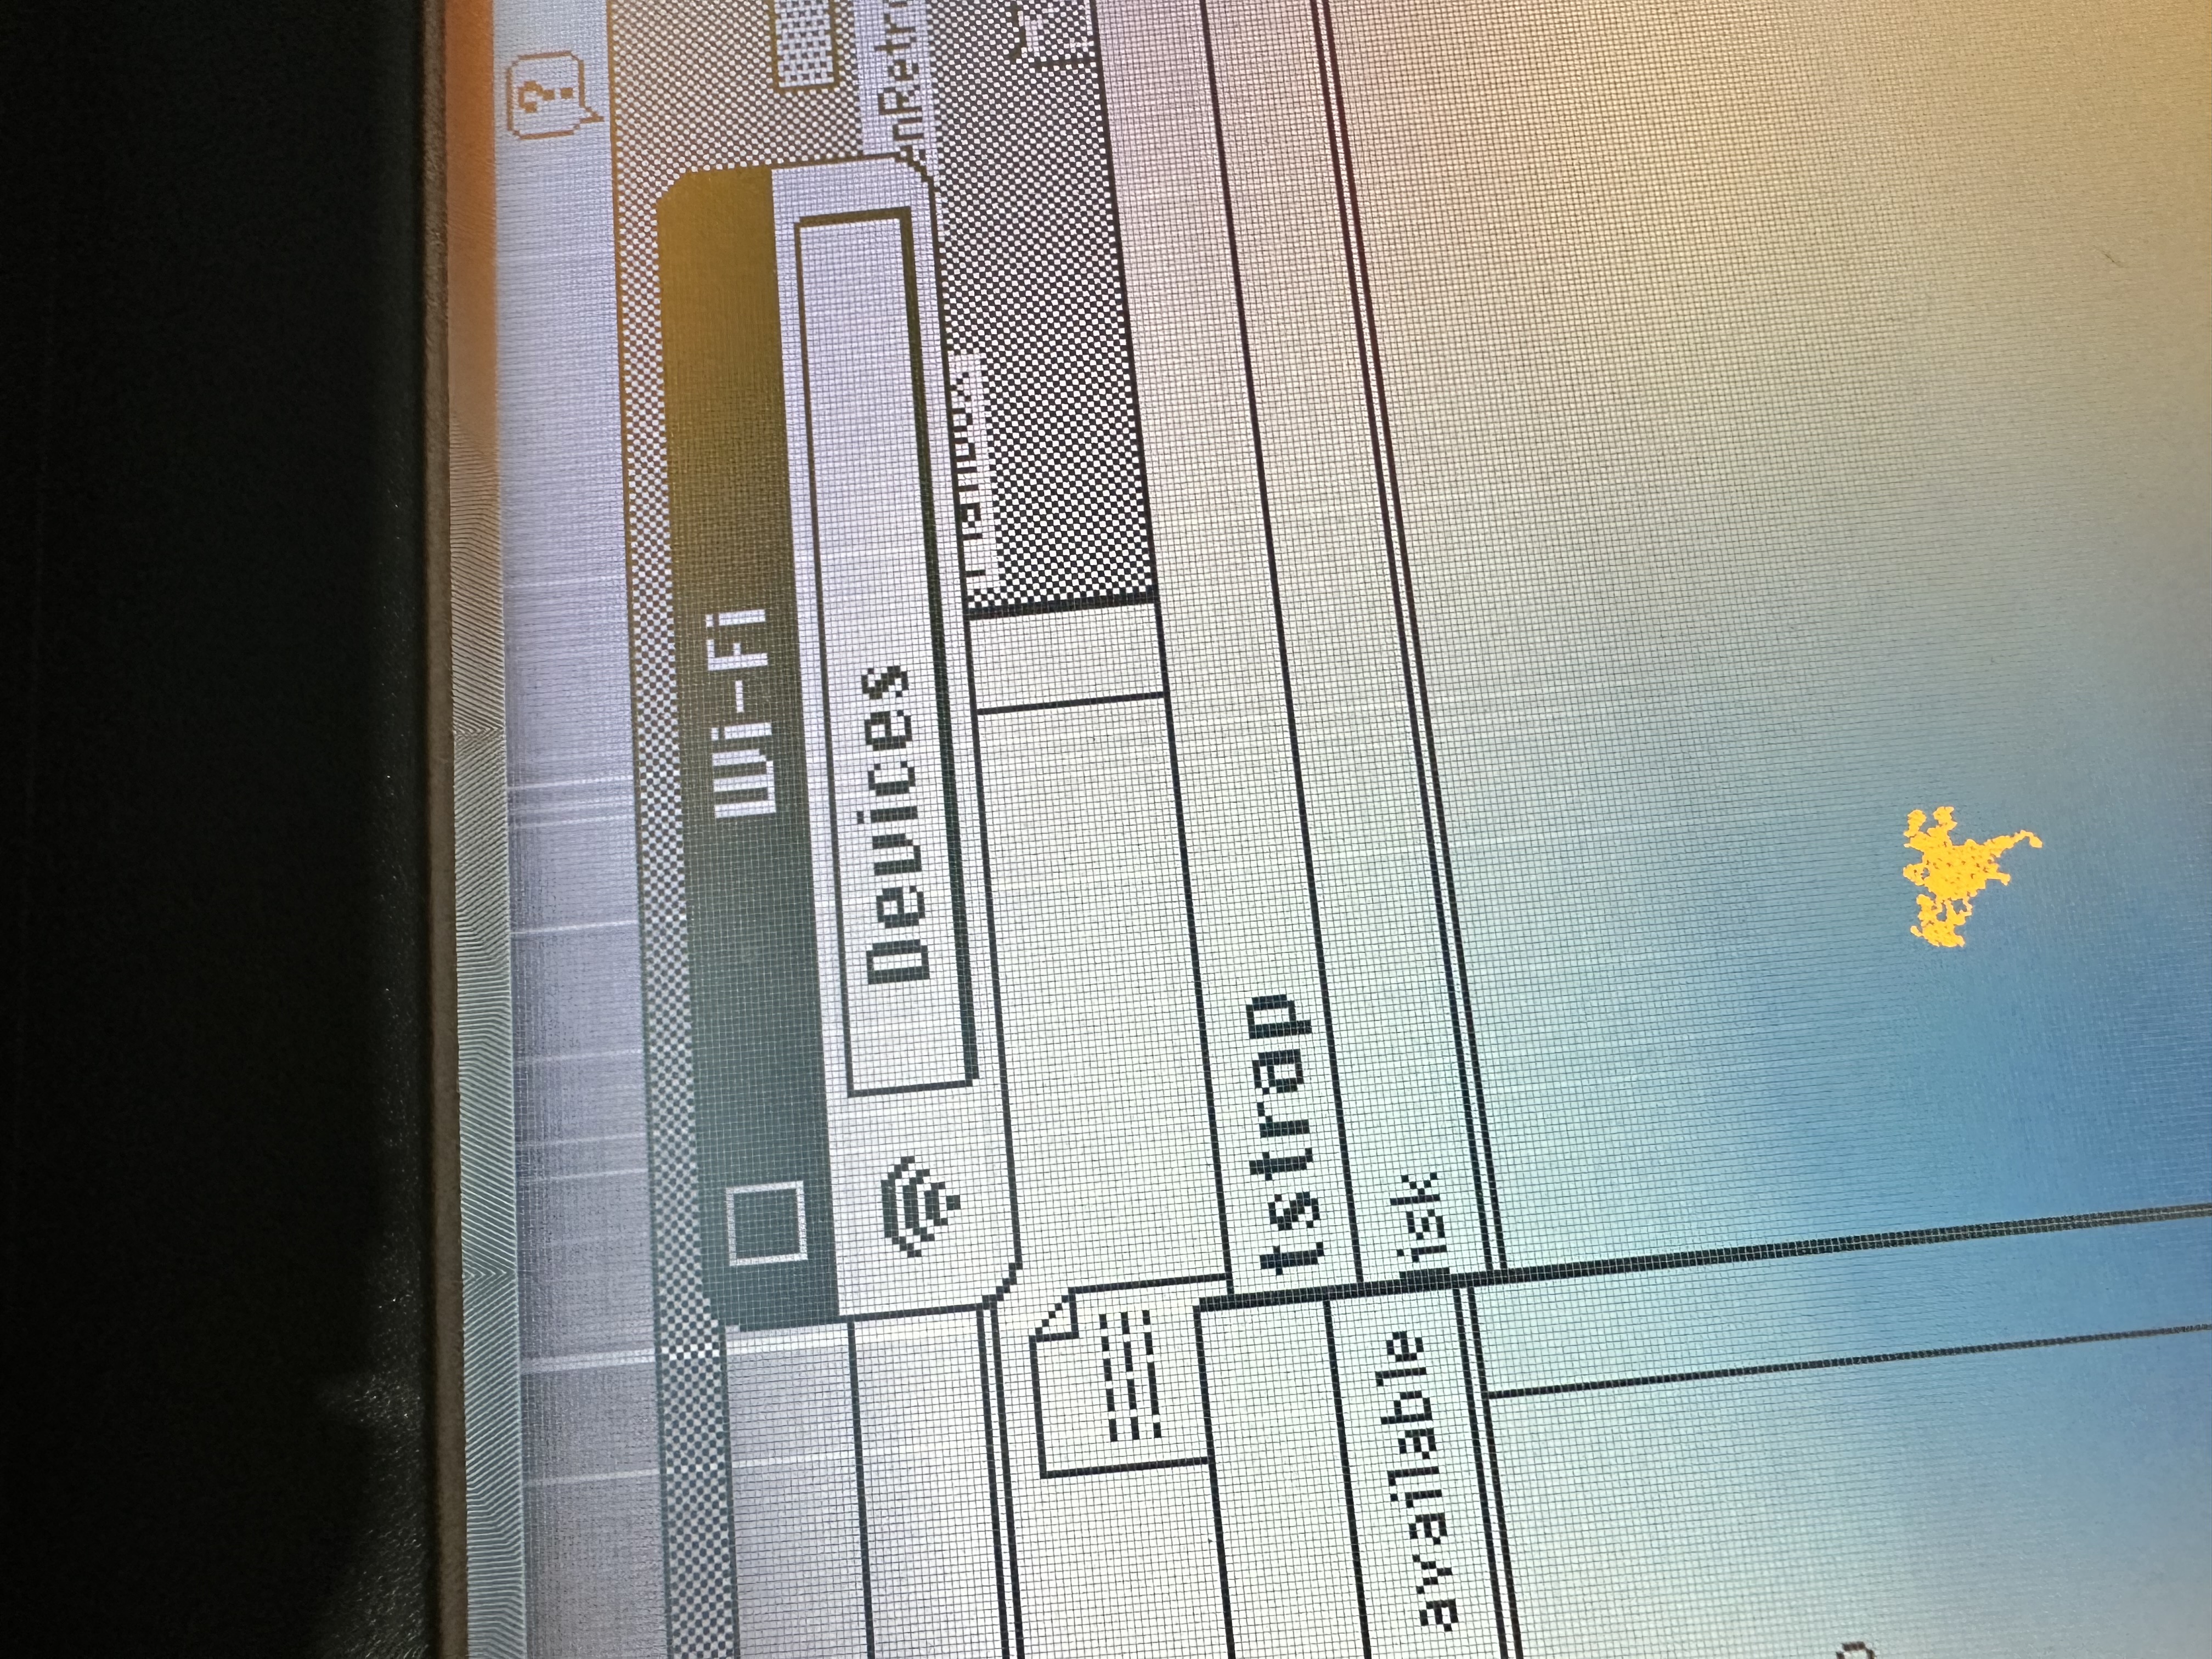
The BlueSCSI Wi-Fi desk accessory confirmed the other side of the setup. This gave me a classic Mac interface for the Wi-Fi device instead of making the whole process depend on blind edits to bluescsi.ini.
After the ping test worked and the Wi-Fi DA was visible, the browser test made more sense. I switched to a site that was more realistic for a classic Mac browser and watched it load through the DaynaPORT path.
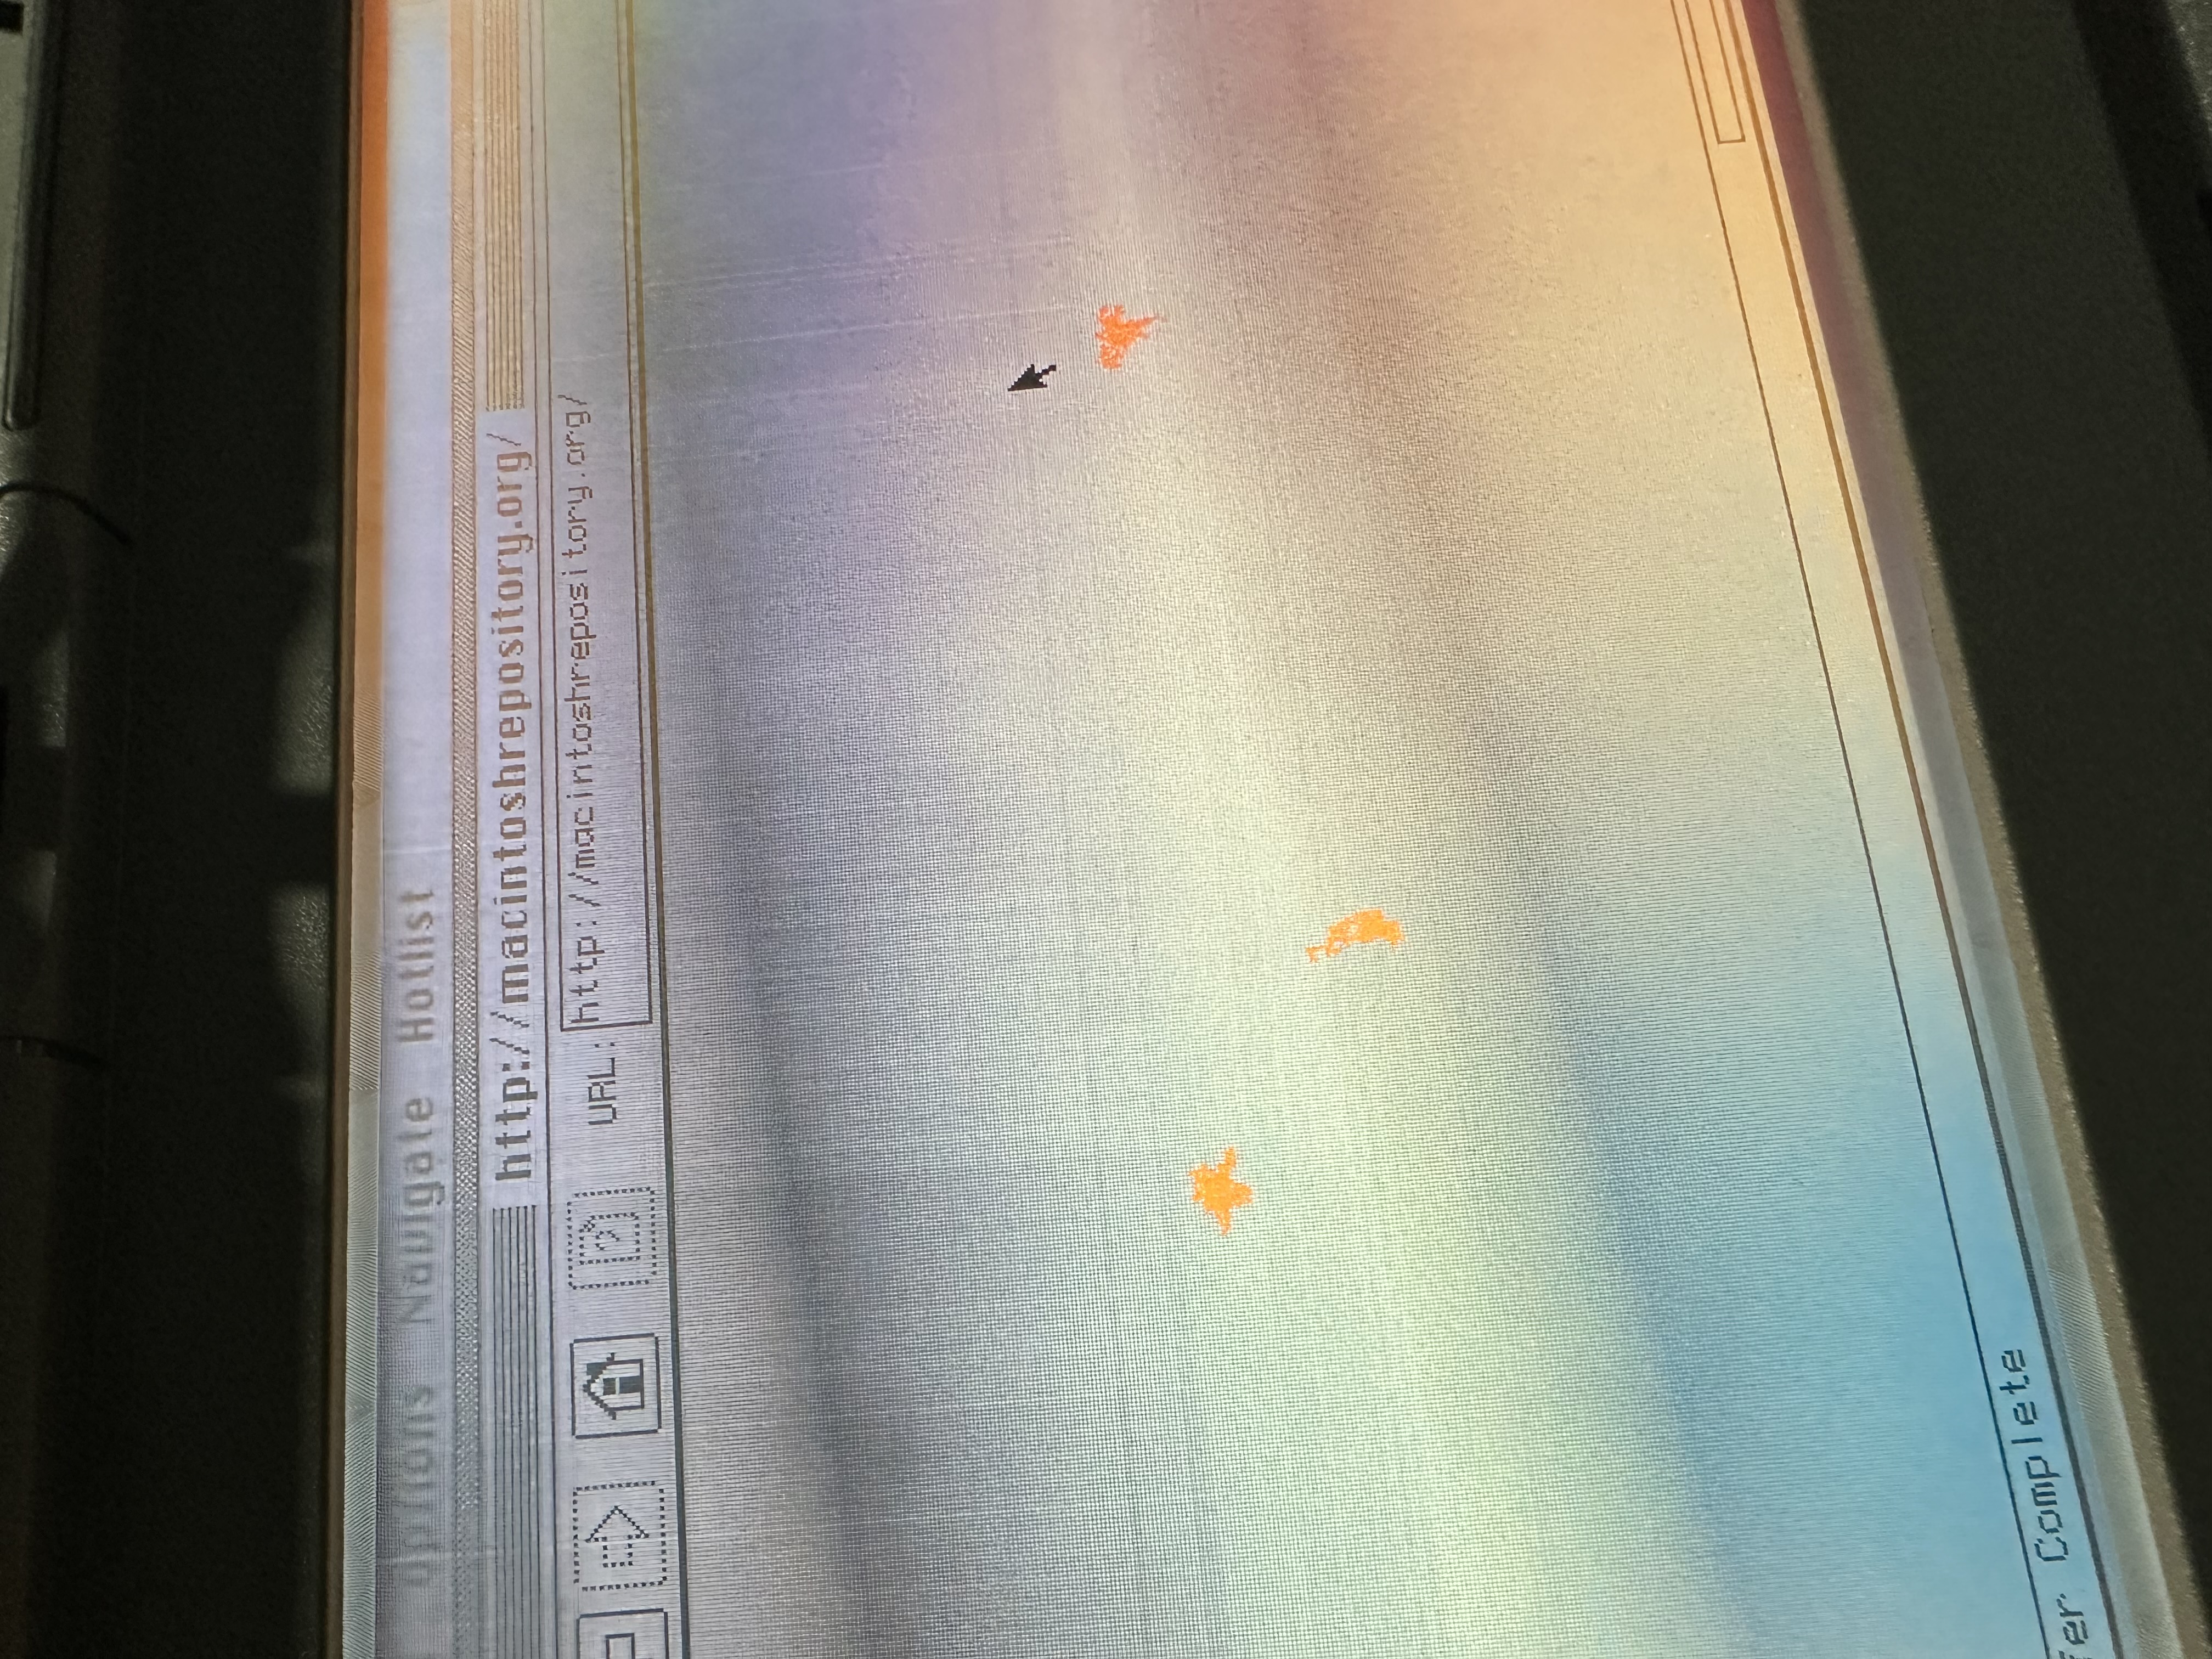
This is why I do not think of this as simply turning on Wi-Fi. The PowerBook needed the BlueSCSI hardware configured, SCSI ID 4 cleared for DaynaPORT, a physical installer floppy made from the DaynaPORT image, the System 7 DaynaPORT driver installed from that disk, the BlueSCSI Wi-Fi desk accessory, the right AppleTalk network selection, MacTCP configuration, and then separate tests for ping and web browsing. The laptop could boot perfectly while the network side was still broken. Getting it online was its own project.
Apps made the difference
After storage and networking were far enough along to test, I started opening the staged apps.
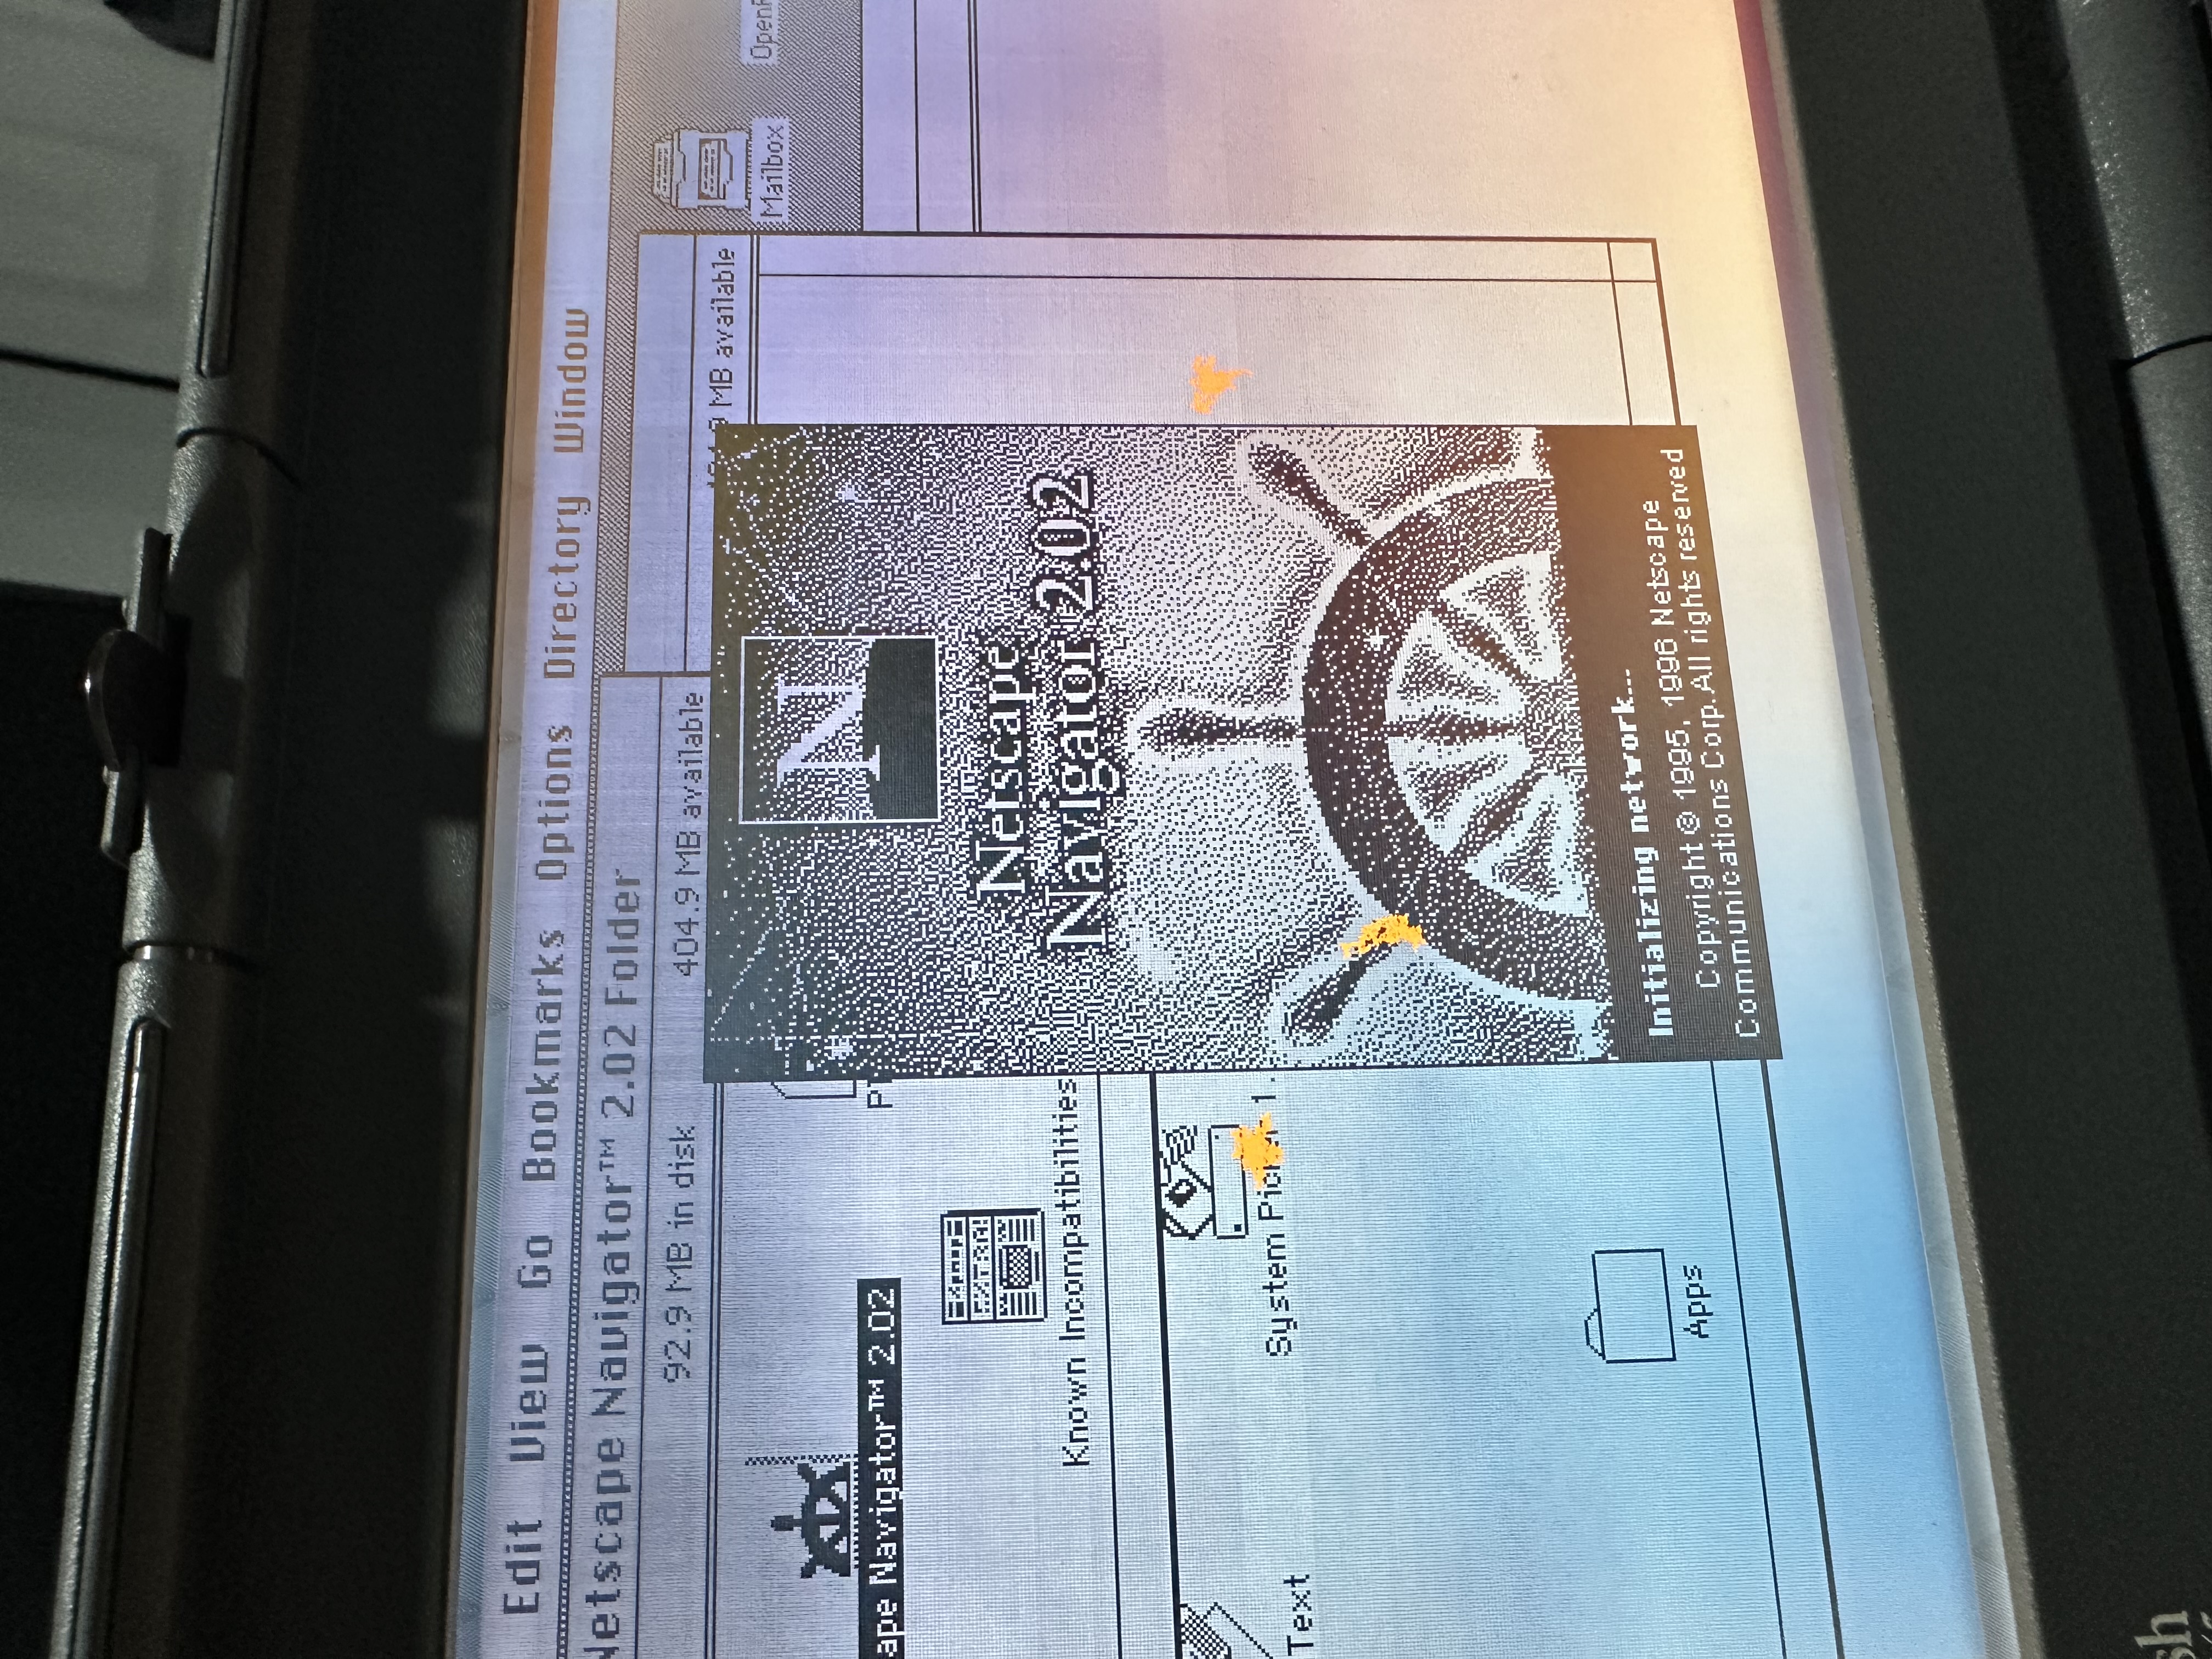
This is where the earlier image-prep workflow paid off again. The point was not just to boot System 7.1. It was to boot into a usable environment with tools, transfer utilities, and applications already available.
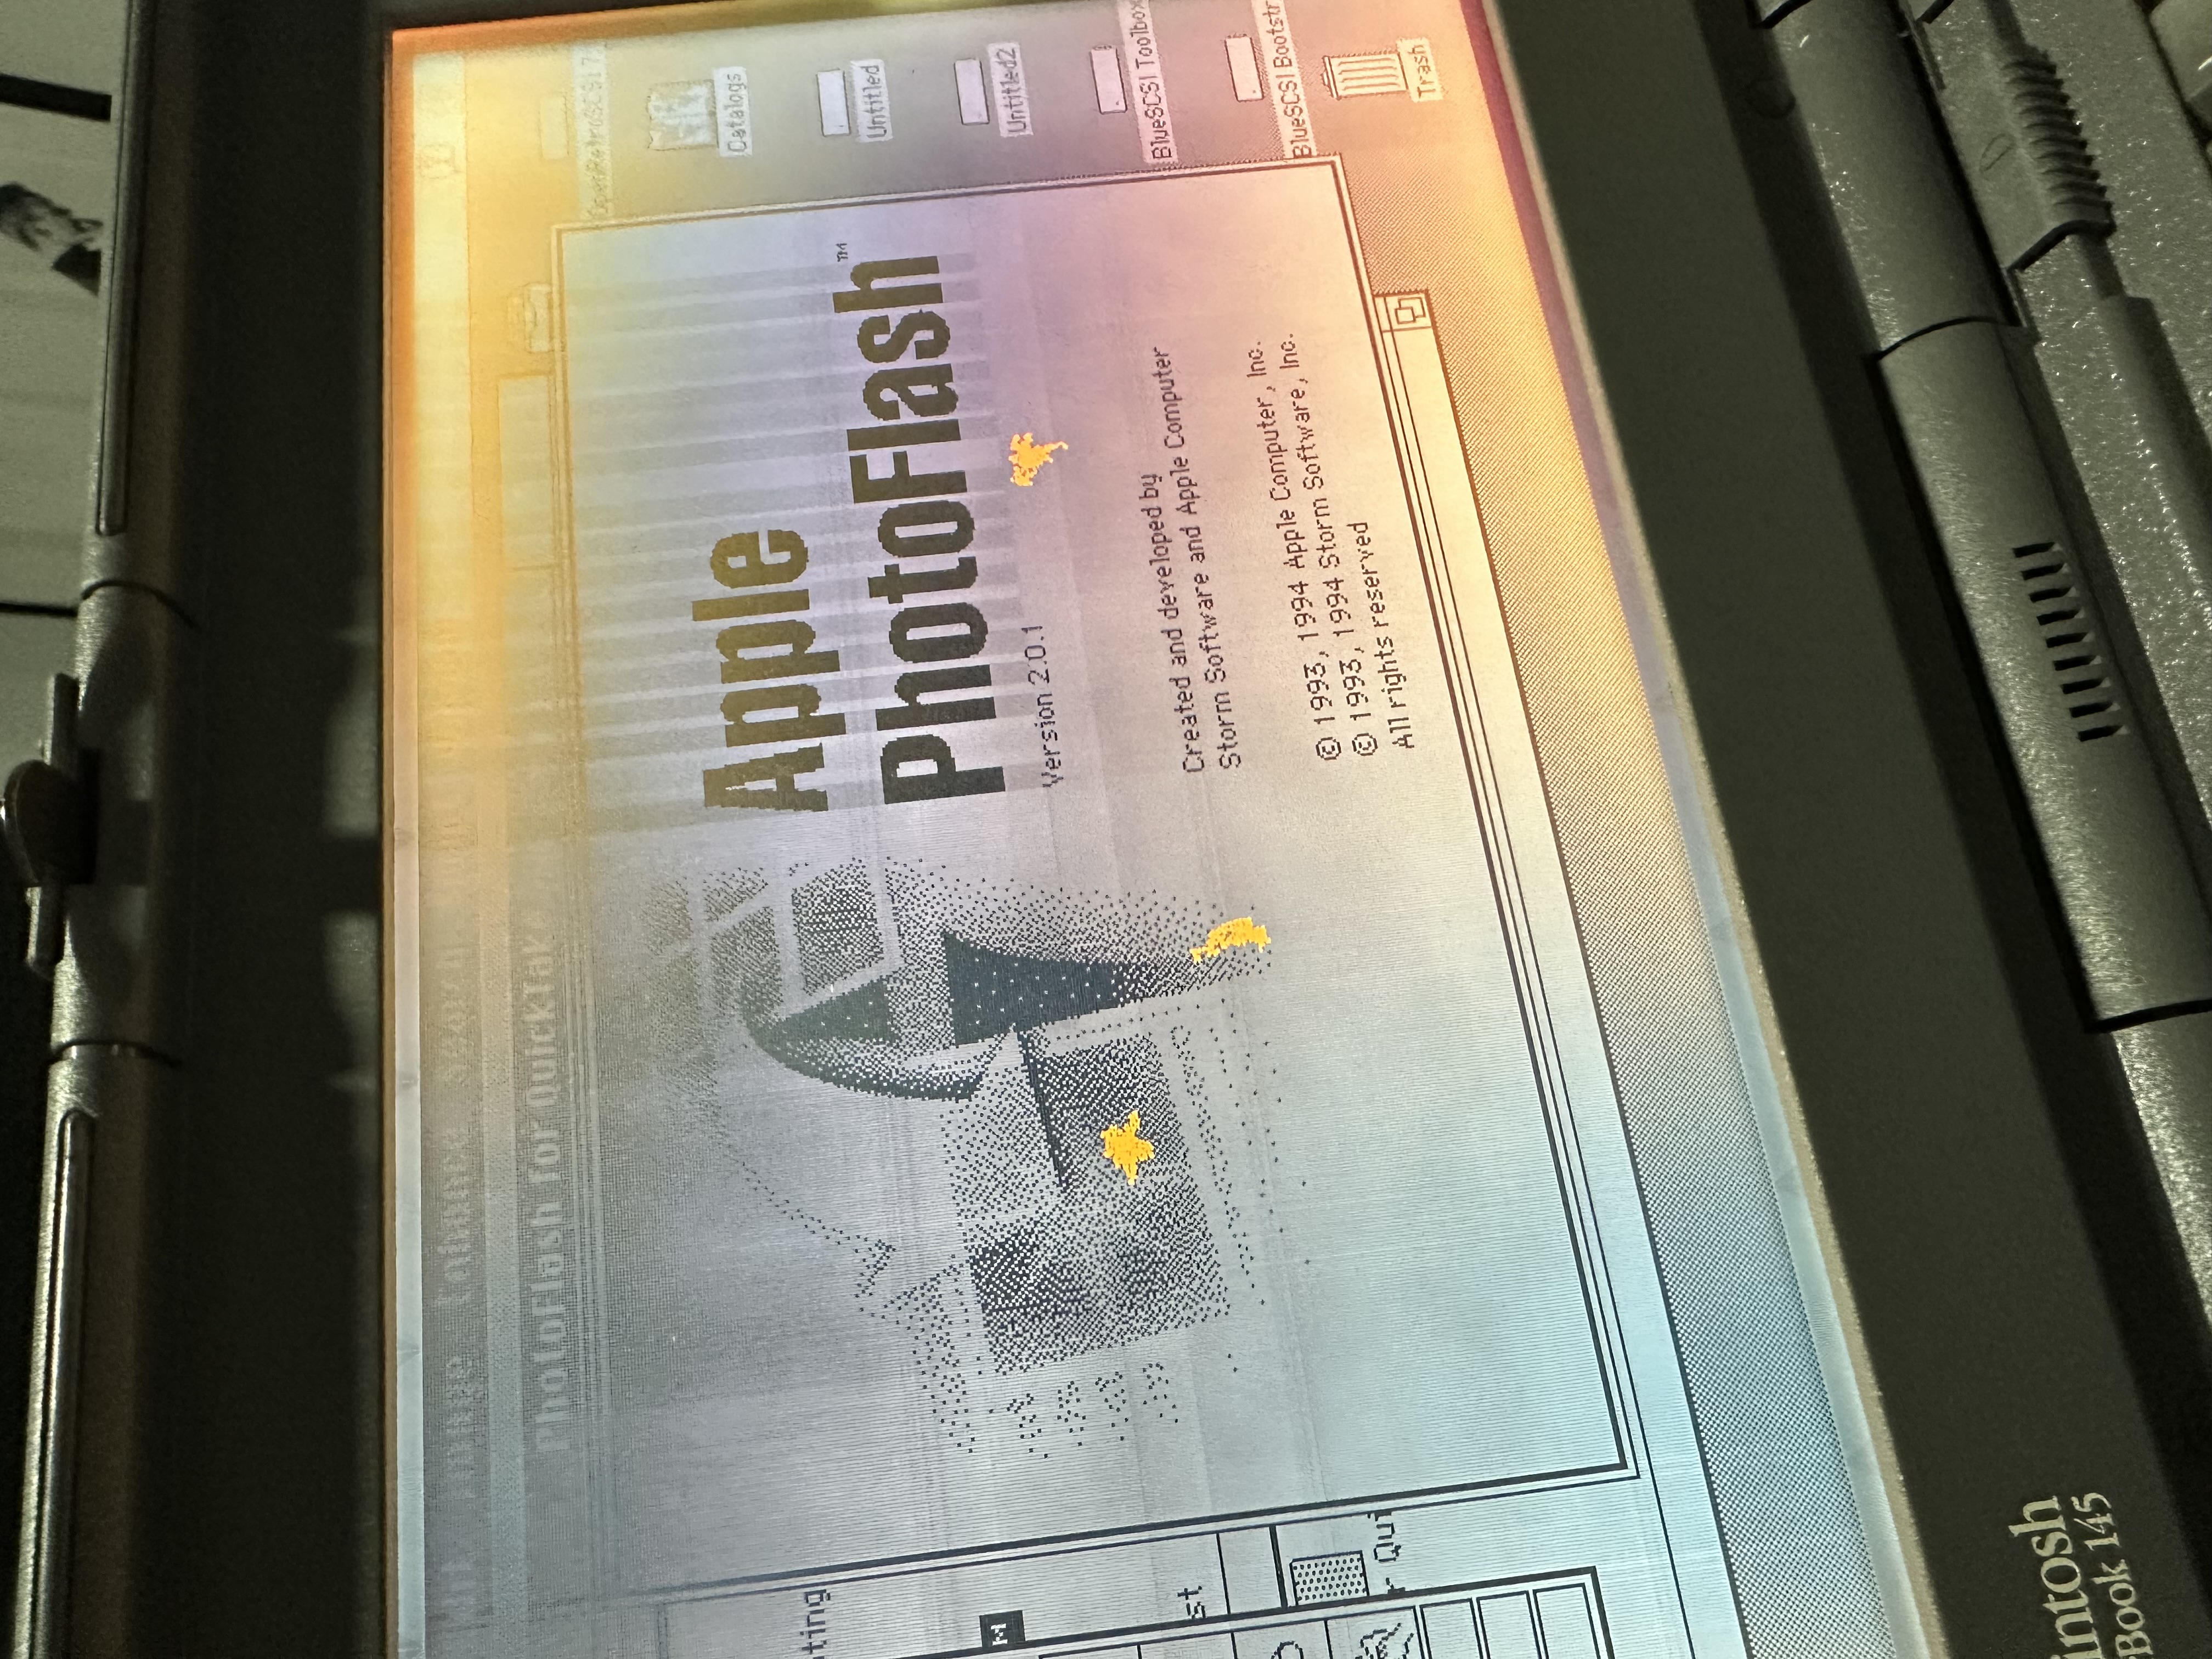
The laptop still has follow-up work ahead of it. Wi-Fi setup on a classic Mac is part networking, part driver archaeology, and part patience. But the important milestone is complete: the replacement cable works, the BlueSCSI card boots, the external battery-bay power idea works for testing, and the prepared image turned the PowerBook back into a machine I can use to demonstrate vintage apps and tinker with connecting it with my Newton and Apple Quicktake camera!
Sources
Preparing a BlueSCSI Card for My PowerBook 145 with Basilisk II
BlueSCSI v2 WiFi DaynaPORT documentation
BlueSCSI v2 Usage documentation
AI Usage Transparency Report
AI Era · Written during widespread use of AI tools
AI Signal Composition
Score: 0.23 · Moderate AI Influence
Summary
The PowerBook was successfully booted from the BlueSCSI card, and the external battery-bay power solution worked as expected.
Related Posts

When Chromium Mistakes Your VPN for a Local Network
Turning off Jamf Trust fixed the webinar, which normally would have sent me straight to its routing policies. This time the route was fine: Chromium was treating Jamf's ZTNA broker addresses as a local network, and an Edge and Chrome preference corrected it.
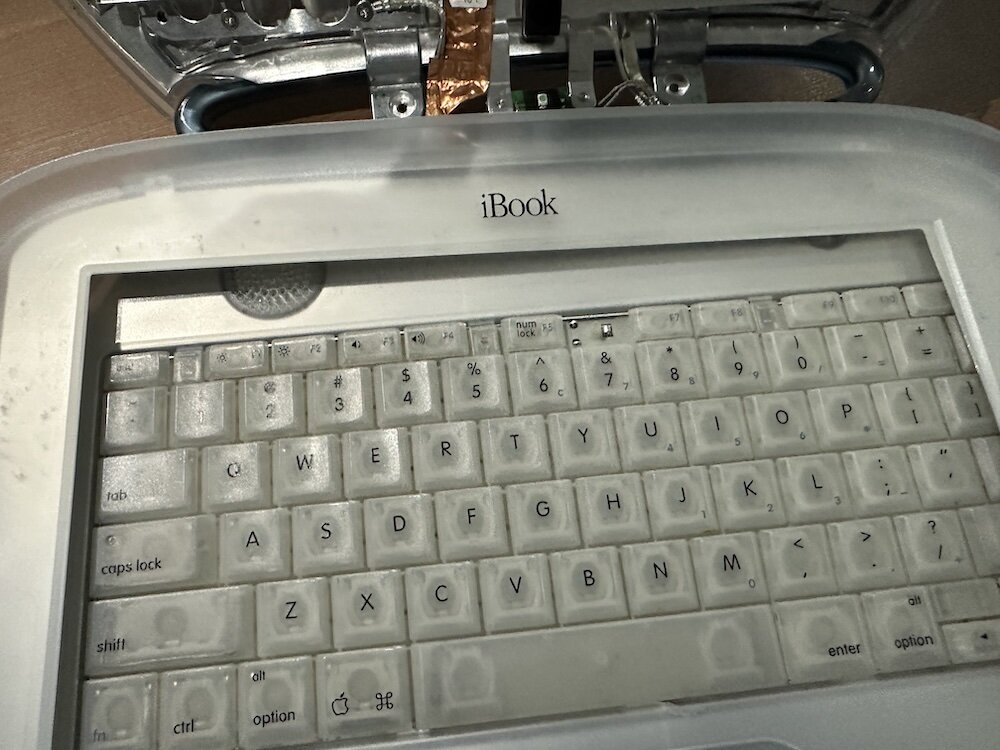
Clamshell iBook G3 Restoration, Part 1: From Broken Screen to Board-Level Repair
Part one of a Clamshell iBook G3 restoration: a broken screen, a charger detour, a blinking system folder, a full teardown, and the backlight connector mistake that paused the project.
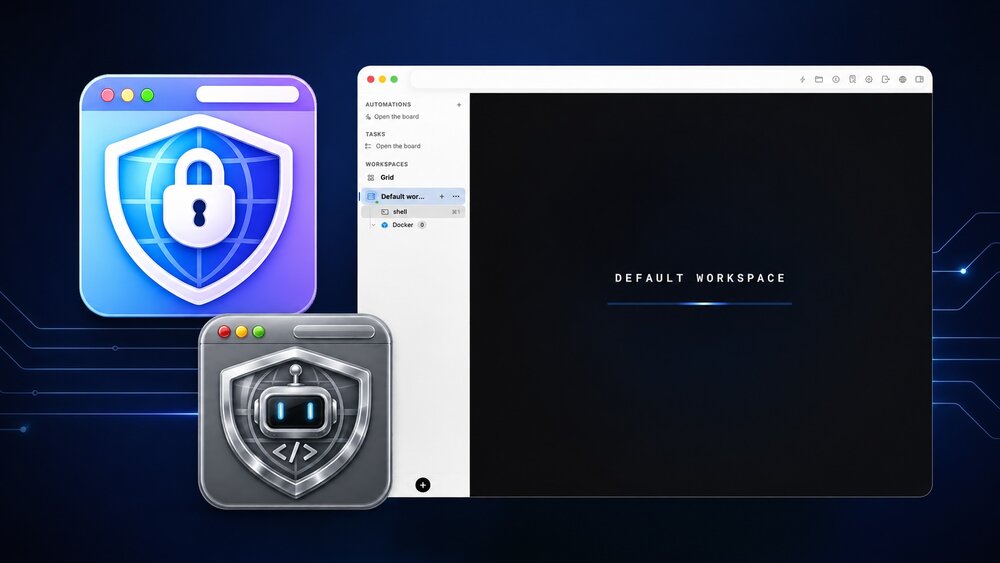
Bromure Gives Codex a Room of Its Own
I installed Bromure Agentic Coding, watched it build the Linux VM, authenticated Codex, and followed a real Codex task through the workspace.

Claude Code Auto Mode Changes Approval Flow, Not the Safety Boundary
Claude Code Auto mode changes how approval decisions are handled. It does not expand the boundary of what the coding agent should be allowed to do.

Amnesia Stealer Shows the Next Stage of ClickFix on macOS
Amnesia Stealer shows how ClickFix-style social engineering is adapting on macOS, while a public malware sample gives defenders an opportunity to study the behavior behind the campaign.
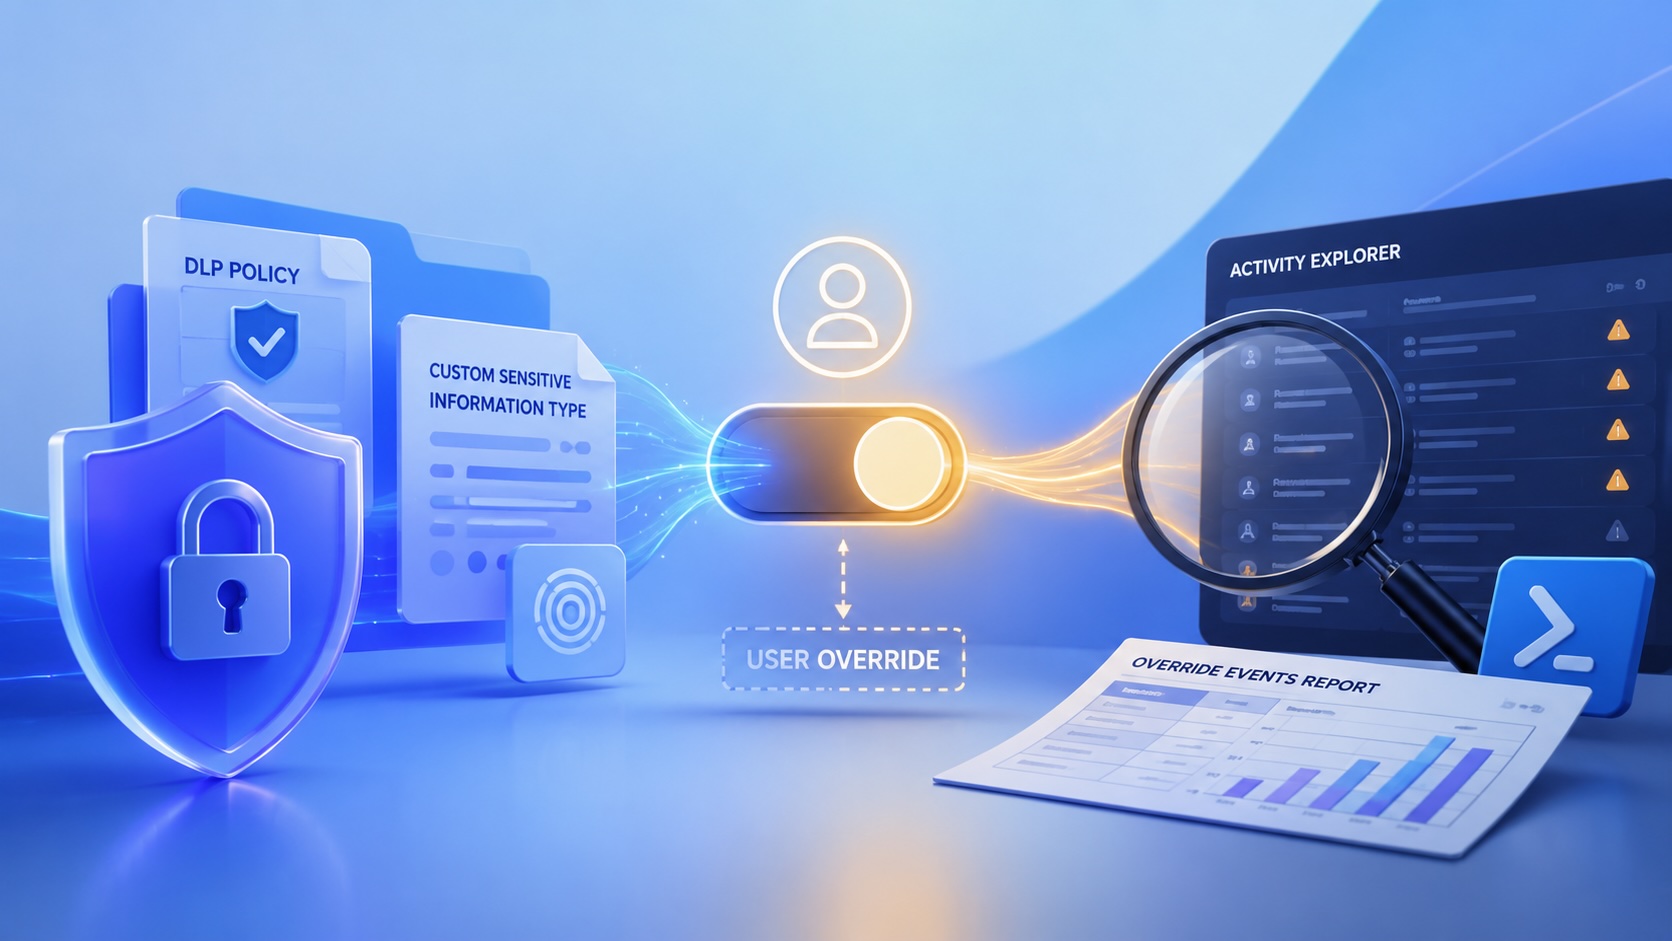
Reporting on Microsoft 365 DLP Overrides with PowerShell
DLP overrides are not automatically bad. They are a business process that needs visibility. This walkthrough covers a Microsoft Purview DLP policy, a custom sensitive information type, user override behavior, and a PowerShell report that exports override events from Activity Explorer.

Move Entra Users Off SMS and Voice Before Microsoft Retires Them
Microsoft is retiring Microsoft-provided SMS and voice authentication in Entra ID. The migration is not passkeys for everyone; it is removing weak telecom MFA and choosing supported replacement methods such as Microsoft Authenticator, FIDO2 keys, certificate-based authentication, OATH hardware tokens, or customer-managed telecom.
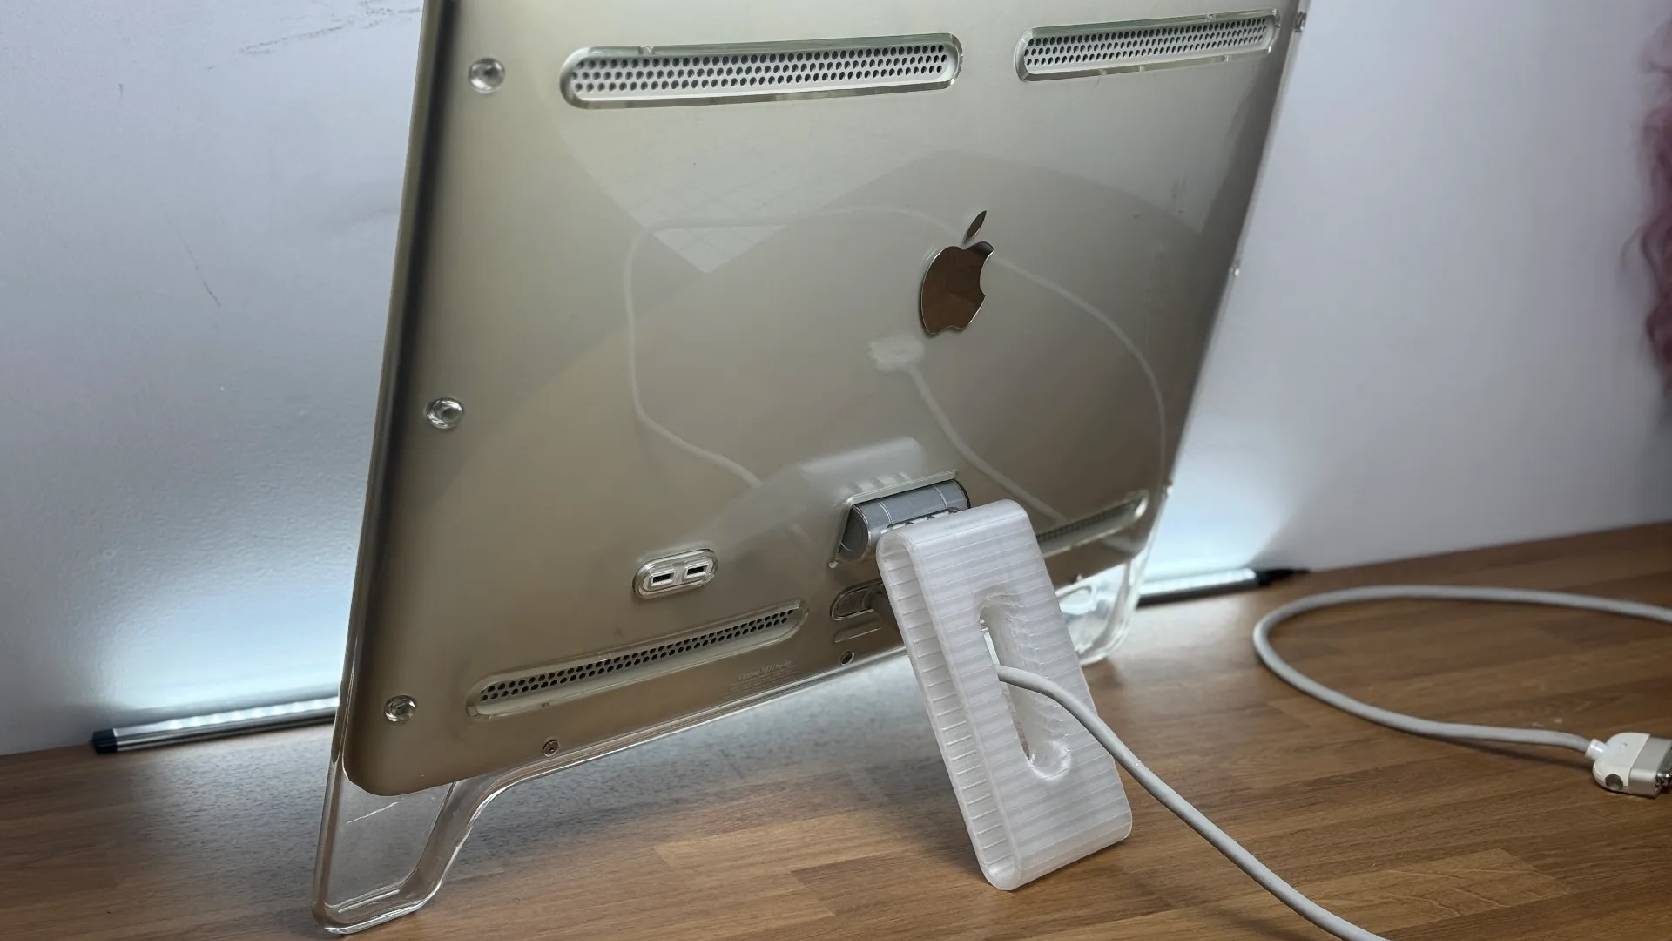
Fixing a Broken Apple Cinema Display Stand with a 3D Printed Leg
A 22-inch Apple Cinema Display arrived with a broken acrylic easel stand, so I used a 3D printed replacement leg instead of sending the monitor back.

macOS Tahoe 26.6.1 Fixes a High-Severity Screen Sharing Authentication Bypass
macOS Tahoe 26.6.1 fixes CVE-2026-65400, a high-severity Screen Sharing authentication issue where an attacker on the network may be able to authenticate without valid credentials.

Three Mac Update Helpers That Fit Below a Patch Platform
Latest, Applite, and an all-in-one macOS update script each solve a different part of lightweight Mac maintenance: app update visibility, Homebrew-backed app management, and command-line package updates that can be wrapped carefully for small teams or basic MDM.