

In 2018, Apple dropped support for creating print projects from within Photos, including greeting cards, calendars, and books. Instead, Apple allowed other print-service companies to build Photos Project extensions that gave users the same sort of capabilities. At first, they didn’t match up with what Apple had previously provided, but they’ve improved over time.
It’s the holiday card season again, and given how little we’ve all been able to see friends and family, we expect a lot more people will be sending cards this year. You’re welcome to use Mimeo Photos, Shutterfly, Fujifilm Prints & Gifts, Mpix, or WhiteWall, but we’re going to focus on Motif, which generally performed well in our testing.
To begin, install the Motif app from the Mac App Store, which also adds the Motif extension to System Preferences > Extensions > Photos Projects. Once you have the extension installed, here’s what you do:
-
Select photos: Although you can add photos to your card project at any time by dragging them into the project in the Photos sidebar, it’s easiest to make a new album that contains a dozen or so of the best candidates for your card. If you don’t already know exactly what you want, don’t be picky at this point because it’s easier to choose the final images from within the card layout.
-
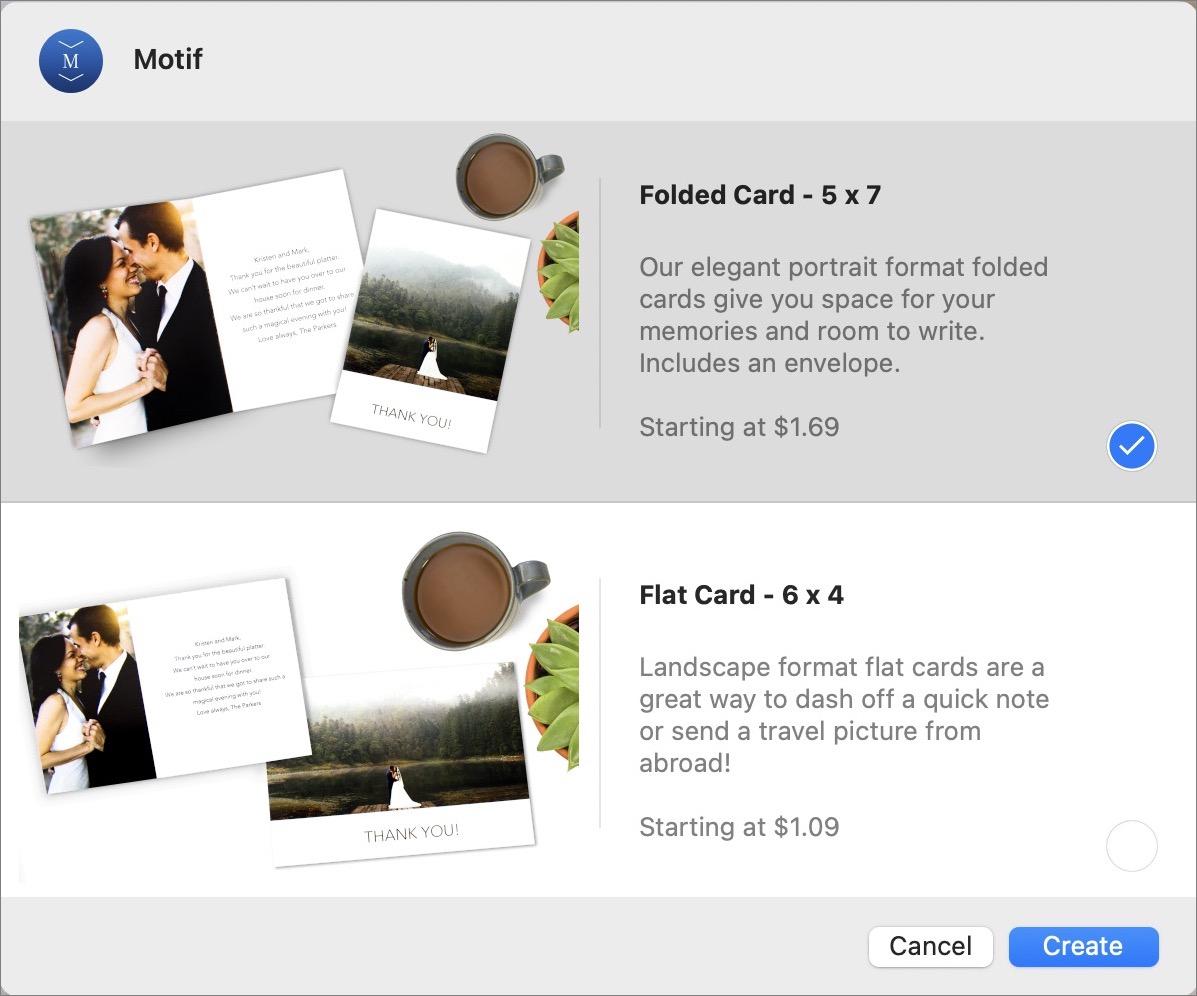
Create the card: With your new album selected, choose File > Create > Card > Motif. Then select either a 5x7 folded card or a 4x6 flat double-sided card, in either portrait or landscape orientation.
-
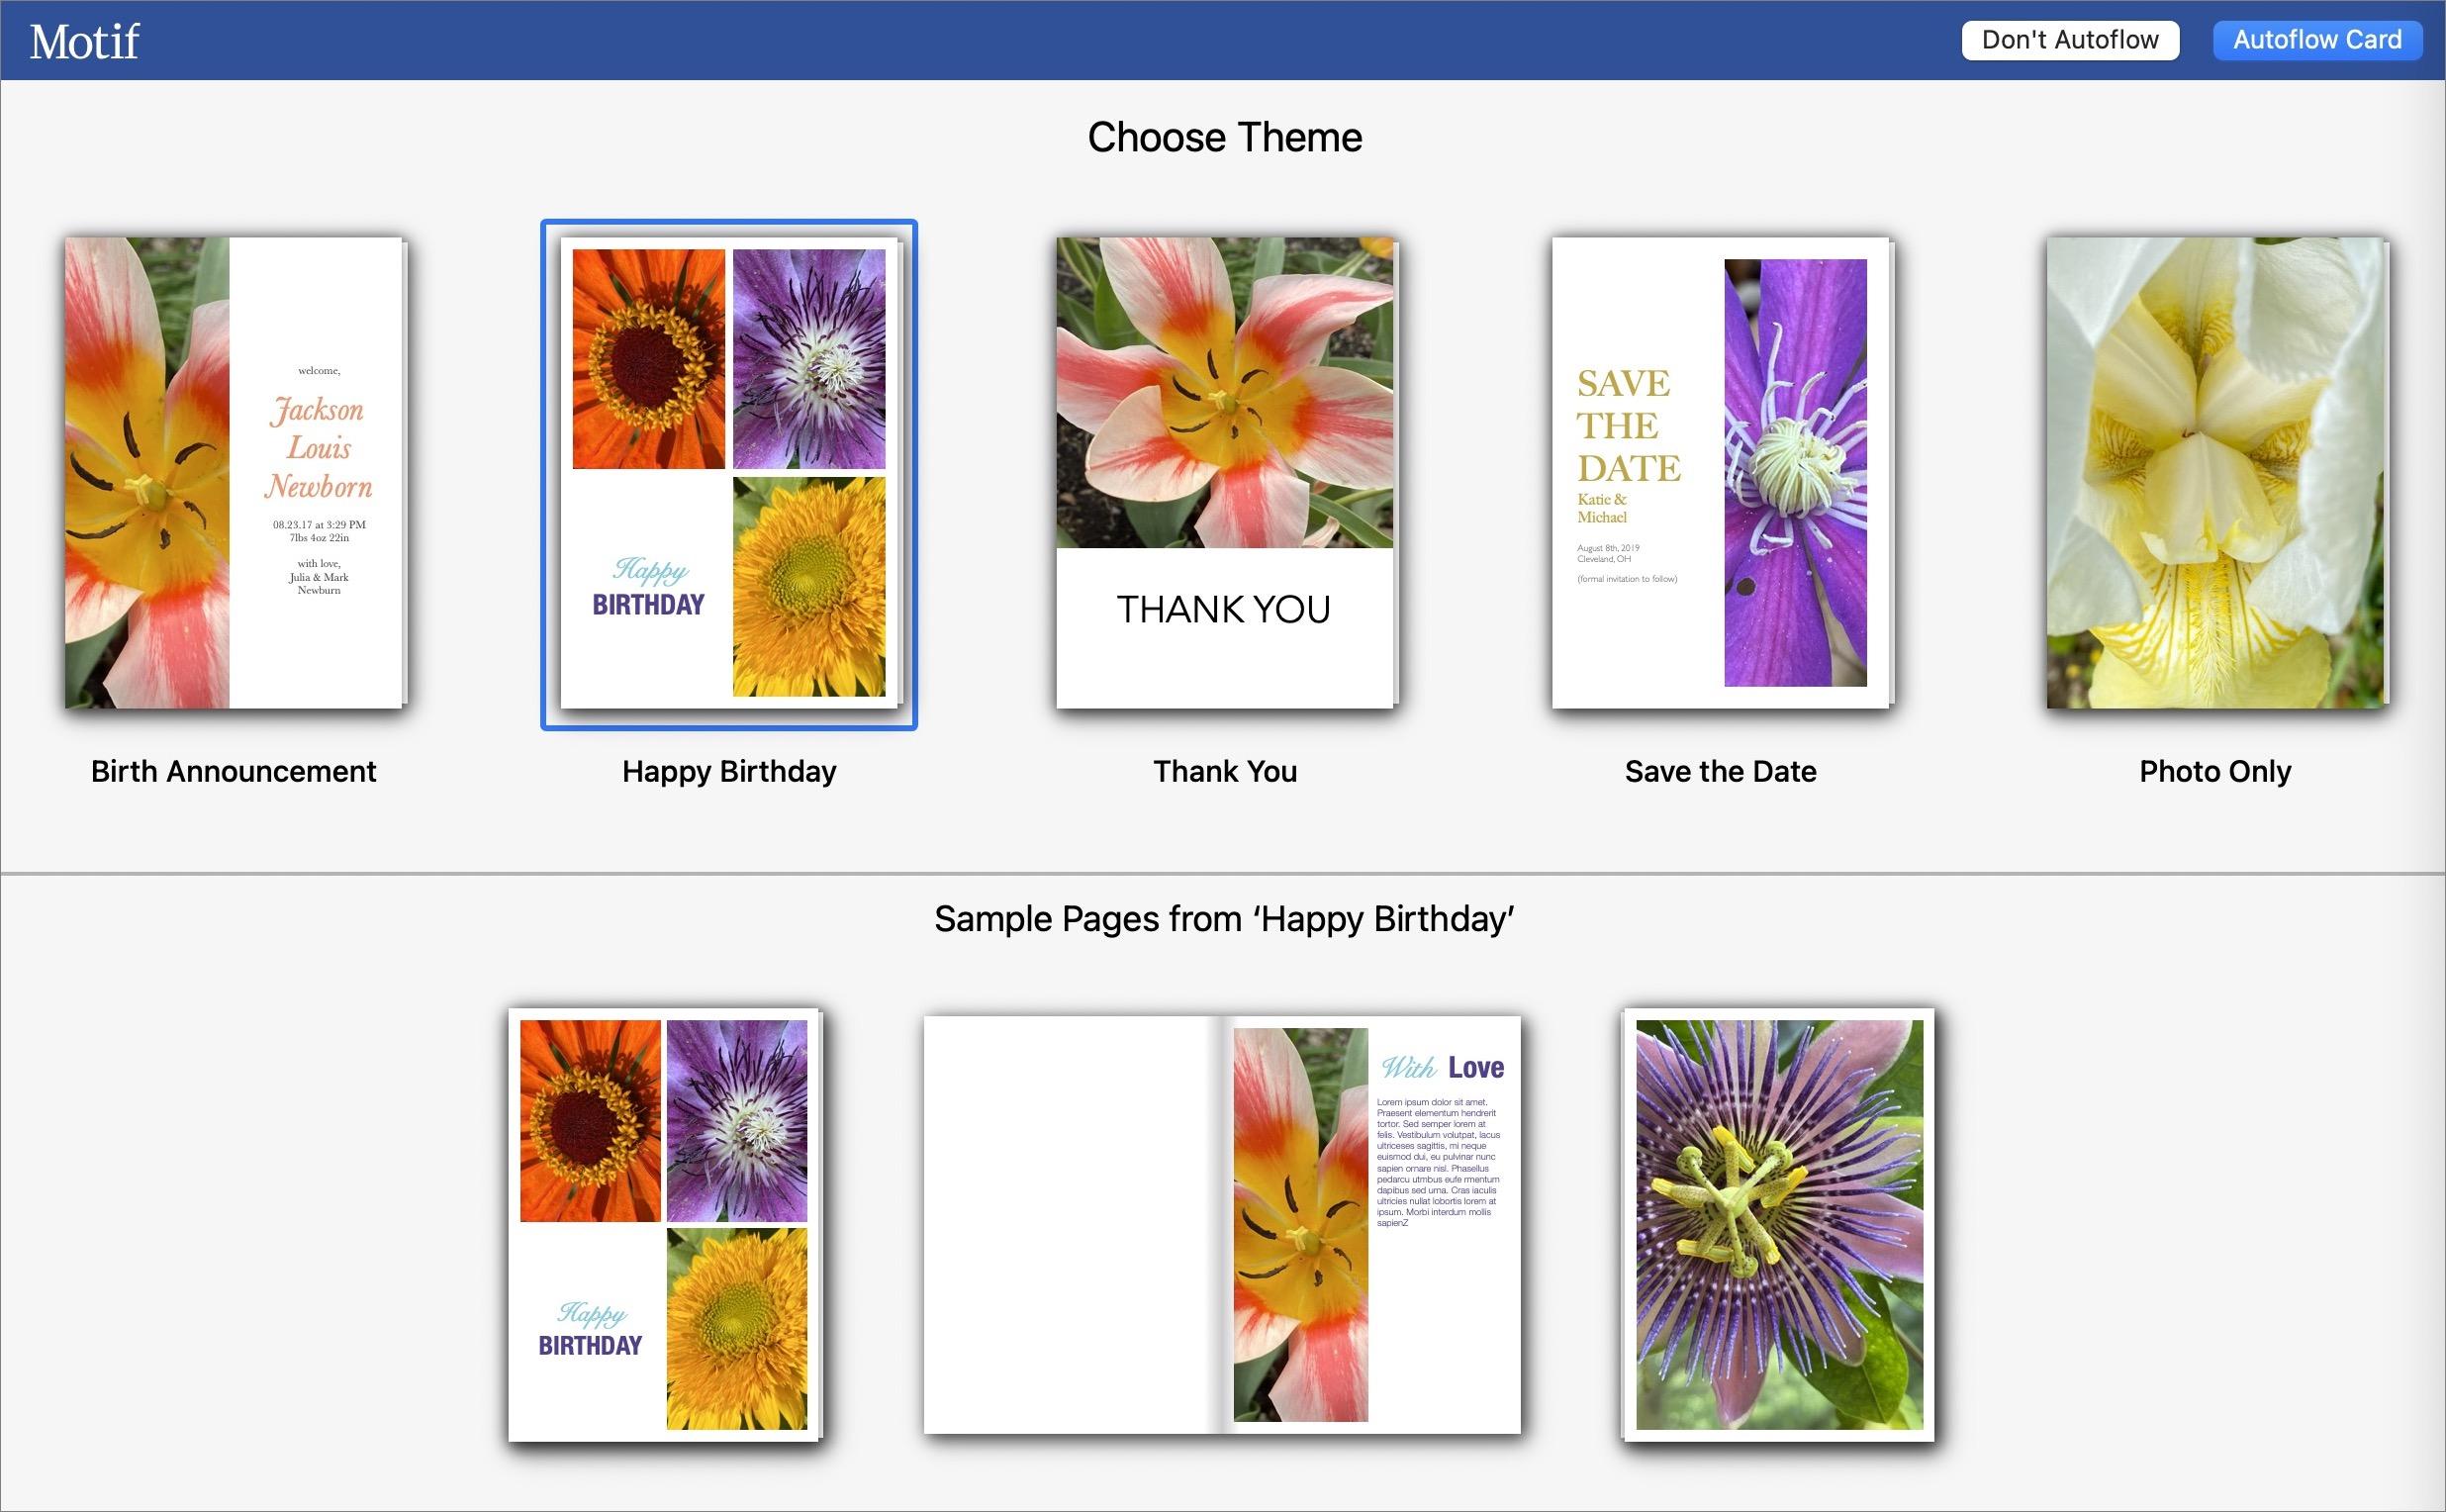
Select a theme: Motif provides various themes, and although it doesn’t currently include any holiday themes for cards, they’re all completely customizable. Since cards have relatively few images, we recommend clicking Don’t Autoflow and placing images by hand. (For a book or a calendar, autoflow would be a boon.)
-
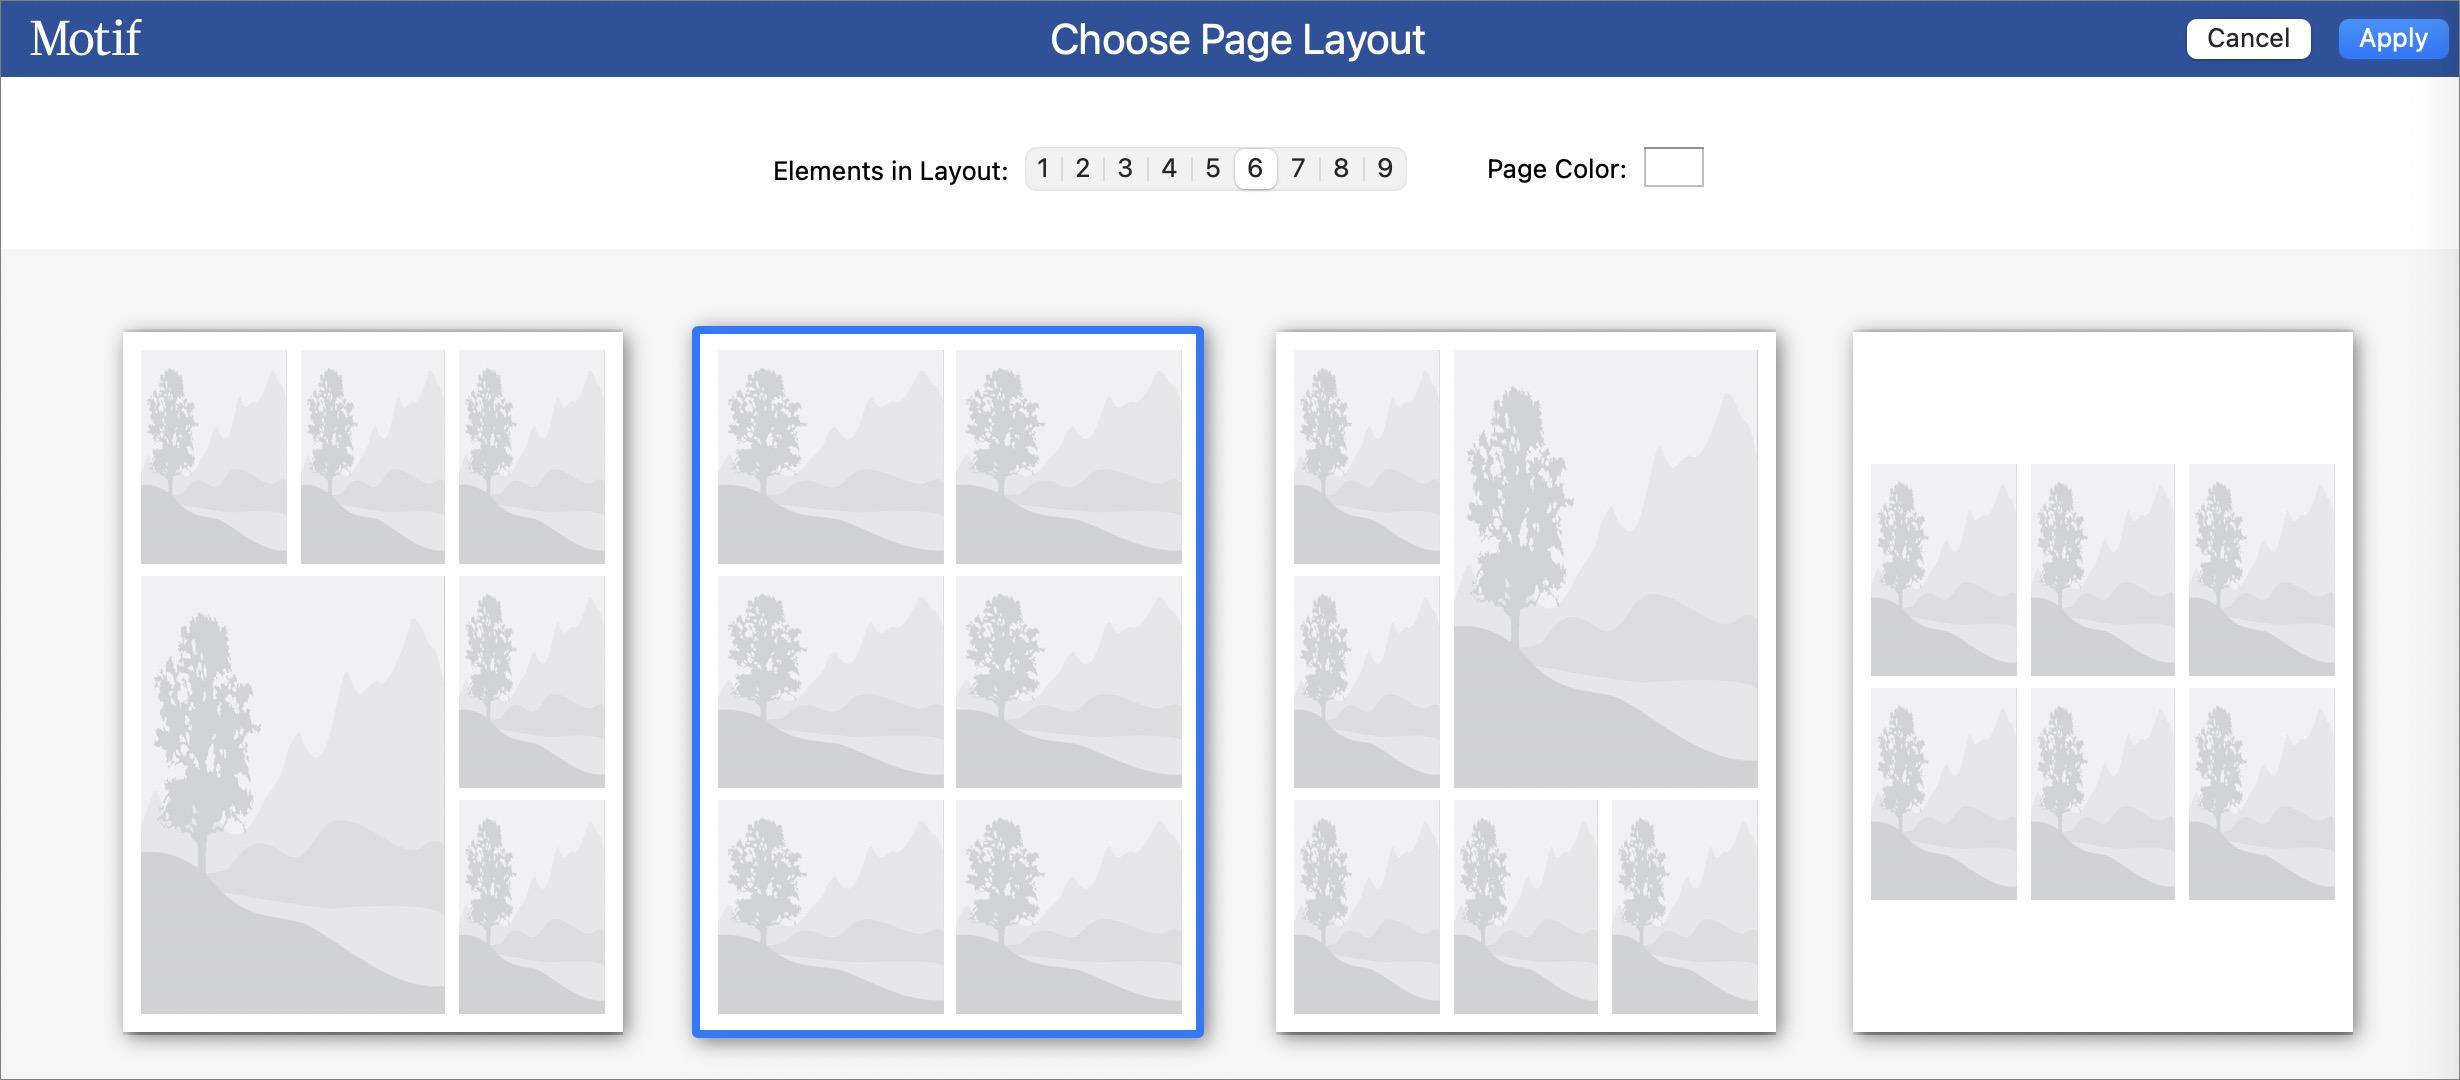
Choose layouts: Although every card page starts with a default layout, you can customize every page in various ways. Would you prefer a single image on the front, rather than a multi-photo layout? Click the layout button below the page to open the Page Layout screen, click a number corresponding to how many images you want, and click the desired layout. (A bug in the current version prevents this from working on pages containing text blocks, but you can still tweak such pages—see the instructions below for adding, removing, resizing, and rearranging blocks.)
-
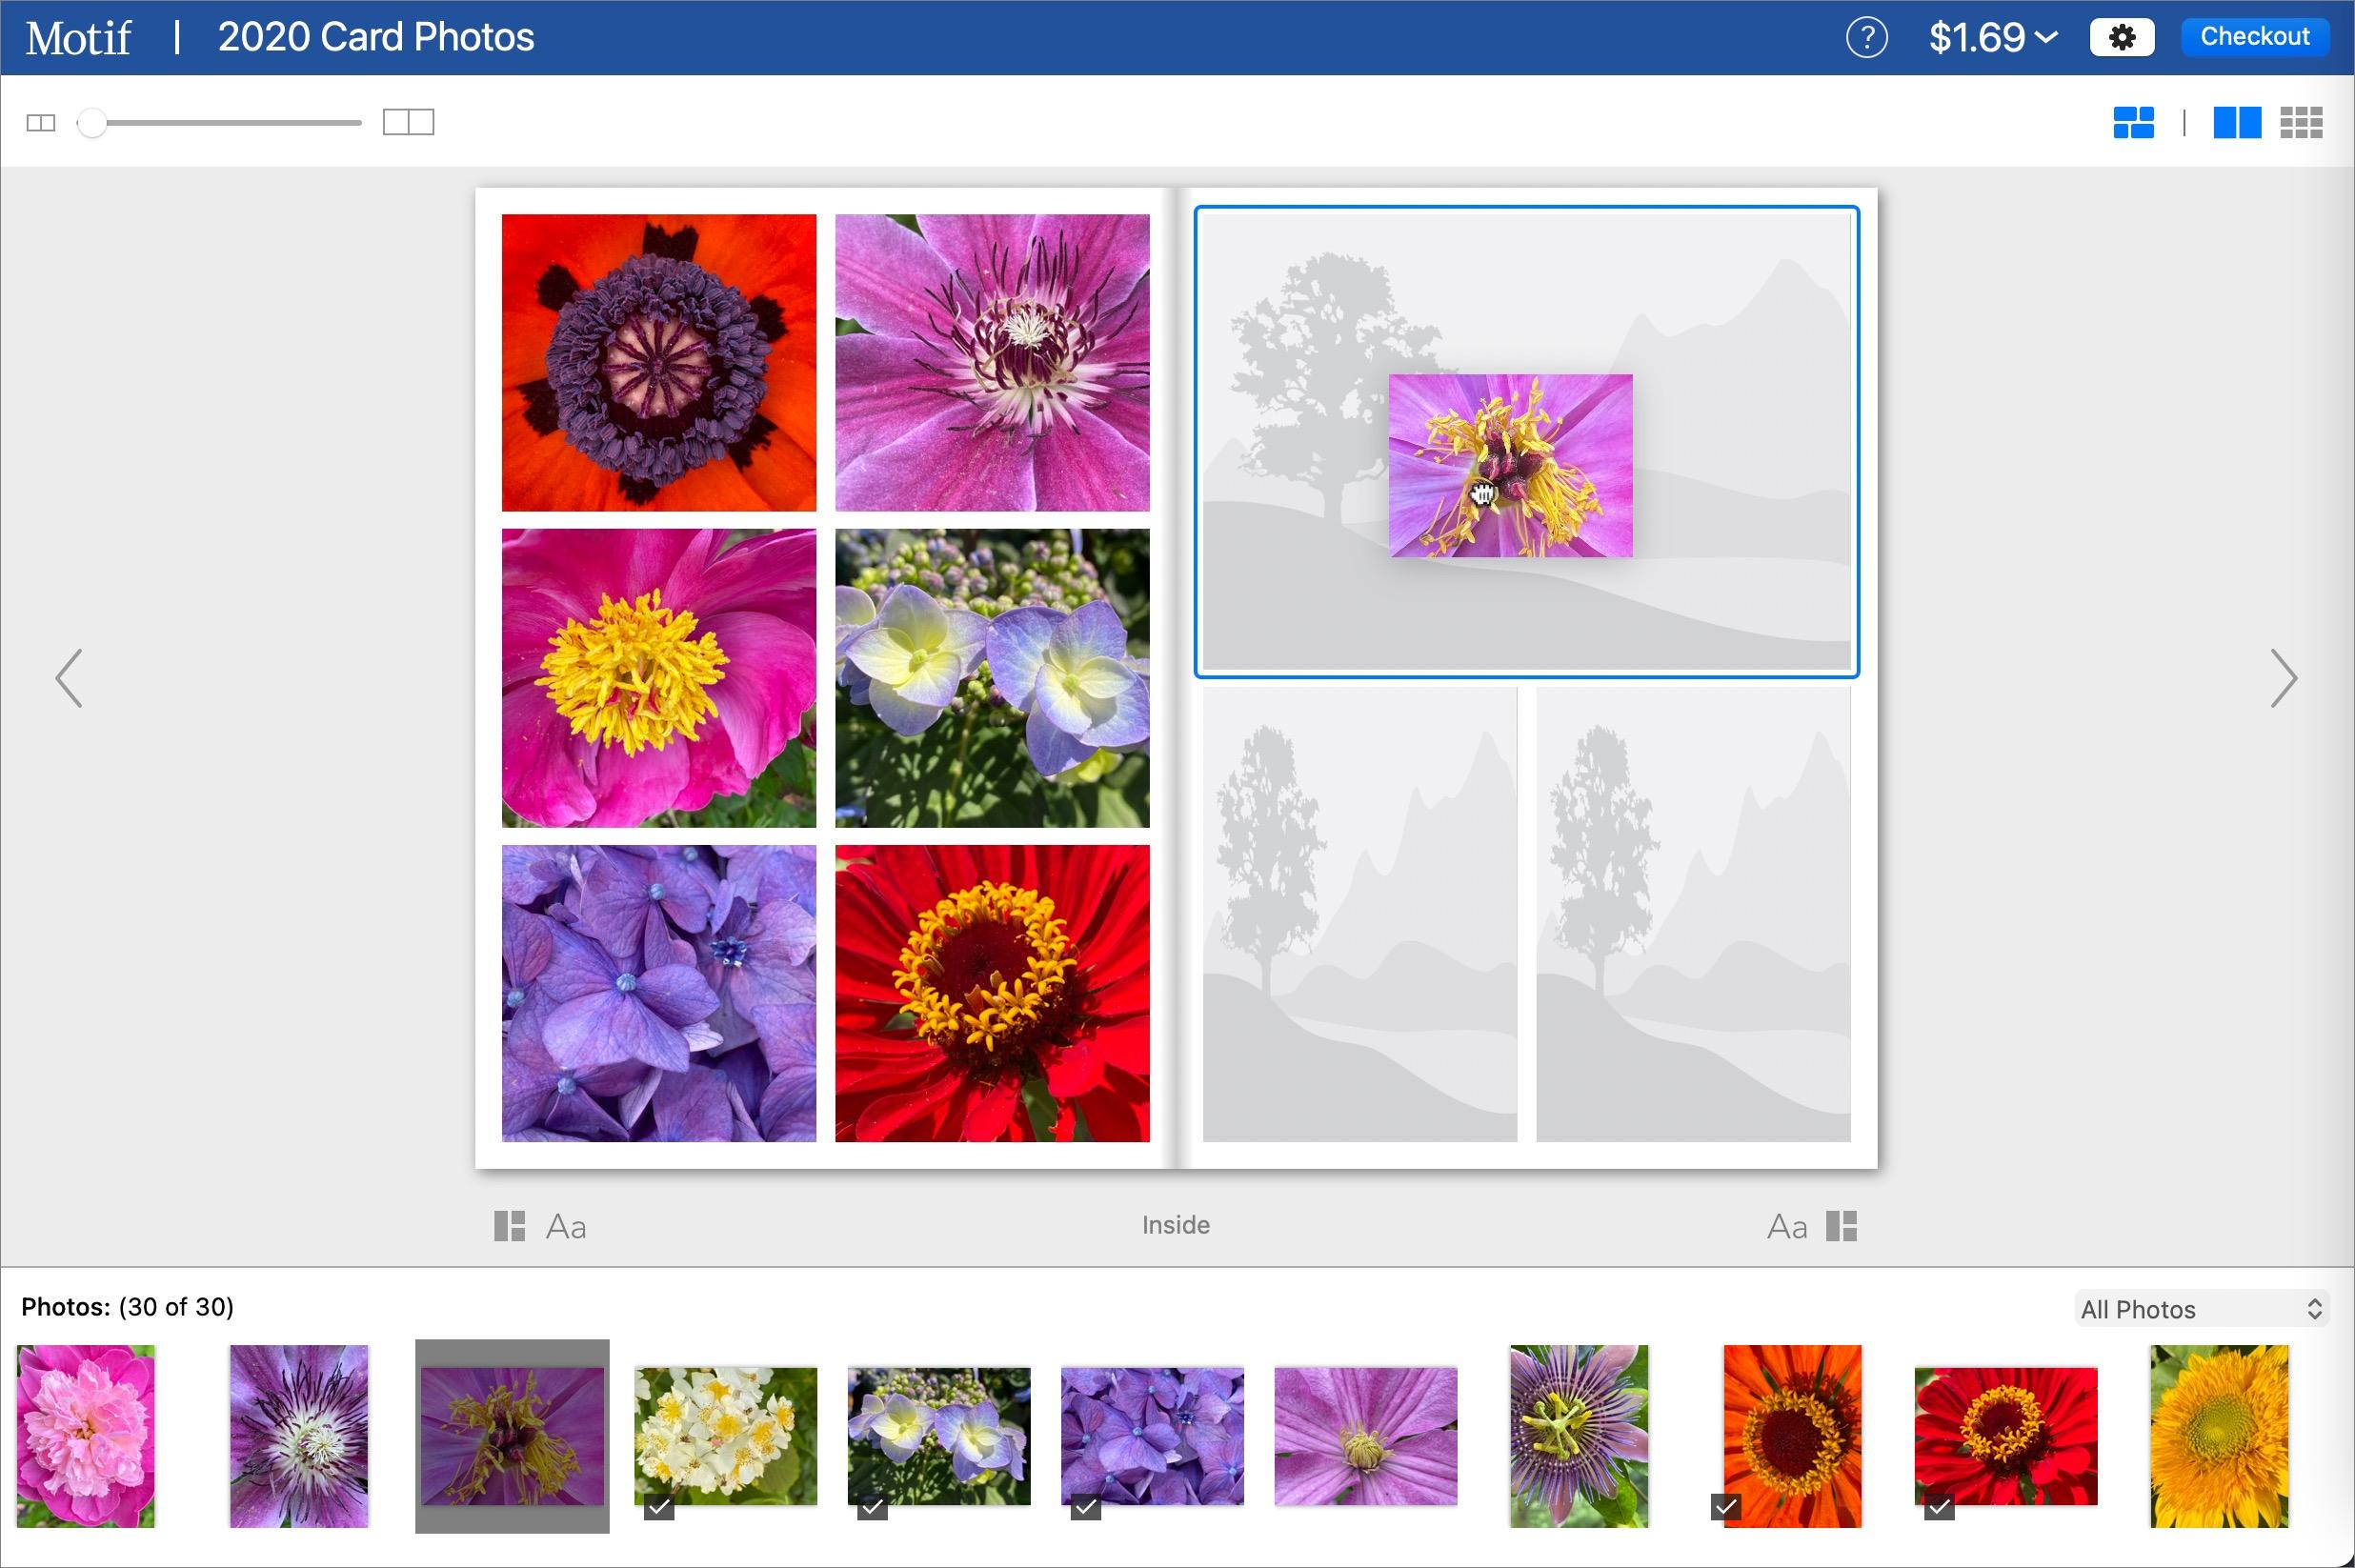
Add photos: To add a photo to a blank spot on the card, drag it from the photo tray at the bottom of the window, which shows all the available images (scroll to the right to see all the photos if necessary). Dragging a photo on top of a placed image replaces it, pushing the previous one back into the image tray.
-
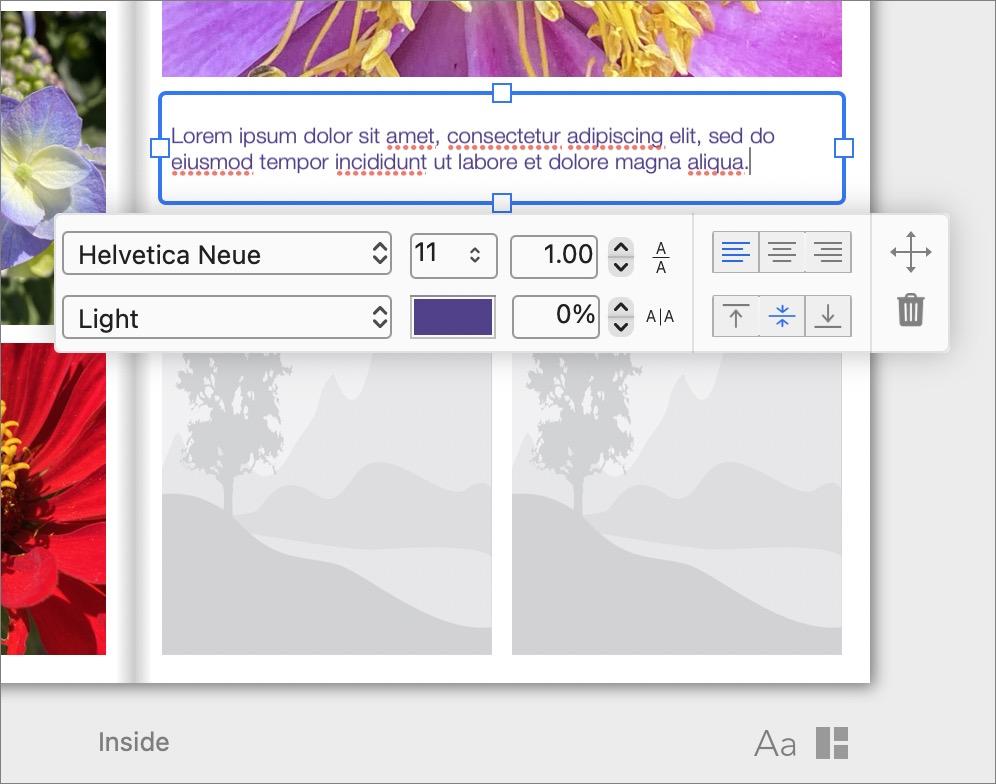
Add and edit text: Themes come with pre-defined text blocks, but you can always add your own by clicking the Aa button under the page. You can tweak the font face, style, size, color, and more in the controls that appear whenever you select a text box.
Although that’s the basics of what you need to know to create and customize a card. Motif provides numerous other options that may prove helpful:
- Move between pages: Arrow buttons on the left and right side of the screen let you move between the pages of a card, but it’s easier to press the left and right arrow keys. If you prefer to see all your pages at once, click the right side of the page button in the upper-right corner of the window.
-
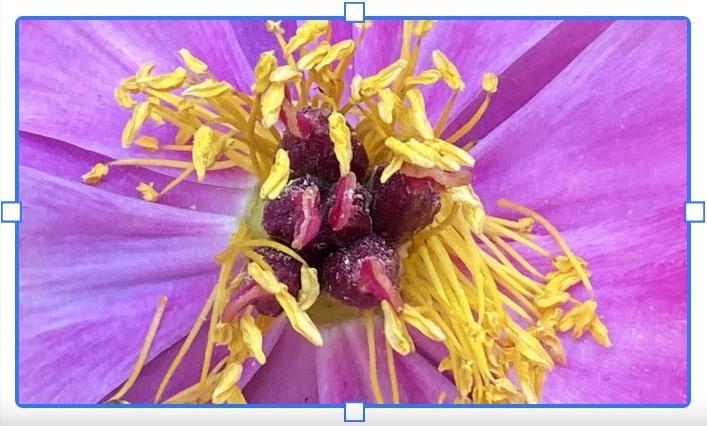
Resize blocks: You can resize any image or text block by clicking it and dragging its blue size handles. If the Magic Resize button in the top right of the window is selected, other blocks will resize to fit.
-
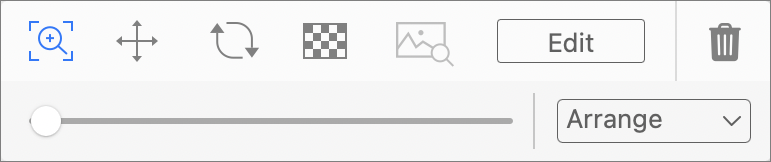
Rearrange image blocks: To move a block within a layout, click it, click the Move button in the control bar that appears, and then drag the block to a new location.
-
Add or delete a block: You can add or delete an image block without going through the Page Layout screen. To add a block, drag an image from the tray to a blank spot in between other blocks. To remove a block, select it and click the trash icon in the control bar.
-
Edit photos: To edit a photo from within the project, select it and then double-click it again to open it in the regular Photos editing view. Other tools in the control bar let you zoom the image (drag the zoomed image to move it within the block), rotate the image, and change its opacity—for all three, adjust the changes with the slider underneath.
-
Overlay text: Once you’ve placed a text block on a page, resize or move it so it overlaps an image. If the text doesn’t appear because it’s underneath the image, choose Send Backward from the control bar’s Arrange menu.
-
Change page color: In the Page Layout screen, find the Page Color button. Click it to change the color using the standard macOS color picker.
Some people may be able to create a card, drop a few photos in, change the text, and be done in minutes. Others will want to tweak every last detail to get things just so—if you’re particular, you can probably spend hours on it.
Either way, when you’re done, it’s time to place your order. You’ll need to create an account with Motif and run through a six-step process of choosing the number of cards you want, providing your billing information, picking shipping options, and entering your payment details.
After that, it’s merely a matter of waiting until they arrive and then stuffing envelopes, addressing them, and popping them in a mailbox.
AI Usage Transparency Report
Pre-AI Era · Written before widespread use of generative AI tools
AI Signal Composition
Score: 0.07 · Low AI Influence
Summary
This article provides a step-by-step guide on how to create and customize holiday cards using the Motif app in Photos.
Related Posts

When Chromium Mistakes Your VPN for a Local Network
Turning off Jamf Trust fixed the webinar, which normally would have sent me straight to its routing policies. This time the route was fine: Chromium was treating Jamf's ZTNA broker addresses as a local network, and an Edge and Chrome preference corrected it.
Clamshell iBook G3 Restoration, Part 1: From Broken Screen to Board-Level Repair
Part one of a Clamshell iBook G3 restoration: a broken screen, a charger detour, a blinking system folder, a full teardown, and the backlight connector mistake that paused the project.
Bromure Gives Codex a Room of Its Own
I installed Bromure Agentic Coding, watched it build the Linux VM, authenticated Codex, and followed a real Codex task through the workspace.

Claude Code Auto Mode Changes Approval Flow, Not the Safety Boundary
Claude Code Auto mode changes how approval decisions are handled. It does not expand the boundary of what the coding agent should be allowed to do.

Amnesia Stealer Shows the Next Stage of ClickFix on macOS
Amnesia Stealer shows how ClickFix-style social engineering is adapting on macOS, while a public malware sample gives defenders an opportunity to study the behavior behind the campaign.

Reporting on Microsoft 365 DLP Overrides with PowerShell
DLP overrides are not automatically bad. They are a business process that needs visibility. This walkthrough covers a Microsoft Purview DLP policy, a custom sensitive information type, user override behavior, and a PowerShell report that exports override events from Activity Explorer.
PowerBook 140 BlueSCSI Install: Cable Fixed, Battery-Bay Power, and Wi-Fi Setup
The PowerBook 140 project moved from preparing a BlueSCSI card in Basilisk II to installing the repaired internal SCSI cable, powering the BlueSCSI Pico externally from the battery bay, booting System 7.1, and fighting through DaynaPORT Wi-Fi setup.

Move Entra Users Off SMS and Voice Before Microsoft Retires Them
Microsoft is retiring Microsoft-provided SMS and voice authentication in Entra ID. The migration is not passkeys for everyone; it is removing weak telecom MFA and choosing supported replacement methods such as Microsoft Authenticator, FIDO2 keys, certificate-based authentication, OATH hardware tokens, or customer-managed telecom.
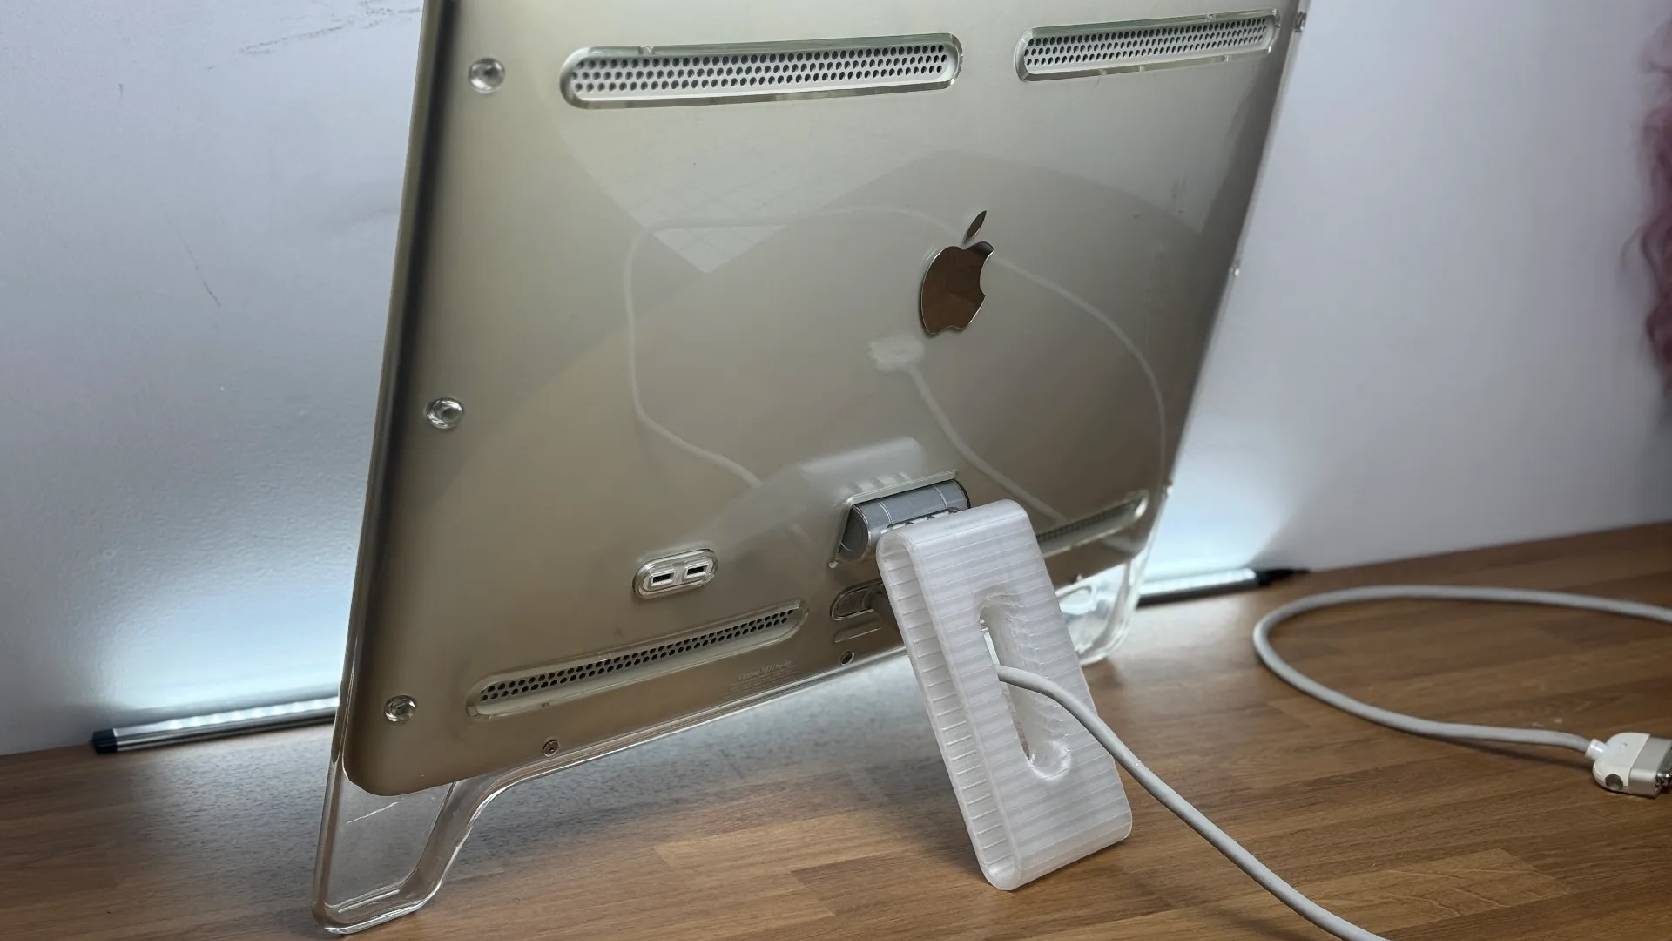
Fixing a Broken Apple Cinema Display Stand with a 3D Printed Leg
A 22-inch Apple Cinema Display arrived with a broken acrylic easel stand, so I used a 3D printed replacement leg instead of sending the monitor back.

macOS Tahoe 26.6.1 Fixes a High-Severity Screen Sharing Authentication Bypass
macOS Tahoe 26.6.1 fixes CVE-2026-65400, a high-severity Screen Sharing authentication issue where an attacker on the network may be able to authenticate without valid credentials.