Setting Up the iPhone Duo Simulator in Xcode

I develop several iOS apps, and I need to get them ready for iPhone Duo. The first job was getting the simulator into Xcode. Here is the setup I followed, from the Xcode install prompt to a booted Duo in Device Hub.
Apple added the iPhone Duo simulator in Xcode 27.1. Use that version or later. I installed the iOS 27.2 simulator runtime; the version offered by your Xcode installation may differ.
Install the iOS simulator runtime
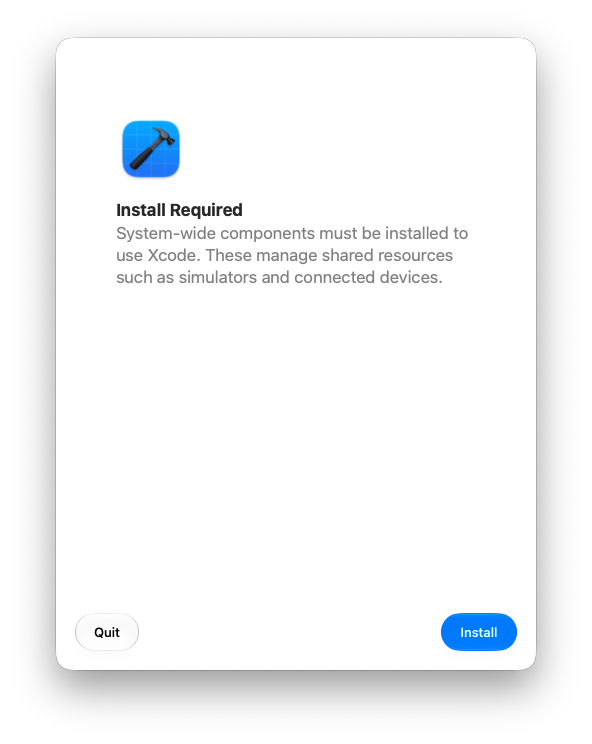
When Xcode opens for the first time, it may ask to install system-wide components. Click Install and let that finish. These components support the simulators and connected devices Xcode uses.
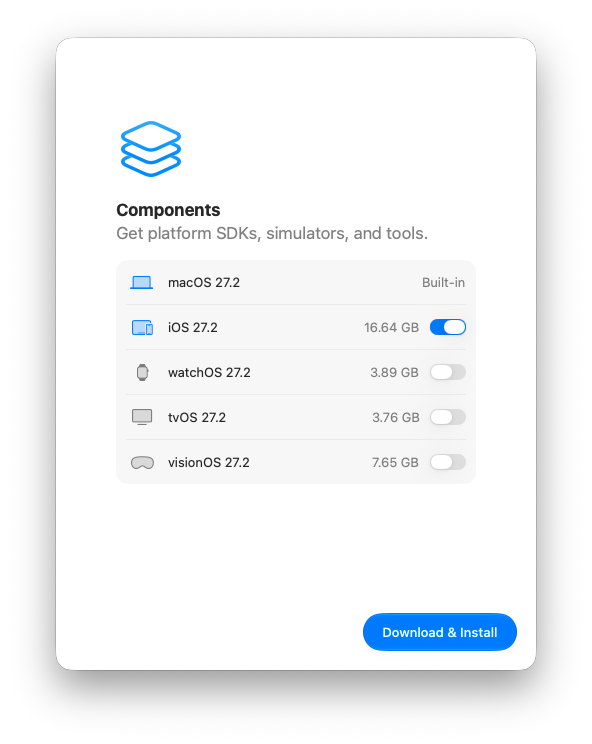
Xcode then offers the platform runtimes. Turn on iOS and click Download & Install. In my setup, that was the iOS 27.2 simulator. You do not need to select watchOS, tvOS, or visionOS to add iPhone Duo. Apple’s Xcode component guide covers installing runtimes later if you skipped this screen.
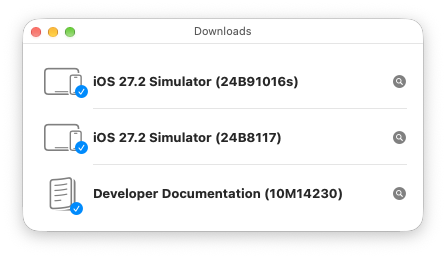
Selecting iOS gave me two downloads labeled iOS 27.2 Simulator. They are separate runtimes with the same iOS version: build 24B8117 supports the regular iPhone and iPad simulators, while build 24B91016s is for iPhone Duo. A CoreSimulator runtime inspection shows that the Duo build has its own identifier, com.apple.CoreSimulator.SimRuntime.iOS-27-2-iPhone19-4, and lists iPhone Duo as its supported device. Keep that build if you want to create a Duo simulator. Developer Documentation is another Xcode component, not a third iOS runtime.
Wait for both simulator entries to finish before opening Device Hub. The blue checkmarks in Downloads show that Xcode has installed them.
Find iPhone Duo in Device Hub
Open an iOS project in Xcode. Click the run-destination menu beside the scheme name at the top of the window, then choose Manage Devices. My run destination still showed iPhone 18 Pro while the Duo runtime was downloading.
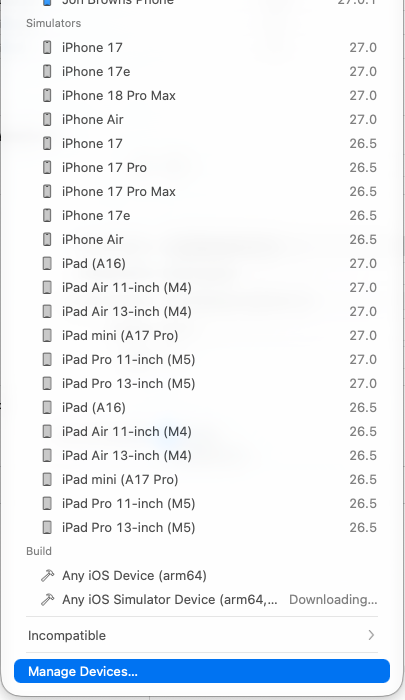
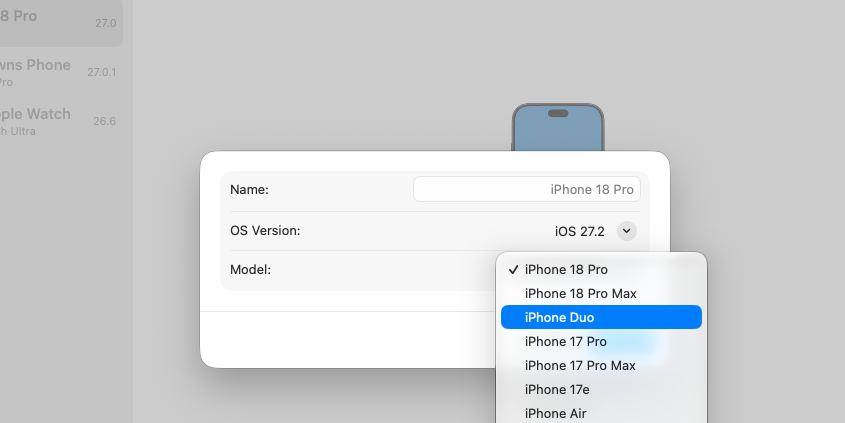
Look for iPhone Duo in Device Hub first. Xcode populated the Duo devices on my Mac as part of this setup. If Duo is already listed, leave the + button alone and go back to the run-destination menu. If it is missing, click +, choose the installed iOS runtime, and open the Model menu.

If you need to add a device, select iPhone Duo as the model and click Create. The dialog shows iOS 27.2 as the OS version; you do not select either build number there. If Duo is absent from the model list, check that Xcode is version 27.1 or later and that the Duo-specific simulator runtime finished installing.
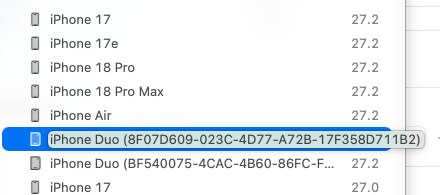
Return to Xcode and open the run-destination menu. Mine showed two iPhone Duo entries, although I had not created a second device. I checked the two UUIDs shown in that menu against CoreSimulator’s device records: each belongs to a separate virtual iPhone Duo, and both use the same Duo-specific iOS 27.2 runtime. Xcode shows the UUIDs because the two devices have the same name; the IDs tell it which virtual phone to launch and which set of installed apps and data to use. The two downloads above are runtime packages, while these two rows are simulator devices. Either Duo entry can run the app; choose one and keep using that entry for the same test environment.
In Device Hub, select iPhone Duo and click Start. The device boots like any other simulator. Mine first showed the Apple logo, then the home screen on the inner display.
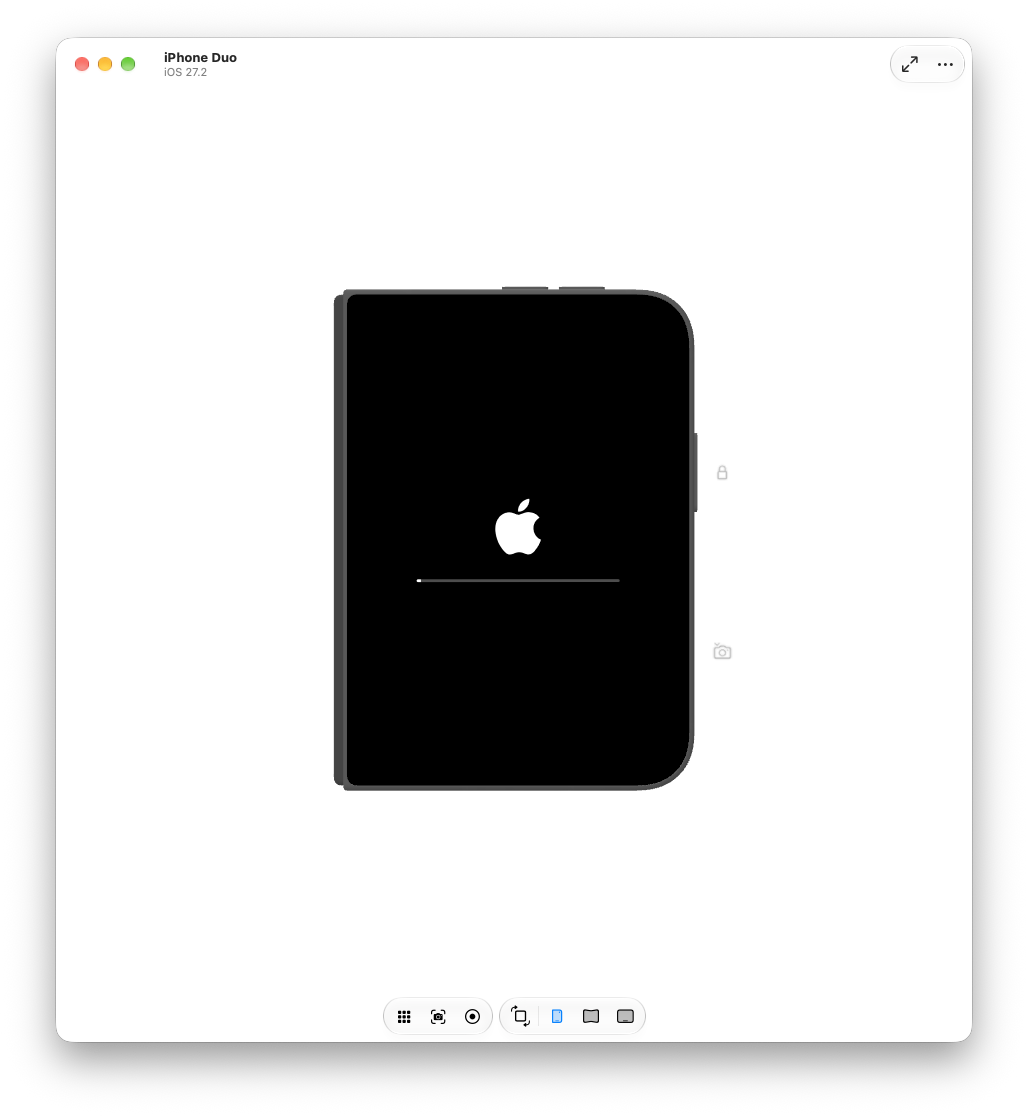
After startup, the home screen fills Duo’s inner display.
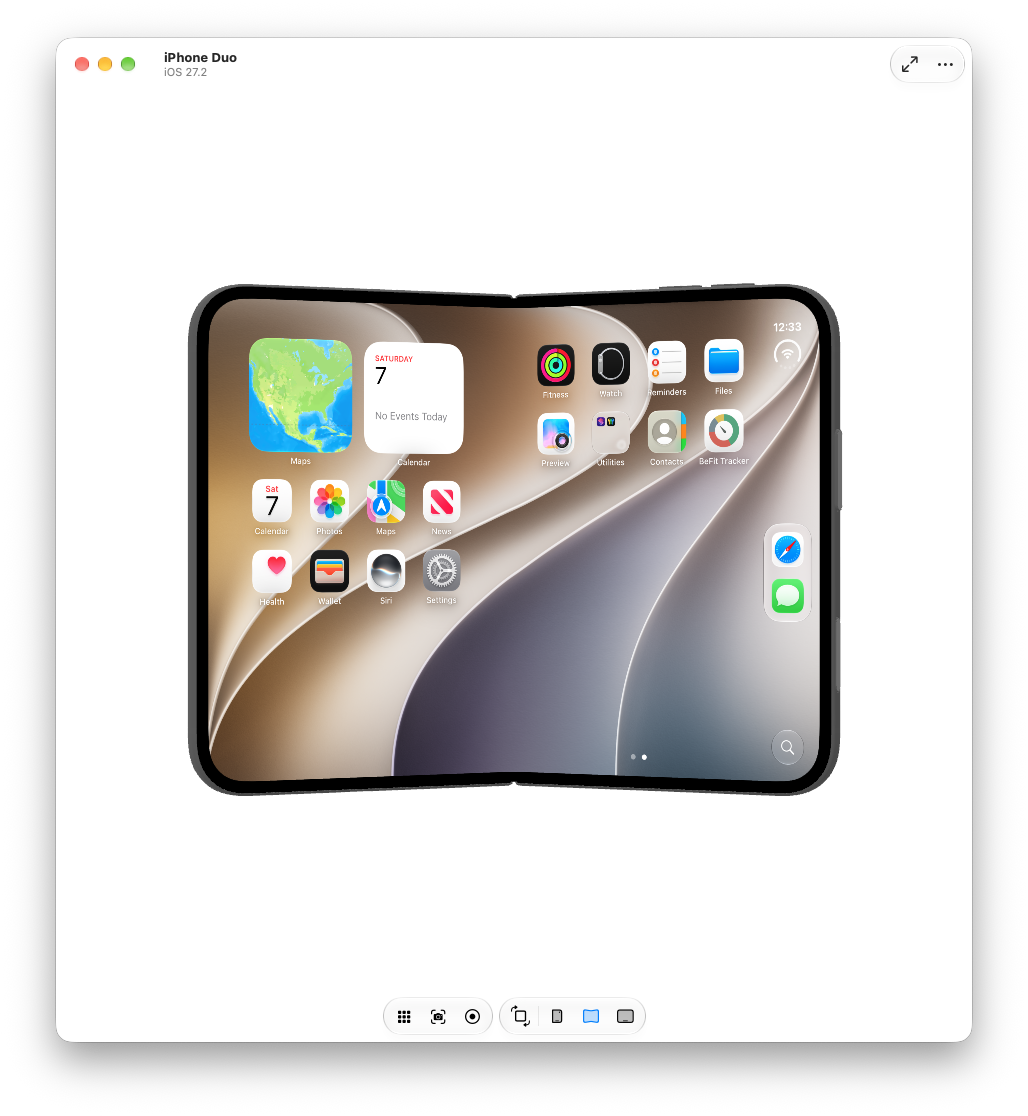
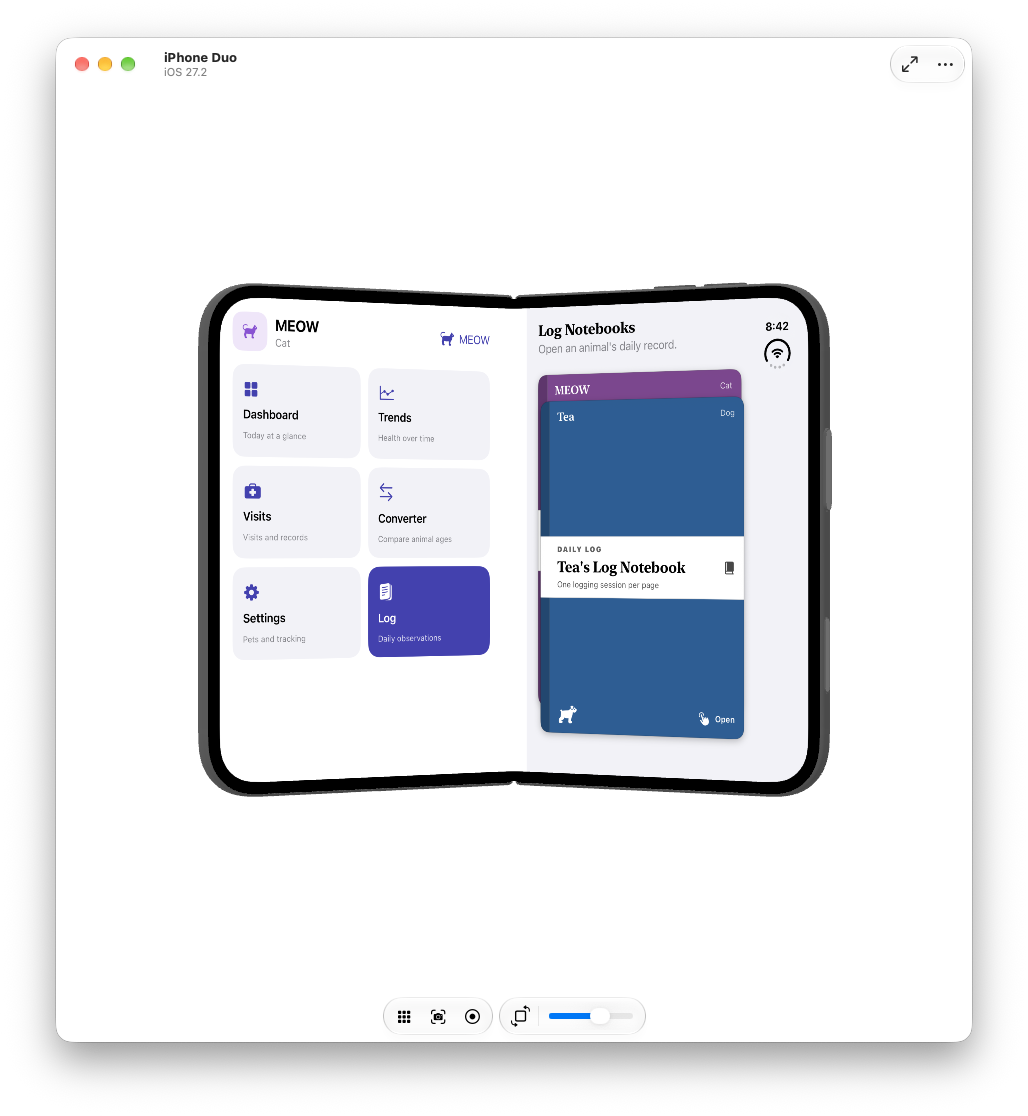
With Duo running, choose Product > Run in Xcode to launch your app. The three buttons below the device select Closed, Partially Open, and Open. Hold Option to reveal the hinge slider, drag it to an angle between those presets, then release Option to bring the buttons back. The home-screen screenshot above shows the buttons; the screenshot below shows the slider with MEOW running on a partly open Duo. Both controls work on the same simulator. Apple documents the buttons and slider.
Sources
Related Posts
Bromure Gives Codex a Room of Its Own
I installed Bromure Agentic Coding, watched it build the Linux VM, authenticated Codex, and followed a real Codex task through the workspace.
Claude Code Auto Mode Changes Approval Flow, Not the Safety Boundary
Claude Code Auto mode changes how approval decisions are handled. It does not expand the boundary of what the coding agent should be allowed to do.
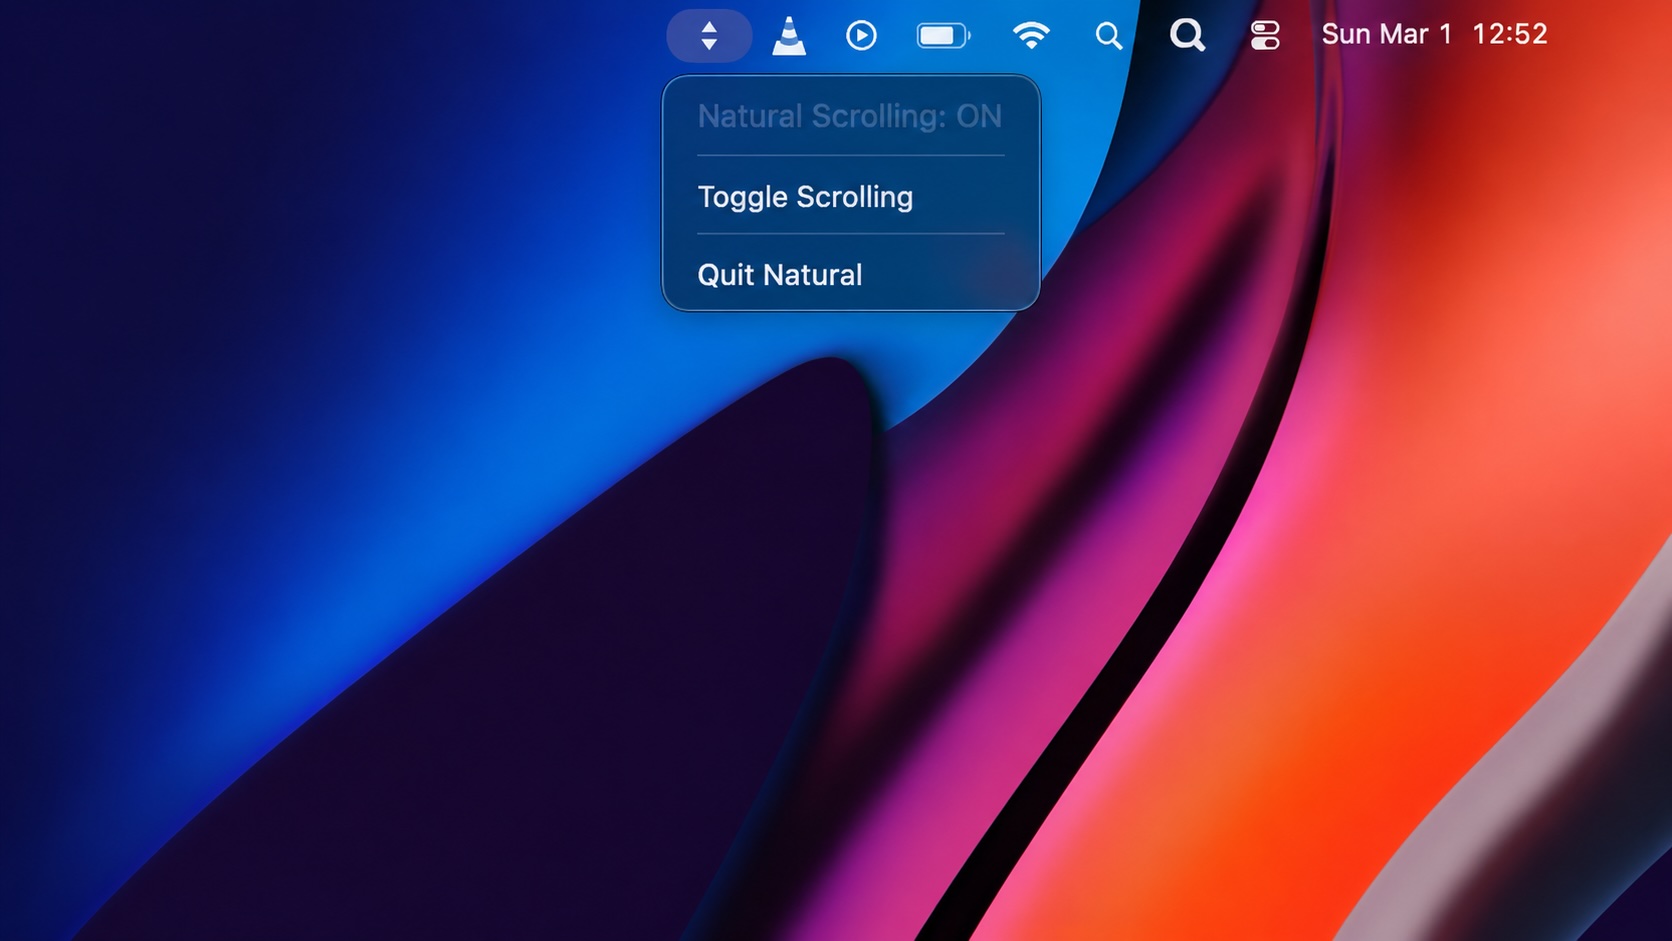
Natural Makes the macOS Scroll Direction Toggle Less Buried
Natural is a small macOS menu bar utility that makes the natural scrolling toggle easy to reach, but building it from source also shows why open-source desktop utilities need clear prerequisite checks before they become recommended tools.
LibrePods Turns AirPods Into an Interoperability Question
LibrePods is interesting because it turns AirPods into an interoperability question: what happens when open-source software implements Apple's private AirPods protocol so Android and Linux users can reach features normally reserved for Apple's ecosystem?
Why Mac Performance Monitor Belongs in the Mac Admin Toolbox
Mac Performance Monitor belongs in the Mac admin toolbox because it records local performance history, helps Help Desk review slow-Mac reports after the moment has passed, and keeps process telemetry on the Mac instead of sending it to a cloud service.
Apple’s WWDC26 AI Story Is About Control, Not Just Models
Apple’s WWDC26 special presentation on Apple Intelligence and Xcode was less about adding a chat box to developer tools and more about making AI part of the platform boundary. Xcode agents, App Intents, Foundation Models, Core AI, and MLX all point toward the same idea: intelligent features need context, permissions, testing, and clear ownership before they belong in production software.

HelpBook Builder Launches 🚀
Build beautiful macOS Help Books with live preview, multilingual AI translation, and one-click export to Helpbook, PDF, and HTML.
Running a Beta Program: Lessons Learned
Shipping software in isolation is comforting. You control the inputs, the environment, and the narrative you tell yourself about how things work. The moment you invite other people in—especially people who don’t share your assumptions—you lose that comfort. You also gain something far more valuable. Running a public beta for ABM Warranty through Apple’s TestFlight program forced me to confront that tradeoff head-on, and it fundamentally changed how quickly and confidently the app matured.
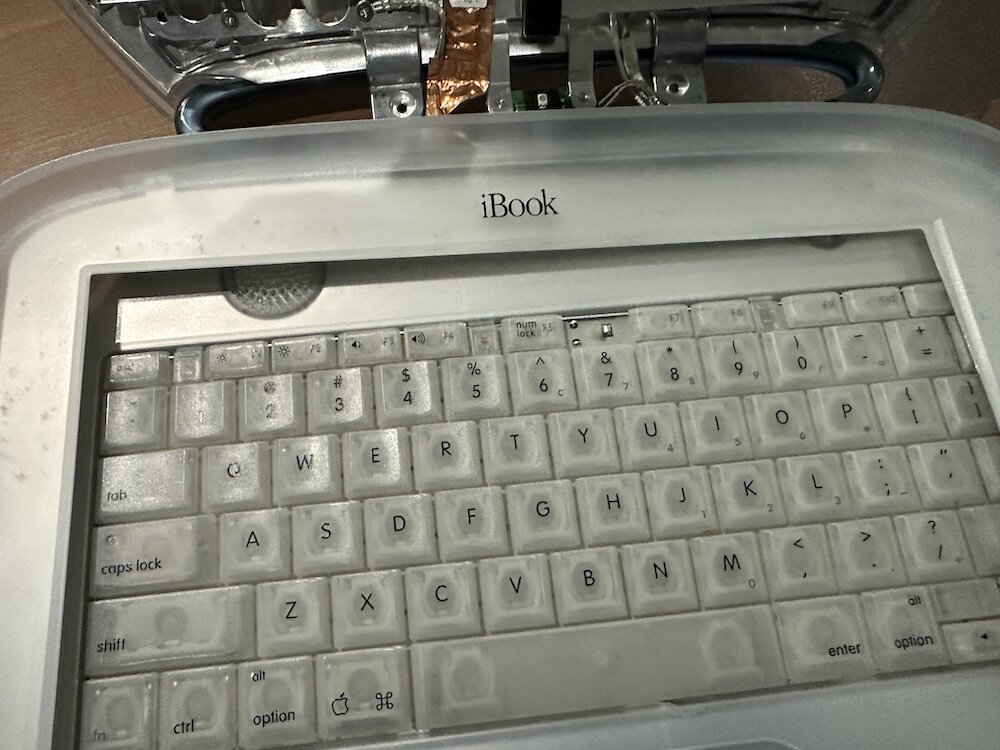
Clamshell iBook G3 Restoration, Part 1: From Broken Screen to Board-Level Repair
Part one of a Clamshell iBook G3 restoration: a broken screen, a charger detour, a blinking system folder, a full teardown, and the backlight connector mistake that paused the project.
PowerBook 140 BlueSCSI Install: Cable Fixed, Battery-Bay Power, and Wi-Fi Setup
The PowerBook 140 project moved from preparing a BlueSCSI card in Basilisk II to installing the repaired internal SCSI cable, powering the BlueSCSI Pico externally from the battery bay, booting System 7.1, and fighting through DaynaPORT Wi-Fi setup.
